

How to import data
This page describes how to import assets and employees from an Excel or CSV file. For how import works, see Importing data. For the list of fields and skip reasons, see the Import reference.
Both wizards go through the same four steps: Upload file, Map fields, Parameters, Result. Files in .xlsx, .xls, and .csv formats up to 10 MB are supported.
Importing assets
Section titled “Importing assets”Step 1. Open the import wizard
Section titled “Step 1. Open the import wizard”- Open the Assets section in the left menu.
- Click the Import assets button.
- The wizard opens on the Upload file step.
Step 2. Download and fill in the template
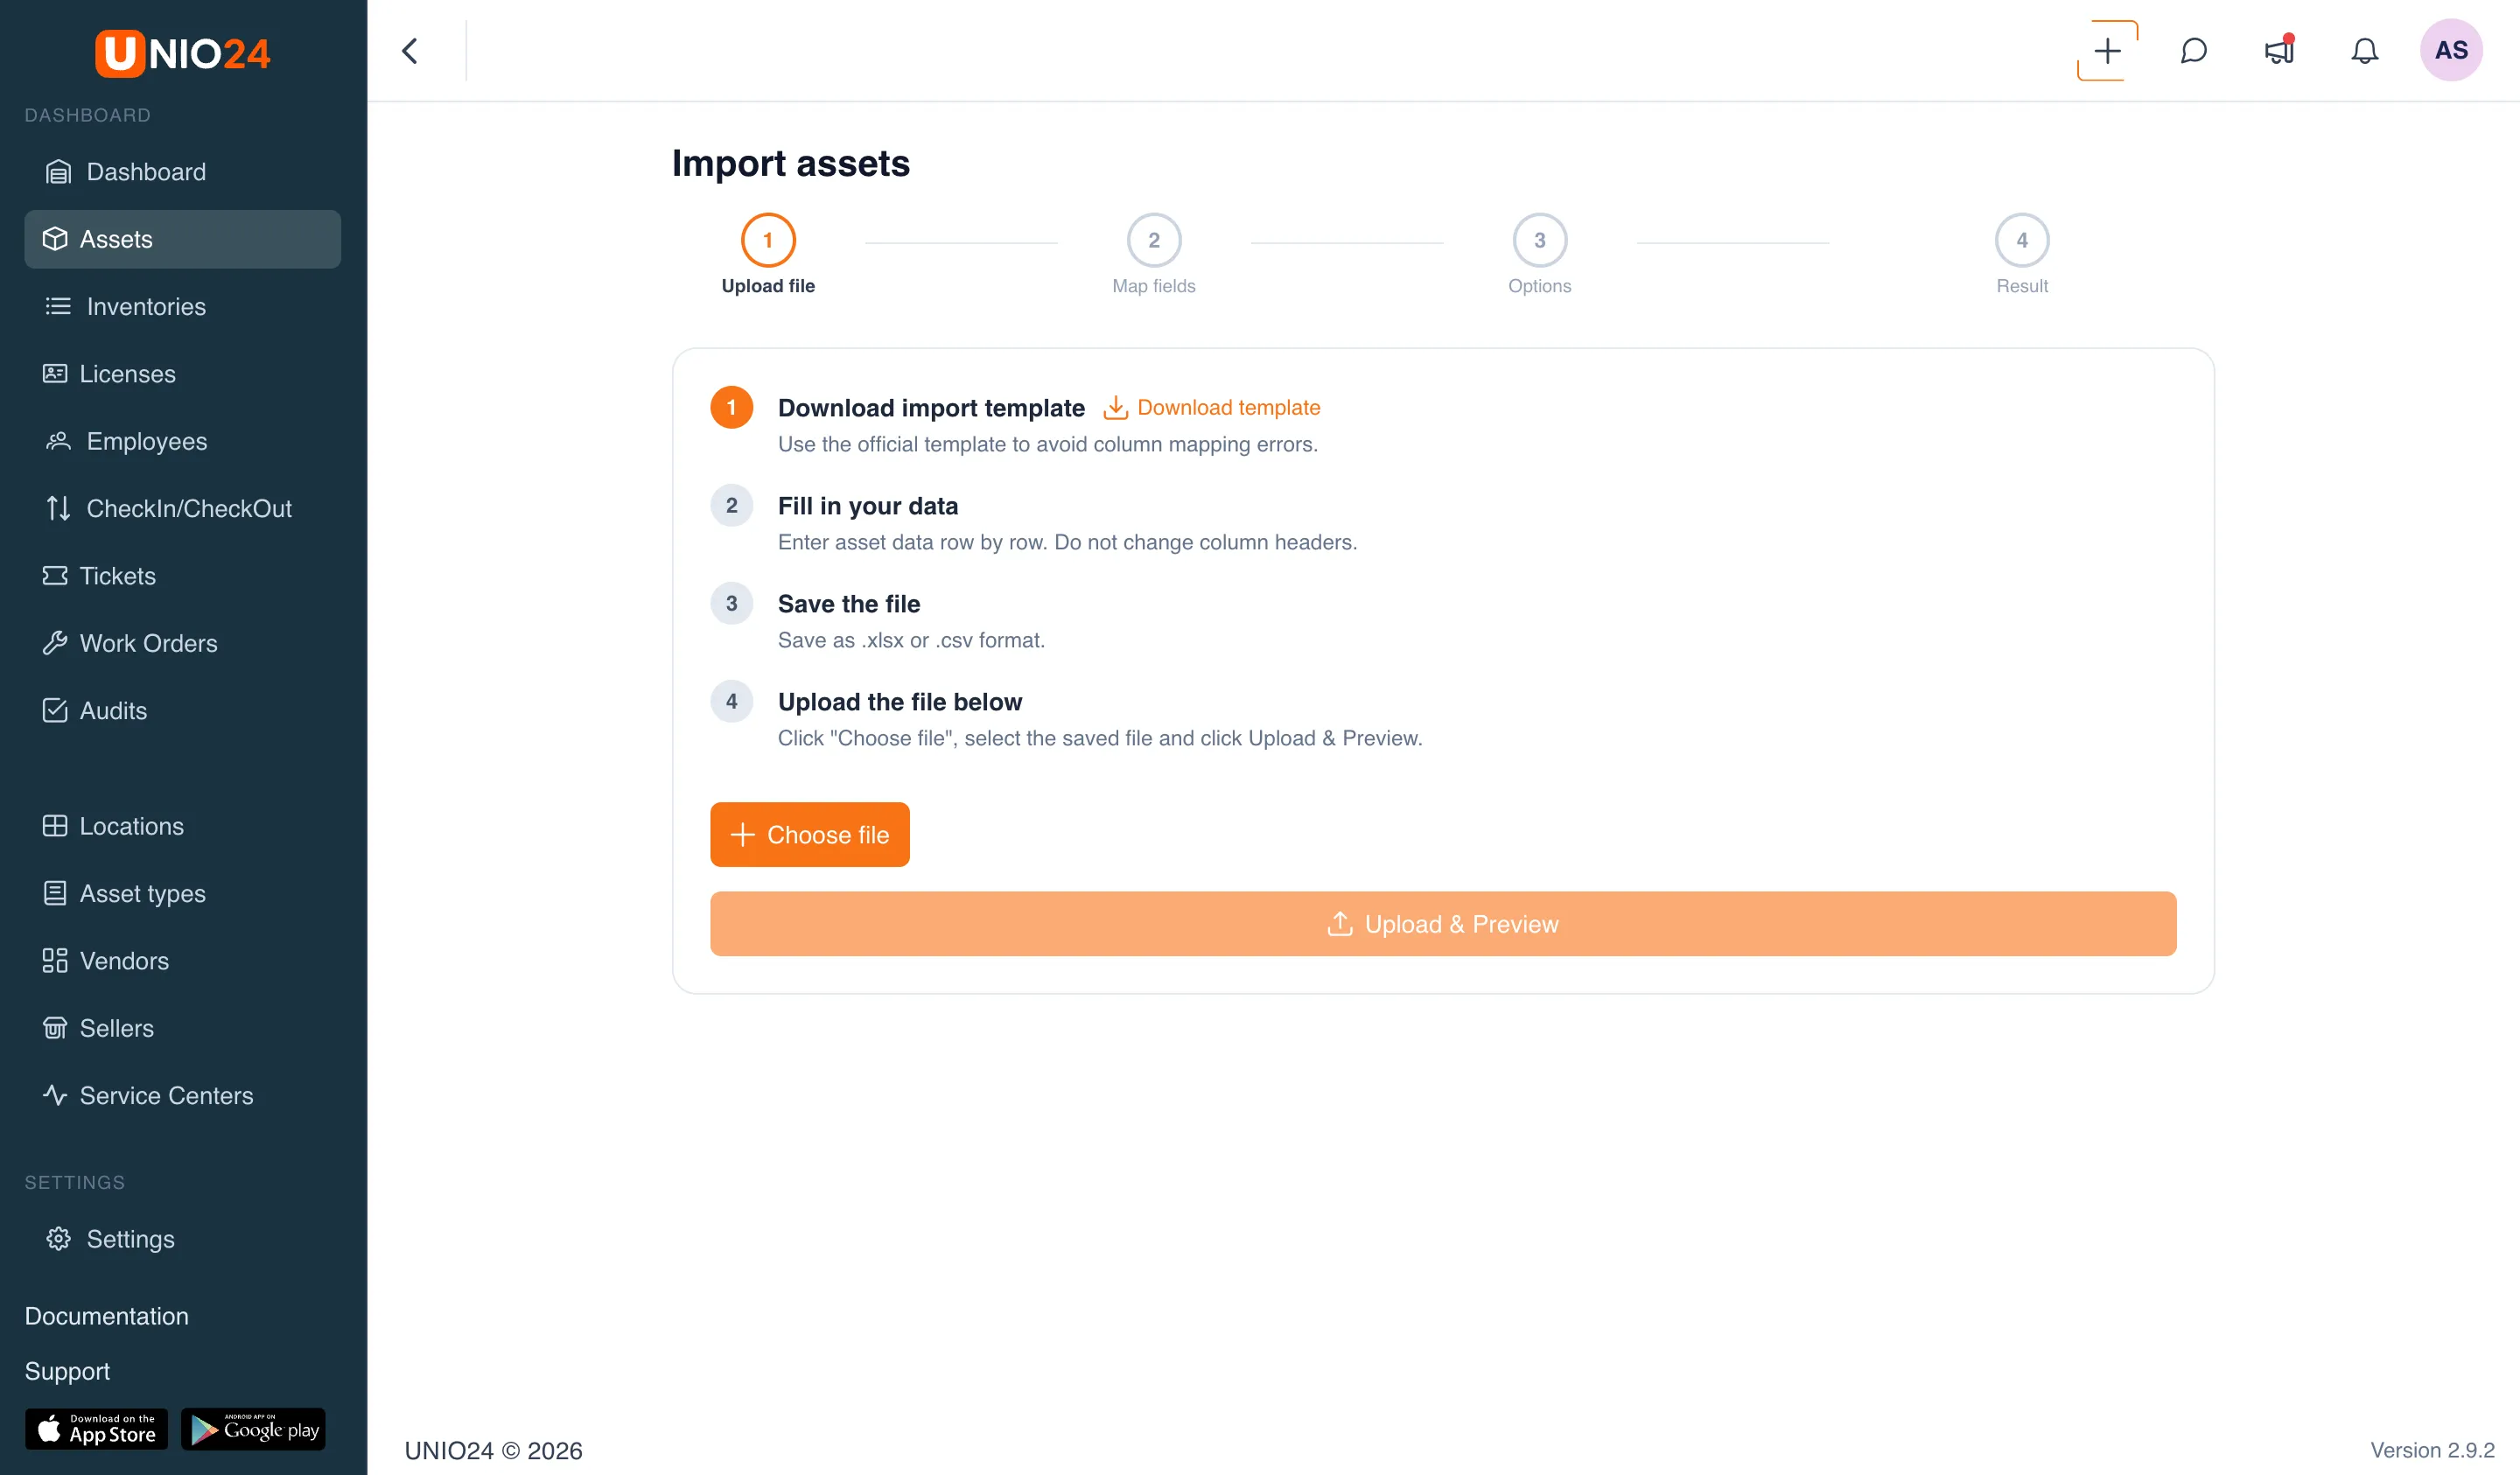
Section titled “Step 2. Download and fill in the template”- On the Upload file step, click the Download template link.
- Open the downloaded file and fill it in row by row. Do not change the column headers.
- Fill in at least the required fields — Inventory number and Asset type. Fill in the rest as needed (see the Import reference).
- Save the file in
.xlsxor.csvformat.
Step 3. Upload the file
Section titled “Step 3. Upload the file”- Click Choose file and select the saved file.
- The name of the selected file appears below the button.
- Click Upload & Preview. The system reads the file and moves to the Map fields step, showing at the top how many rows were found.
Step 4. Map the columns
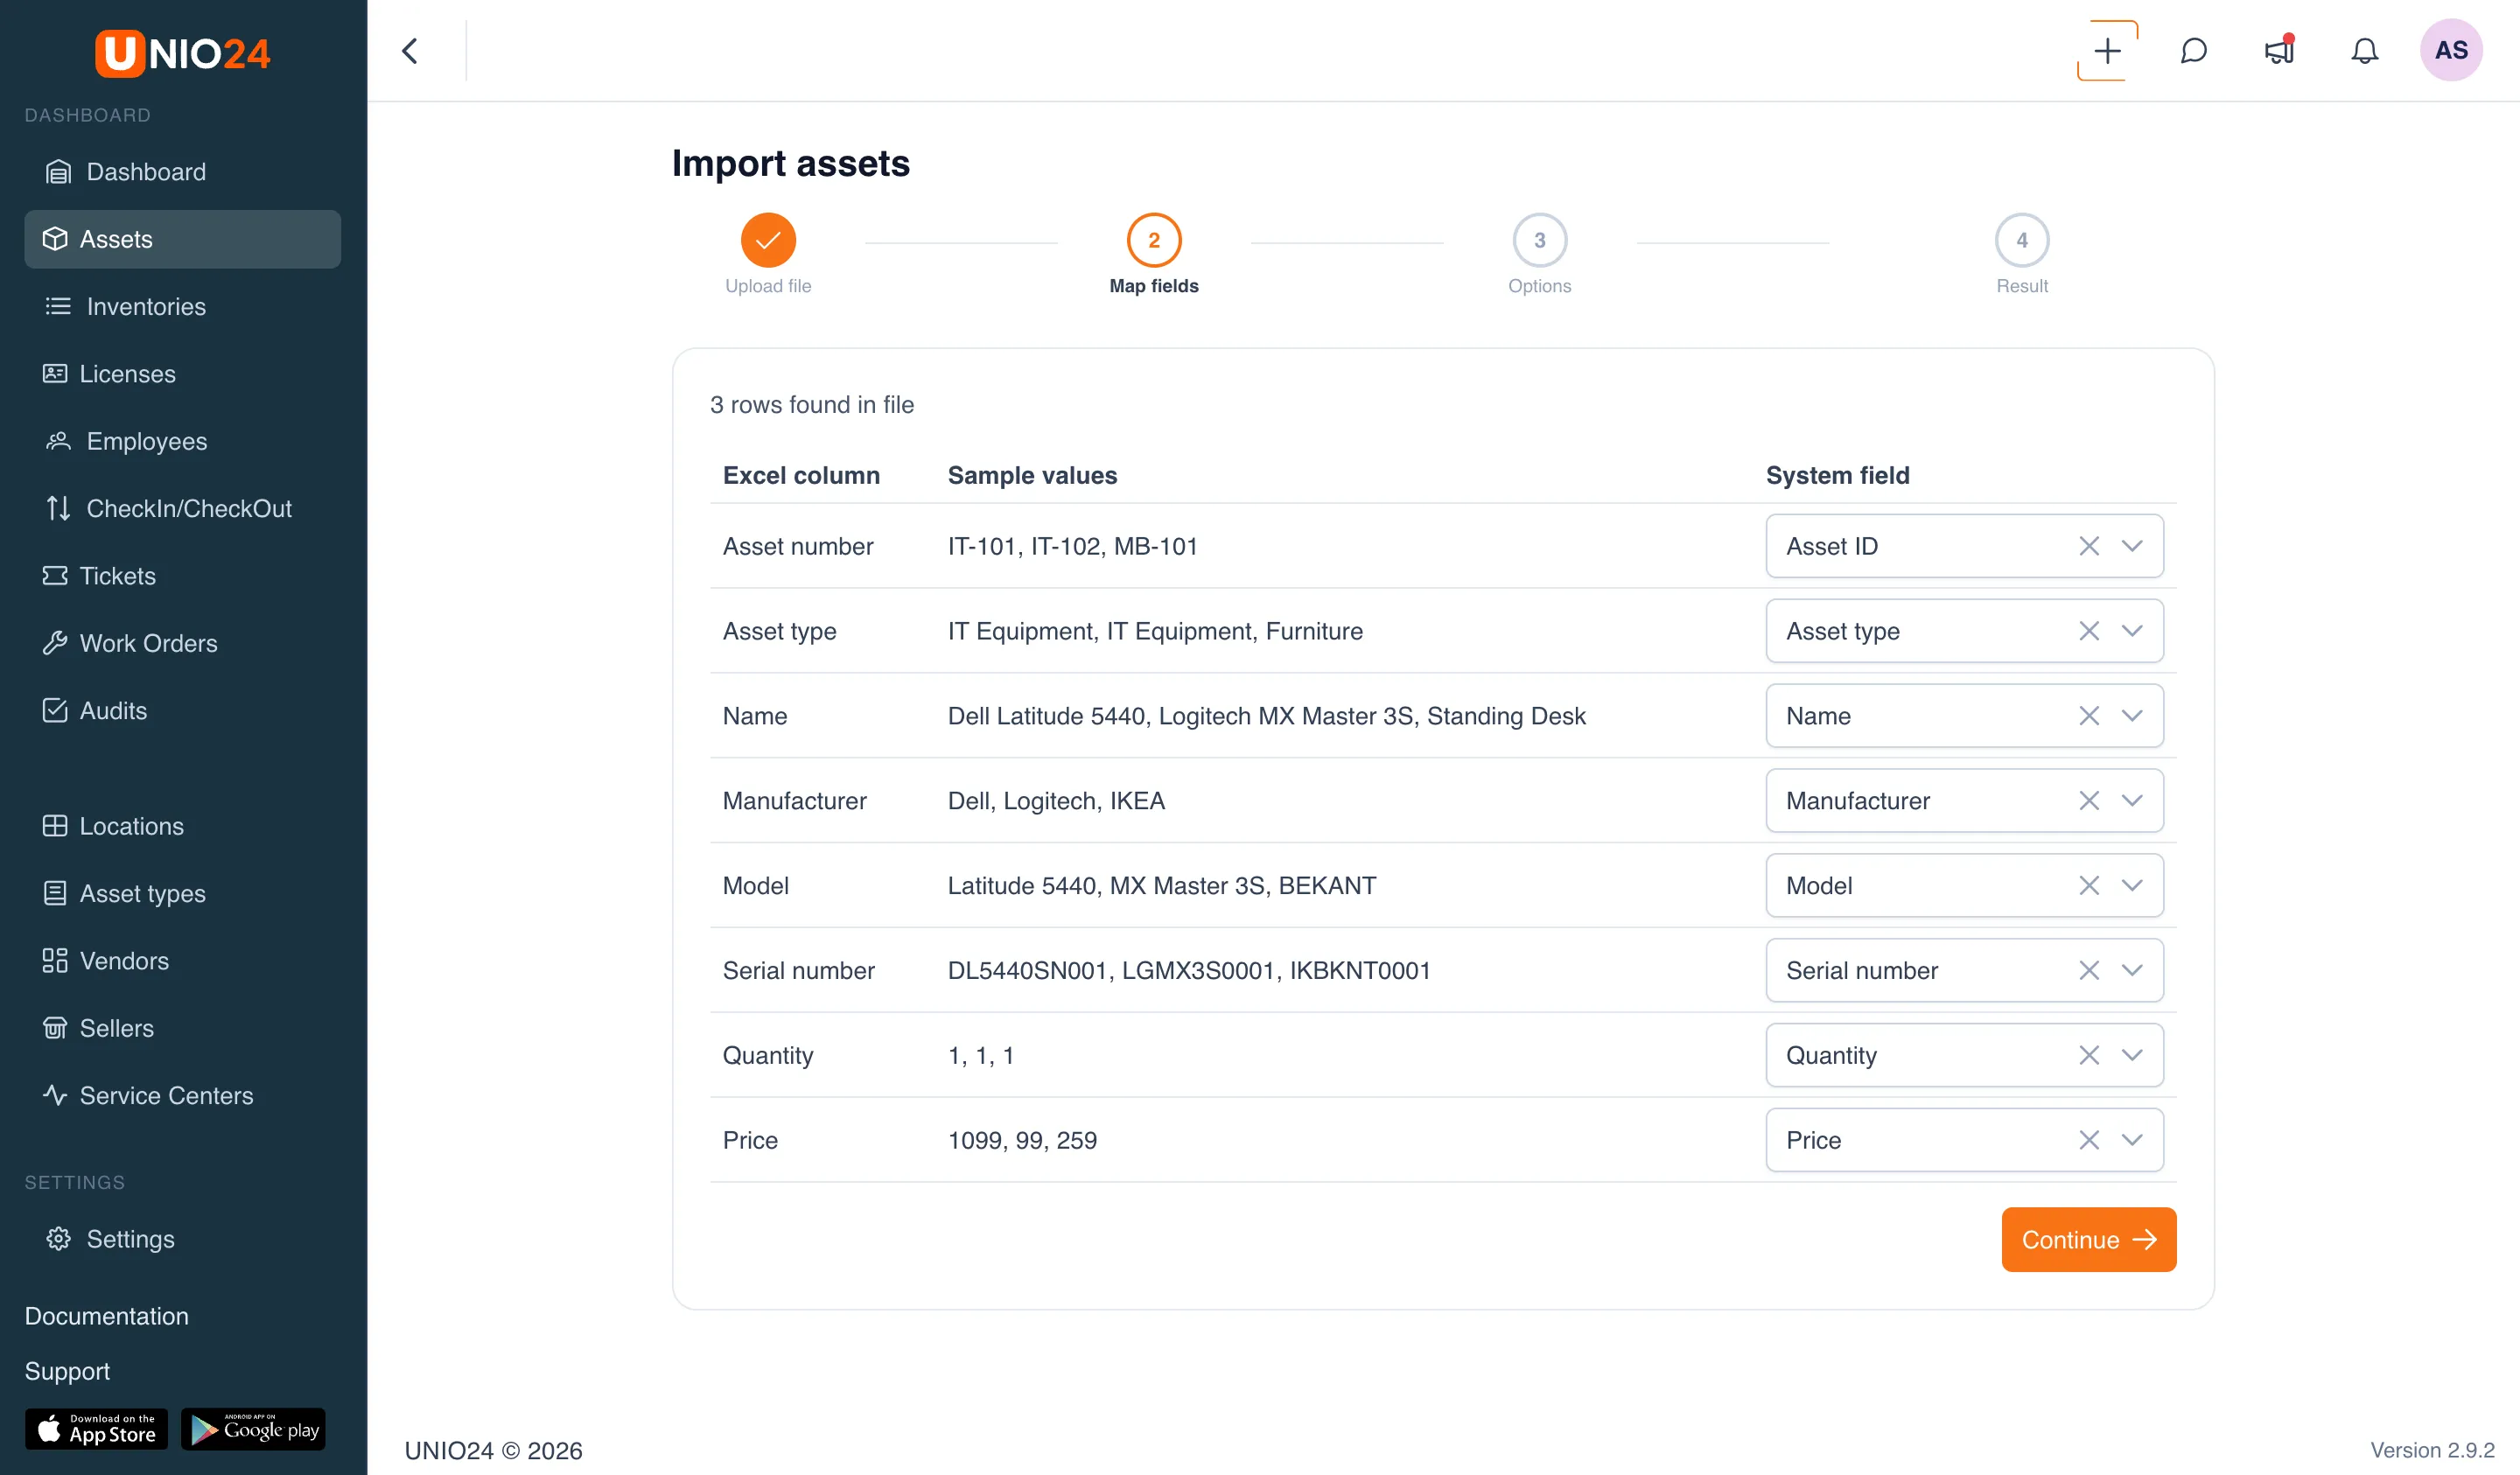
Section titled “Step 4. Map the columns”- In the table, each row is one column of your file: its header (“File column”), example values, and the system field.
- In the System field column, choose the matching field for each column. If the file was made from the template, the mapping is already filled in automatically — check it.
- Leave any column you do not want to import empty — that is the Do not import value.
- Make sure the required fields are mapped. If they are not, the message “Required fields are not mapped” appears below the table and you cannot continue.
- Click Continue.
Step 5. Choose duplicate handling and start
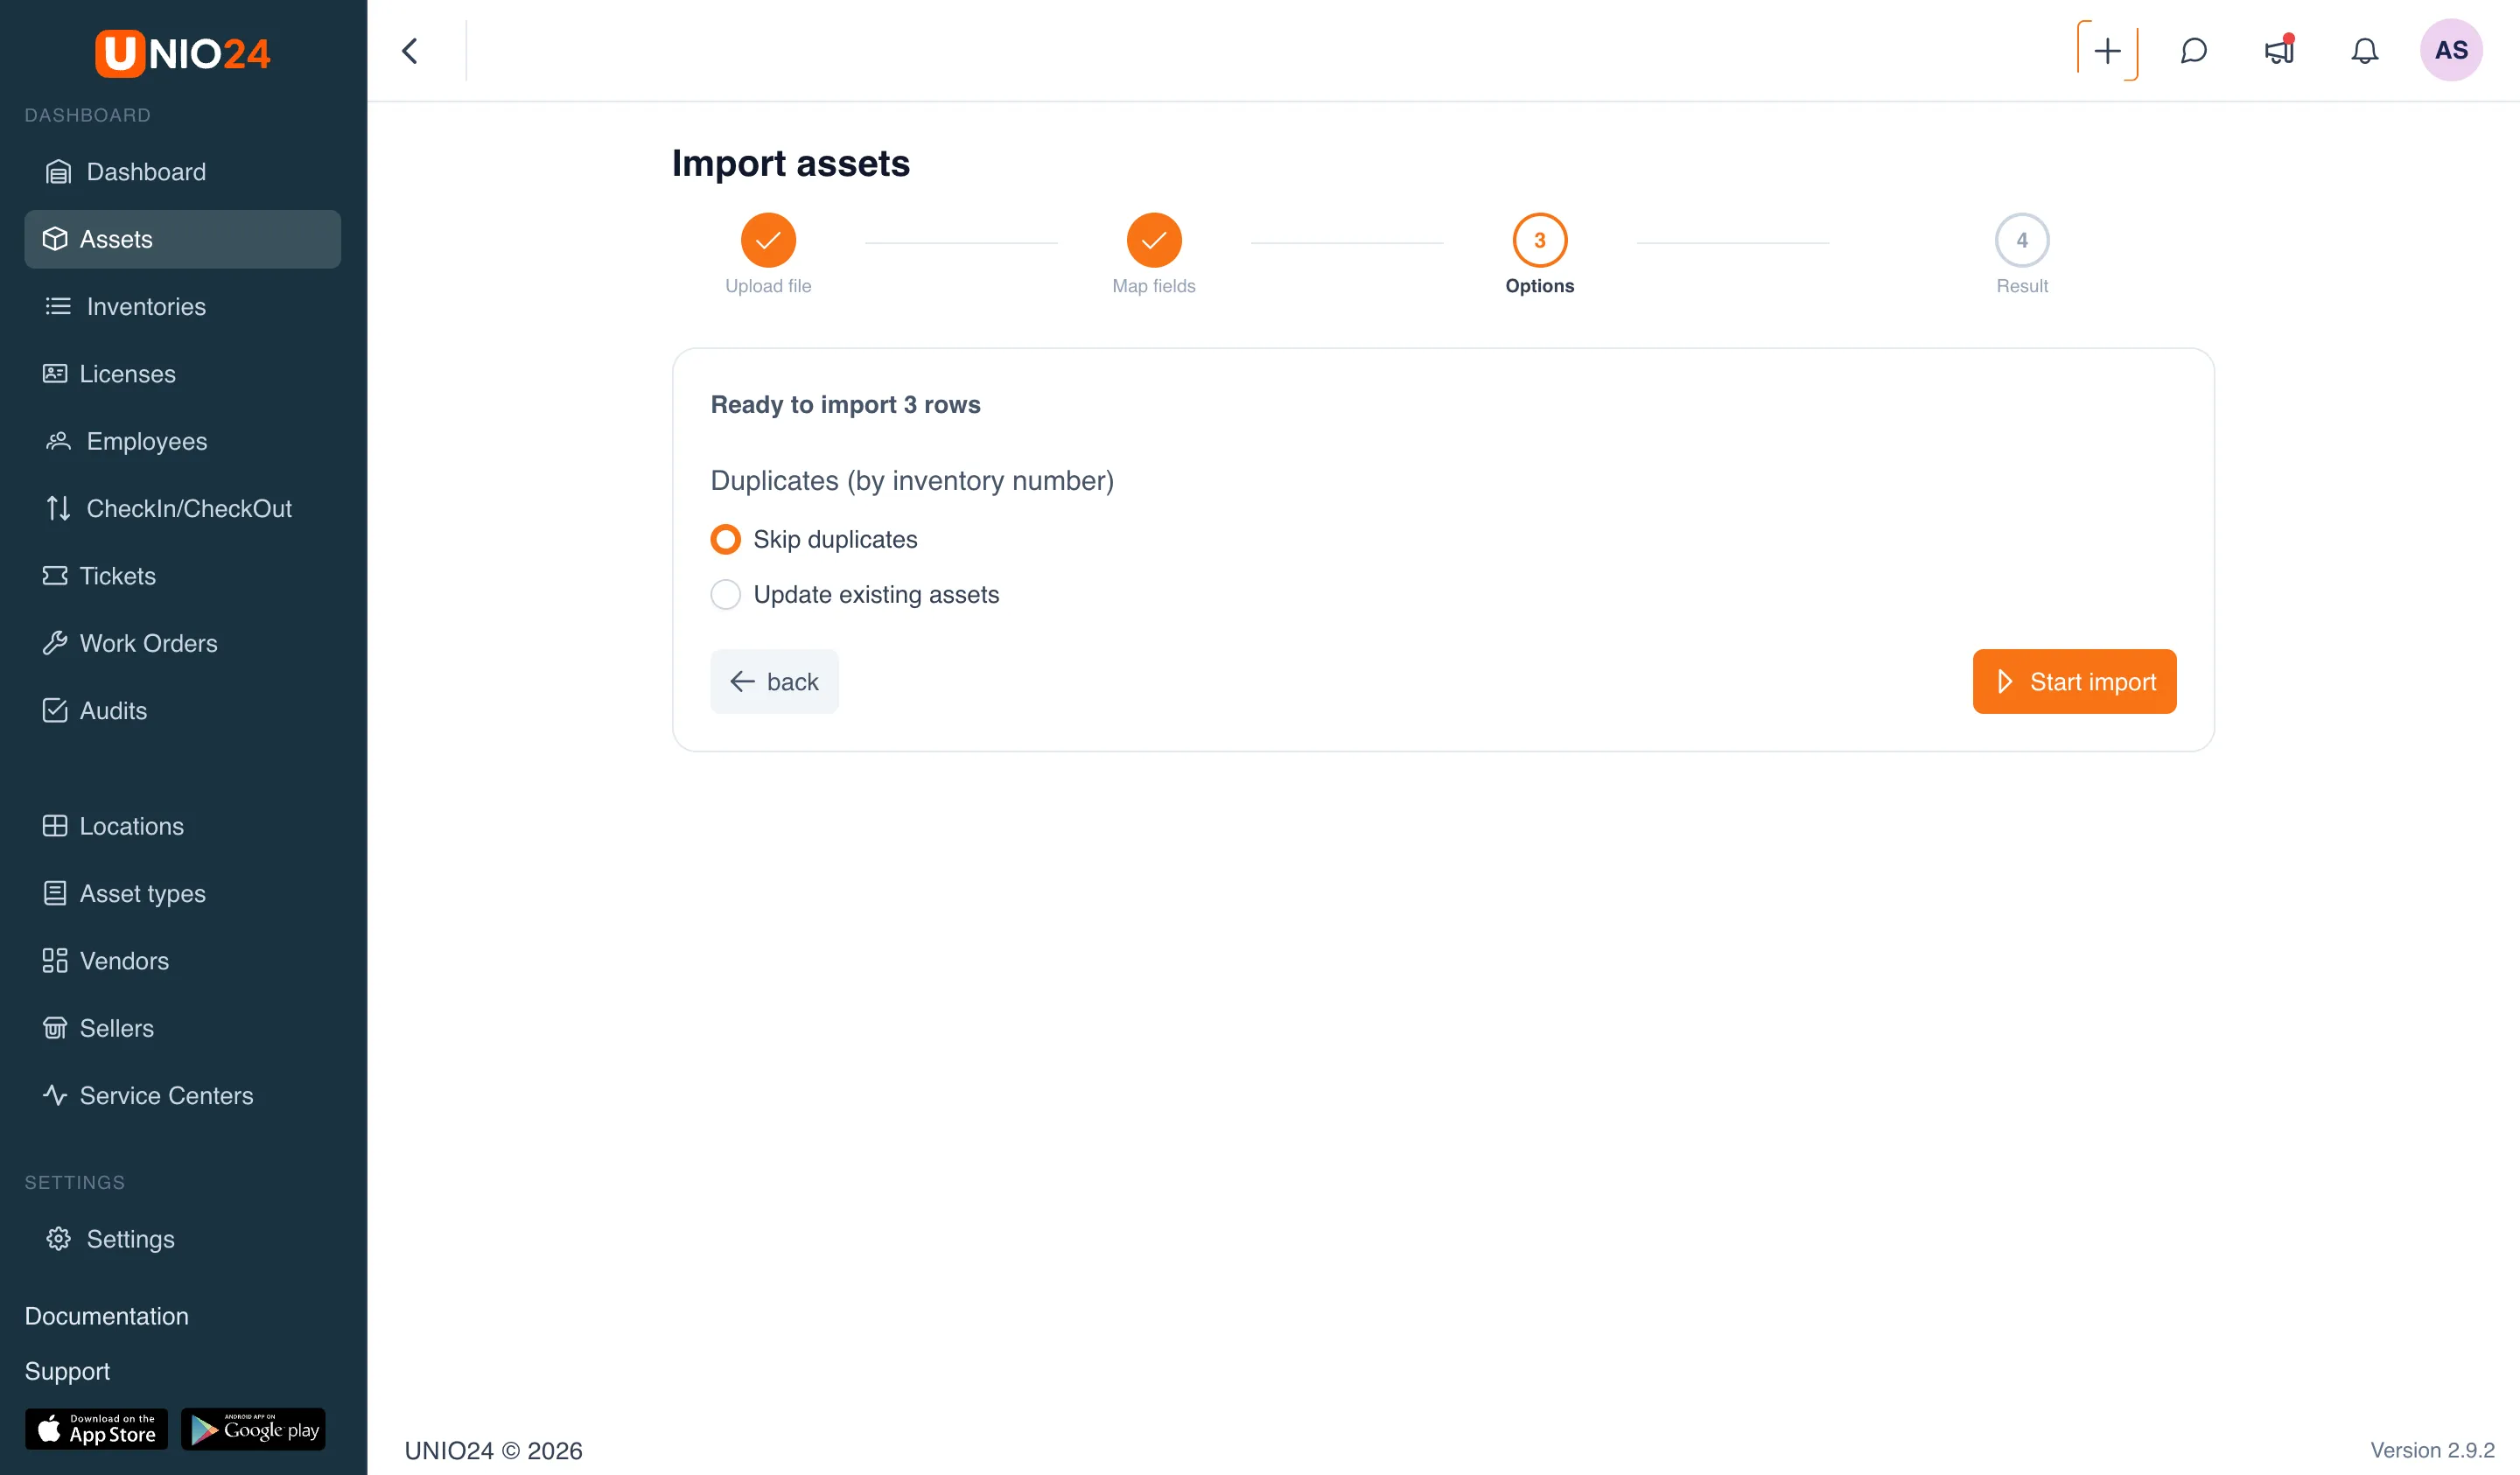
Section titled “Step 5. Choose duplicate handling and start”- On the Parameters step, the system shows how many rows are ready to import.
- In the Duplicates (by inventory number) block, choose one of the options:
- Skip duplicates — rows with an inventory number that already exists are not loaded;
- Update existing assets — such assets are updated with the data from the file.
- Click Start import.
Step 6. Read the results
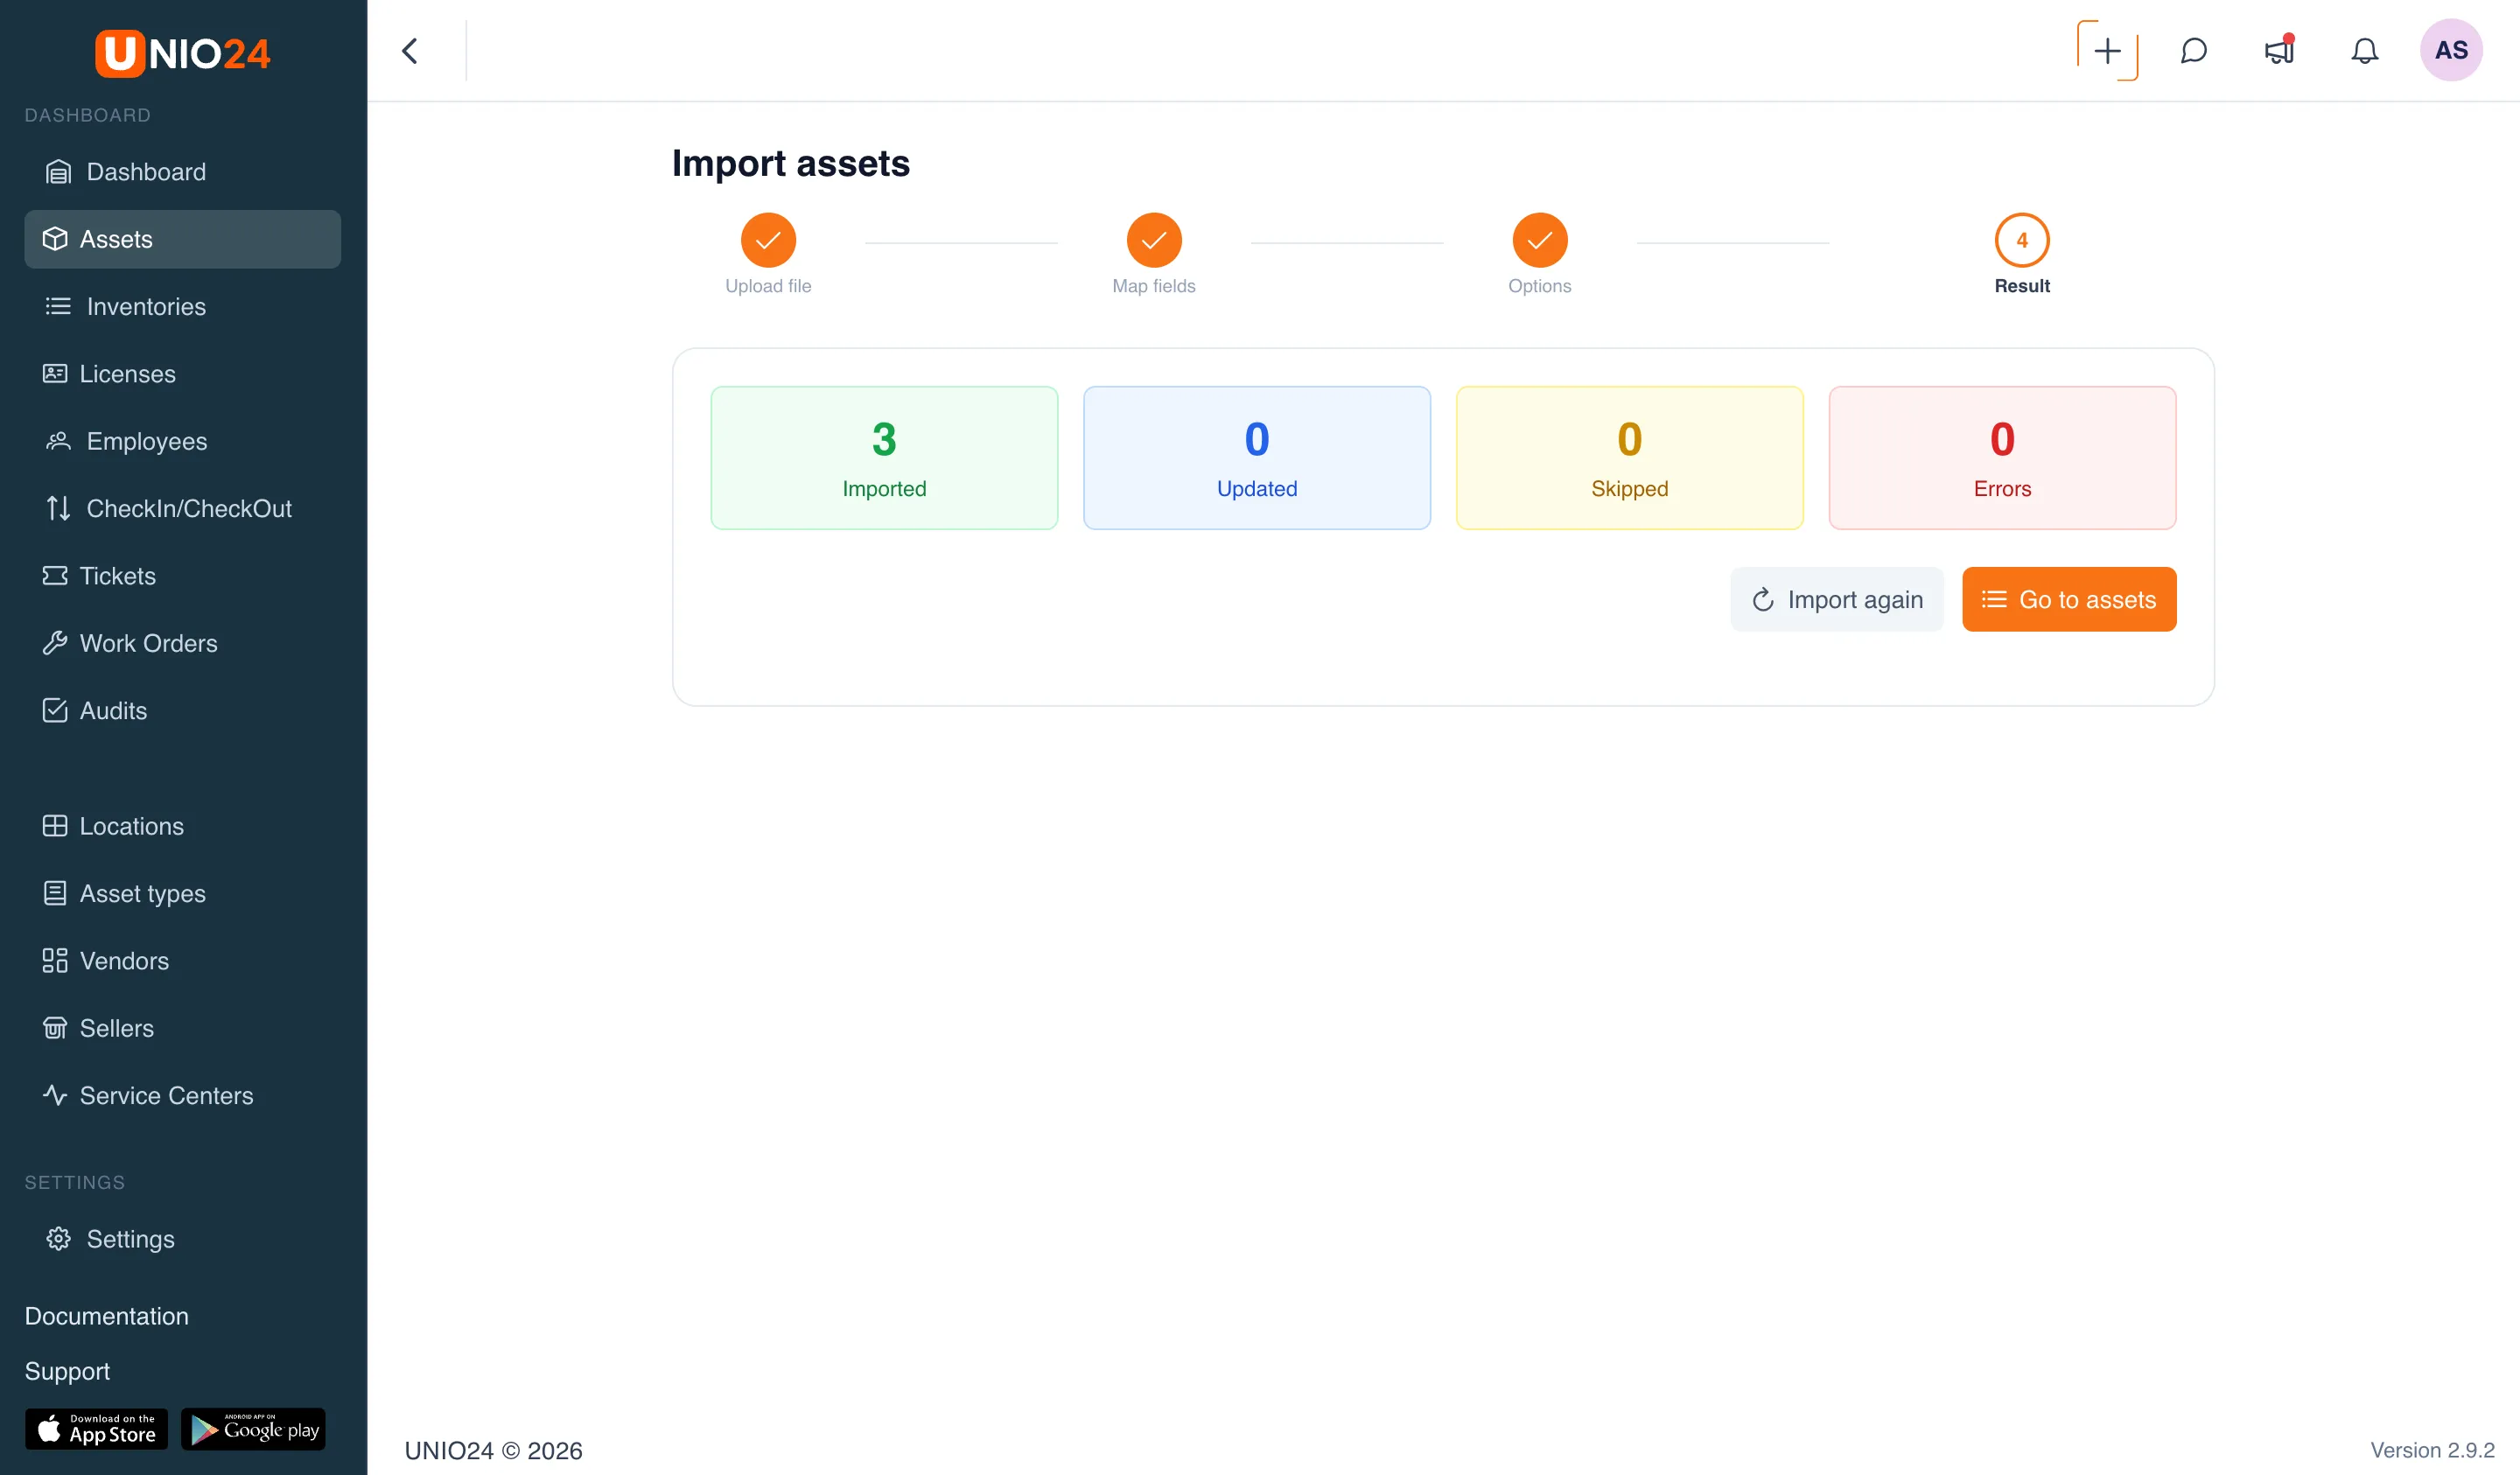
Section titled “Step 6. Read the results”- On the Result step, four counters are shown: Imported, Updated, Skipped, Errors.
- If there are skipped rows or errors, an Import protocol is shown below with the columns Row, Type, Field, and Reason. The reason values are explained in the Import reference.
- To load another file, click Import again. To return to the list, click Go to assets.
Importing employees
Section titled “Importing employees”Step 1. Open the import wizard
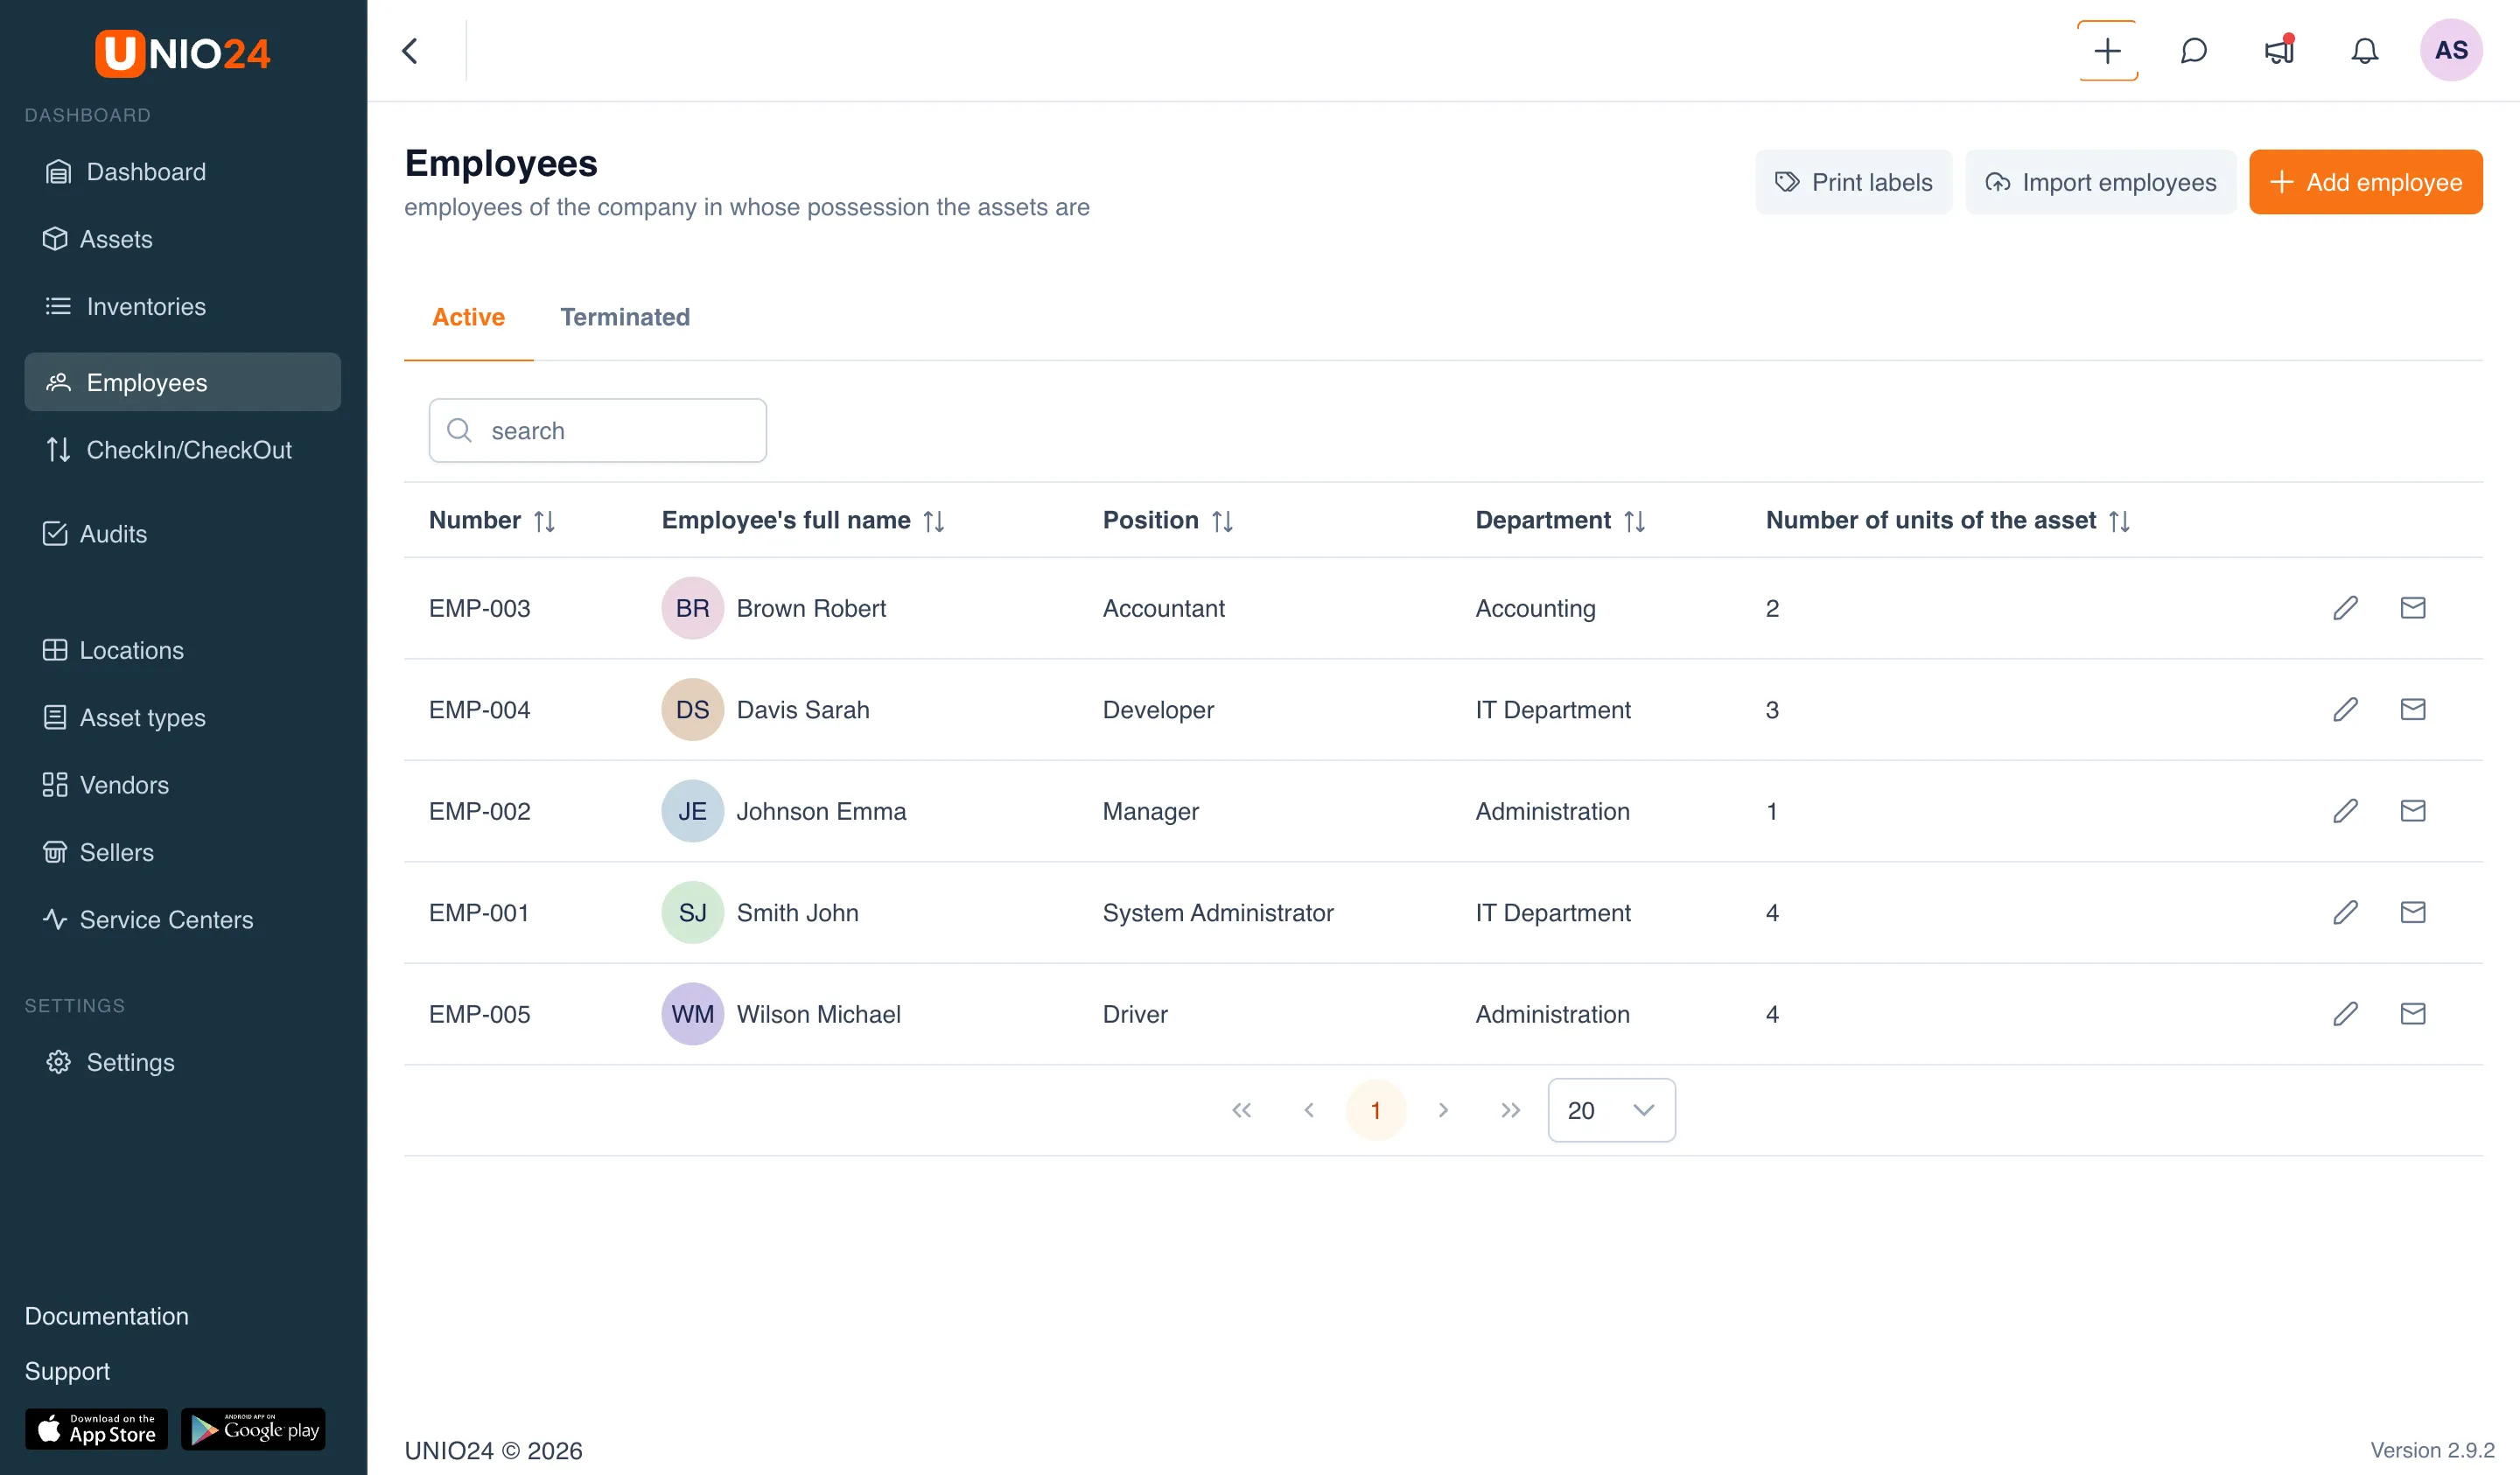
Section titled “Step 1. Open the import wizard”- Open the Employees section in the left menu.
- Click the Import employees button.
- The wizard opens on the Upload file step.
Step 2. Download and fill in the template
Section titled “Step 2. Download and fill in the template”- On the Upload file step, click the Download template link.
- Fill in the file row by row without changing the column headers.
- Fill in at least the required fields — Employee ID, Last Name, First Name, and Department. Fill in the rest as needed (see the Import reference).
- Save the file in
.xlsxor.csvformat.
Step 3. Upload the file
Section titled “Step 3. Upload the file”- Click Choose file and select the saved file.
- Click Upload & Preview. The system moves to the Map fields step and shows how many rows were found.
Step 4. Map the columns
Section titled “Step 4. Map the columns”- For each column of the file, choose the System field. From a template, the mapping is filled in automatically — check it.
- Leave columns you do not need set to Do not import.
- Map the required fields, otherwise the message “Required fields are not mapped” appears.
- Click Continue.
Step 5. Choose duplicate handling and start
Section titled “Step 5. Choose duplicate handling and start”- In the Duplicates (by employee ID) block, choose:
- Skip duplicates — employees with an ID that already exists are not loaded;
- Update existing employees — such employees are updated with the data from the file.
- Click Start import.
Step 6. Read the results
Section titled “Step 6. Read the results”- Review the Imported, Updated, Skipped, Errors counters.
- If there are problems, work through the Import protocol (see the Import reference).
- Click Import again for a new file, or Go to employees to return to the list.