Data export
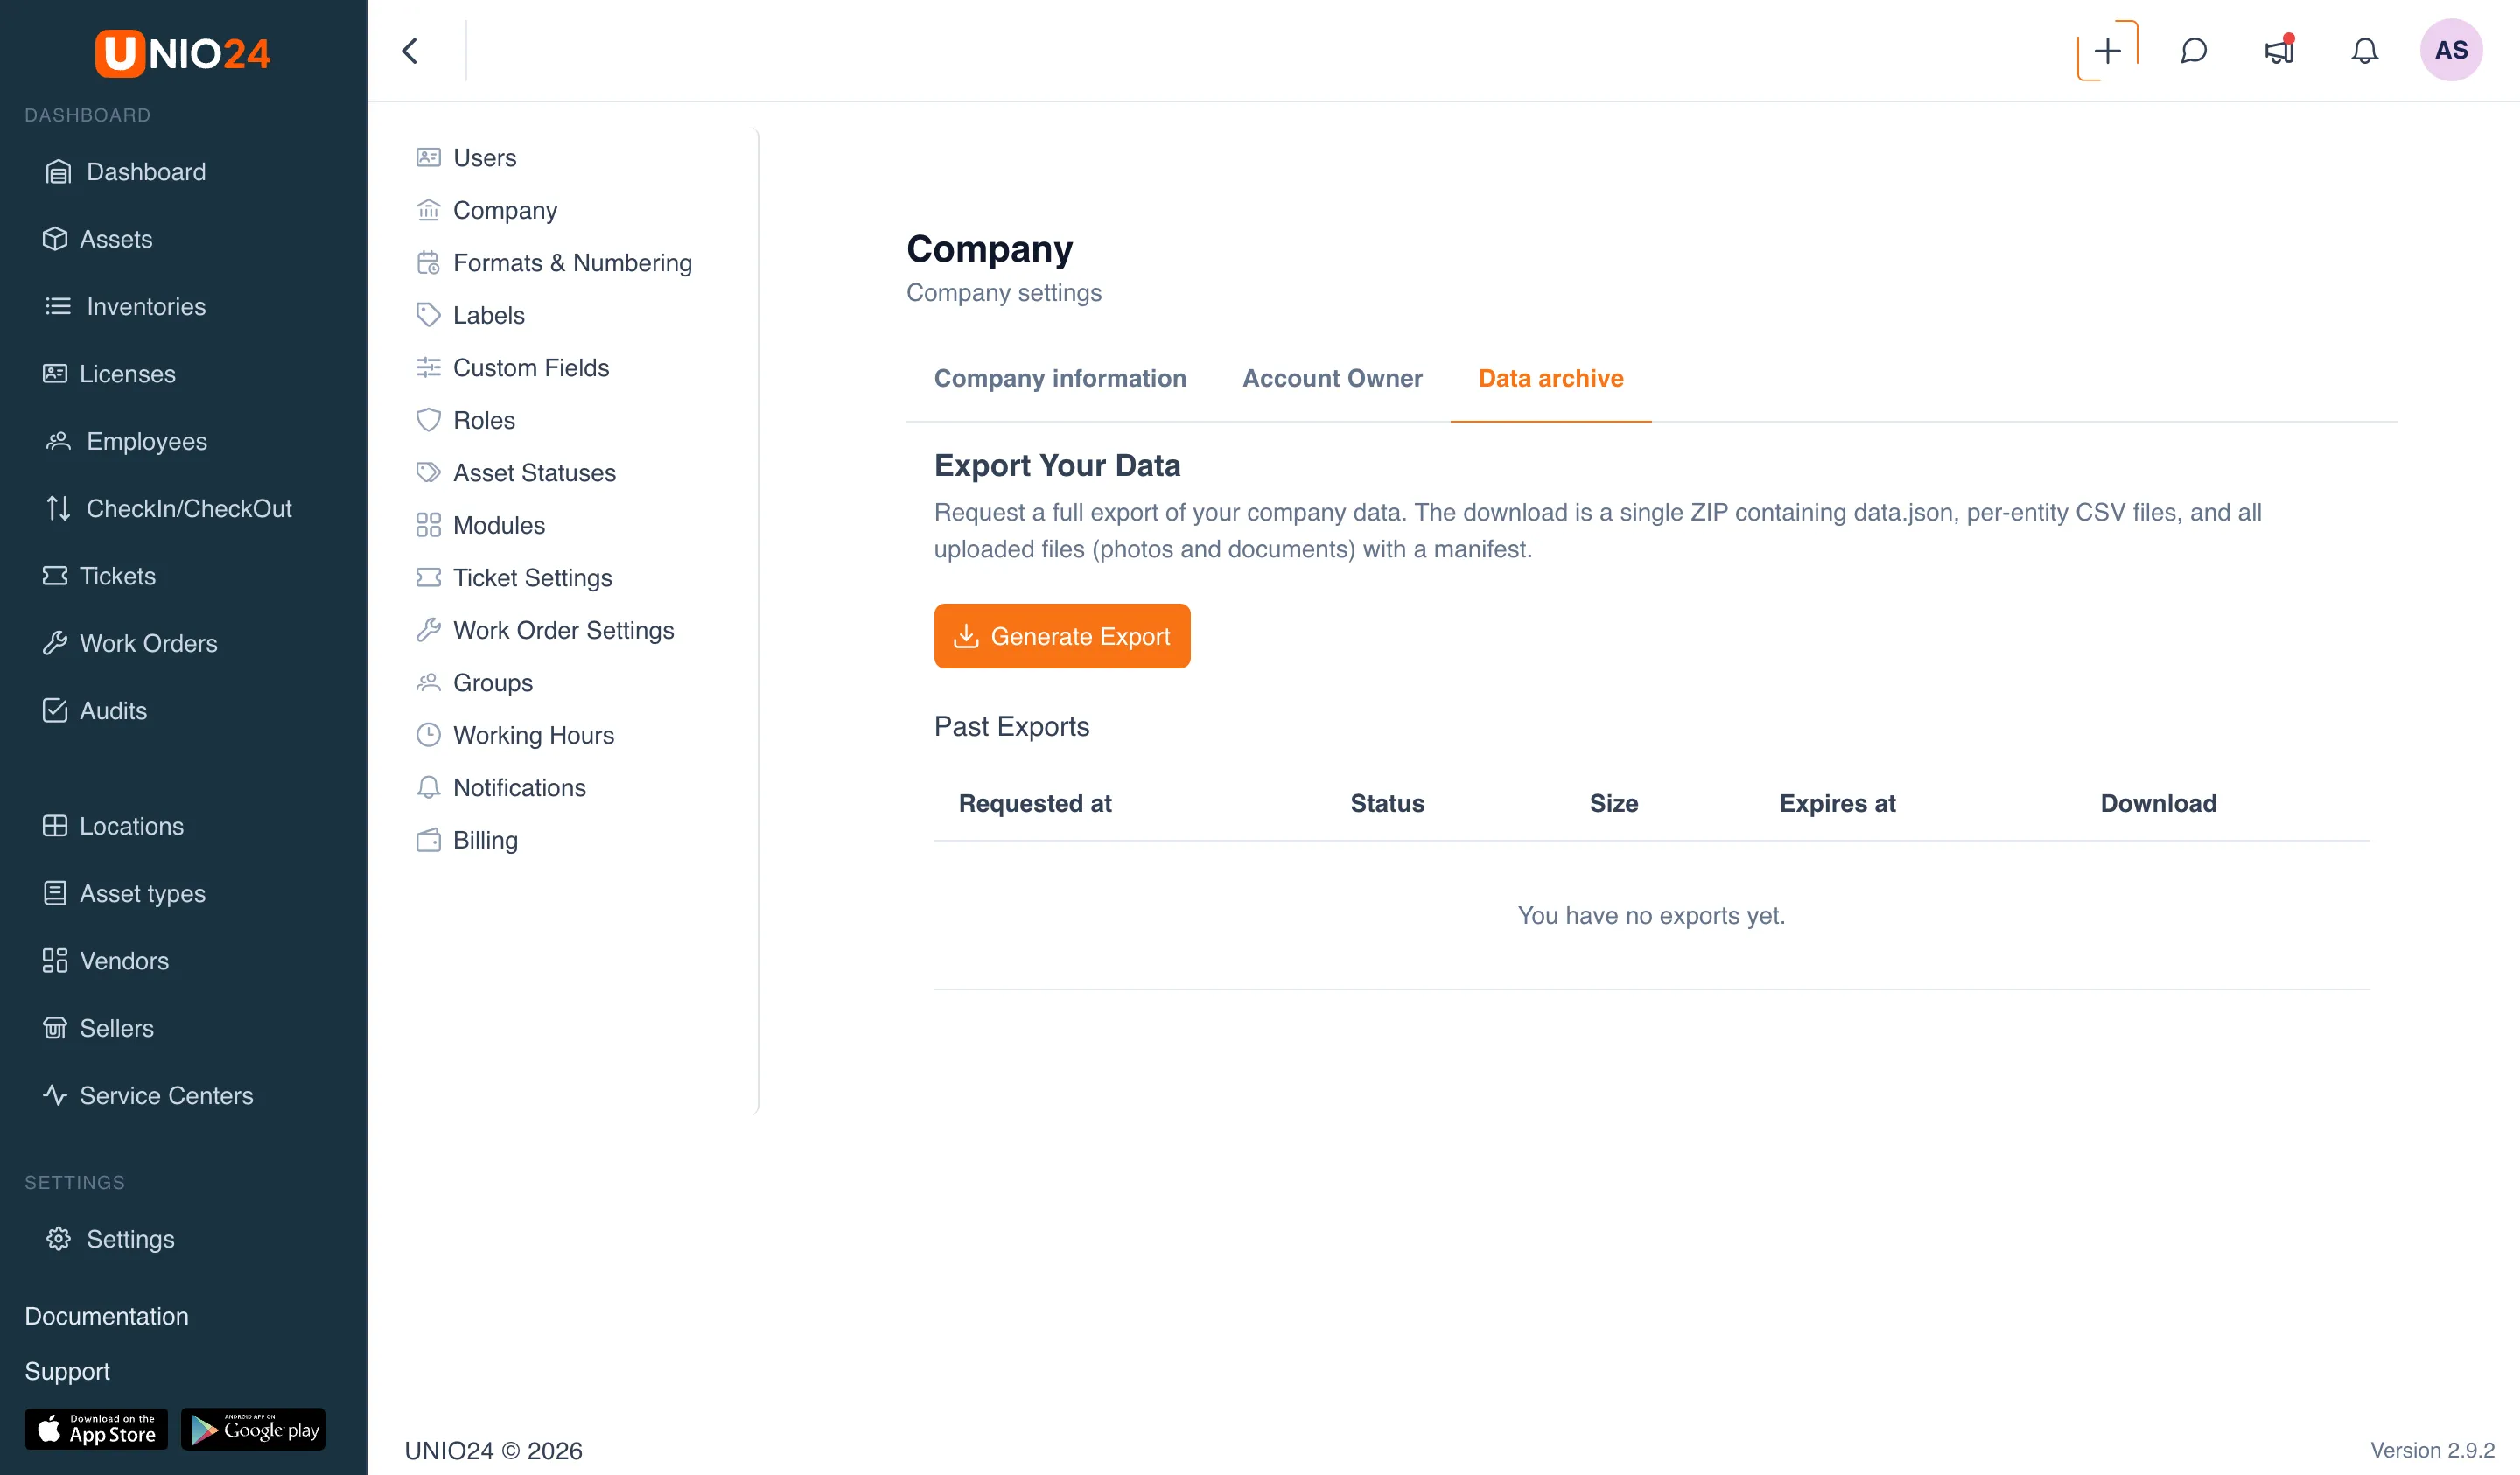
Data export produces a complete snapshot of all your company data as a single ZIP archive. It is suitable for audit, backup, or migration. It lives on the Settings → Company page, on the Data archive tab.
What is inside the archive
Section titled “What is inside the archive”The finished file is one ZIP archive that contains:
data.json— a complete snapshot of all data in a single file;- the
csv/folder — the same data as separate CSV files per entity (assets, employees, tickets, and so on); - the
files/folder — all uploaded files: photos and document attachments; files_manifest.csv— a manifest that ties each file in thefiles/folder to the record it is attached to.
You do not need to pick a format — the export is always produced as one such archive.
Generate an export
Section titled “Generate an export”Only the company owner can start an export. If you are not the owner, the button is disabled and a message appears at the top: This action is restricted to the company owner.
- Open Settings in the left menu.
- Go to Company and open the Data archive tab.
- In the Export Your Data section, click Generate Export.
- The export is produced in the background. A record for it appears in the Past Exports table below.
When the export is ready, the system sends a notification. You do not have to keep the page open — the list updates on its own.
Download an export
Section titled “Download an export”In the Past Exports table, each request shows:
- Requested at — when the export was started.
- Status — the current state: Pending, Processing, Ready, or Failed.
- Size — the size of the finished archive.
- Expires at — the time after which the download link stops working.
When the Status becomes Ready, click Download in the export’s row. The link is valid for a limited time — about 72 hours from when it becomes ready. After the value in the Expires at column, the record disappears from the history and the archive is deleted; to get the data again, generate a new export.
Managing demo data
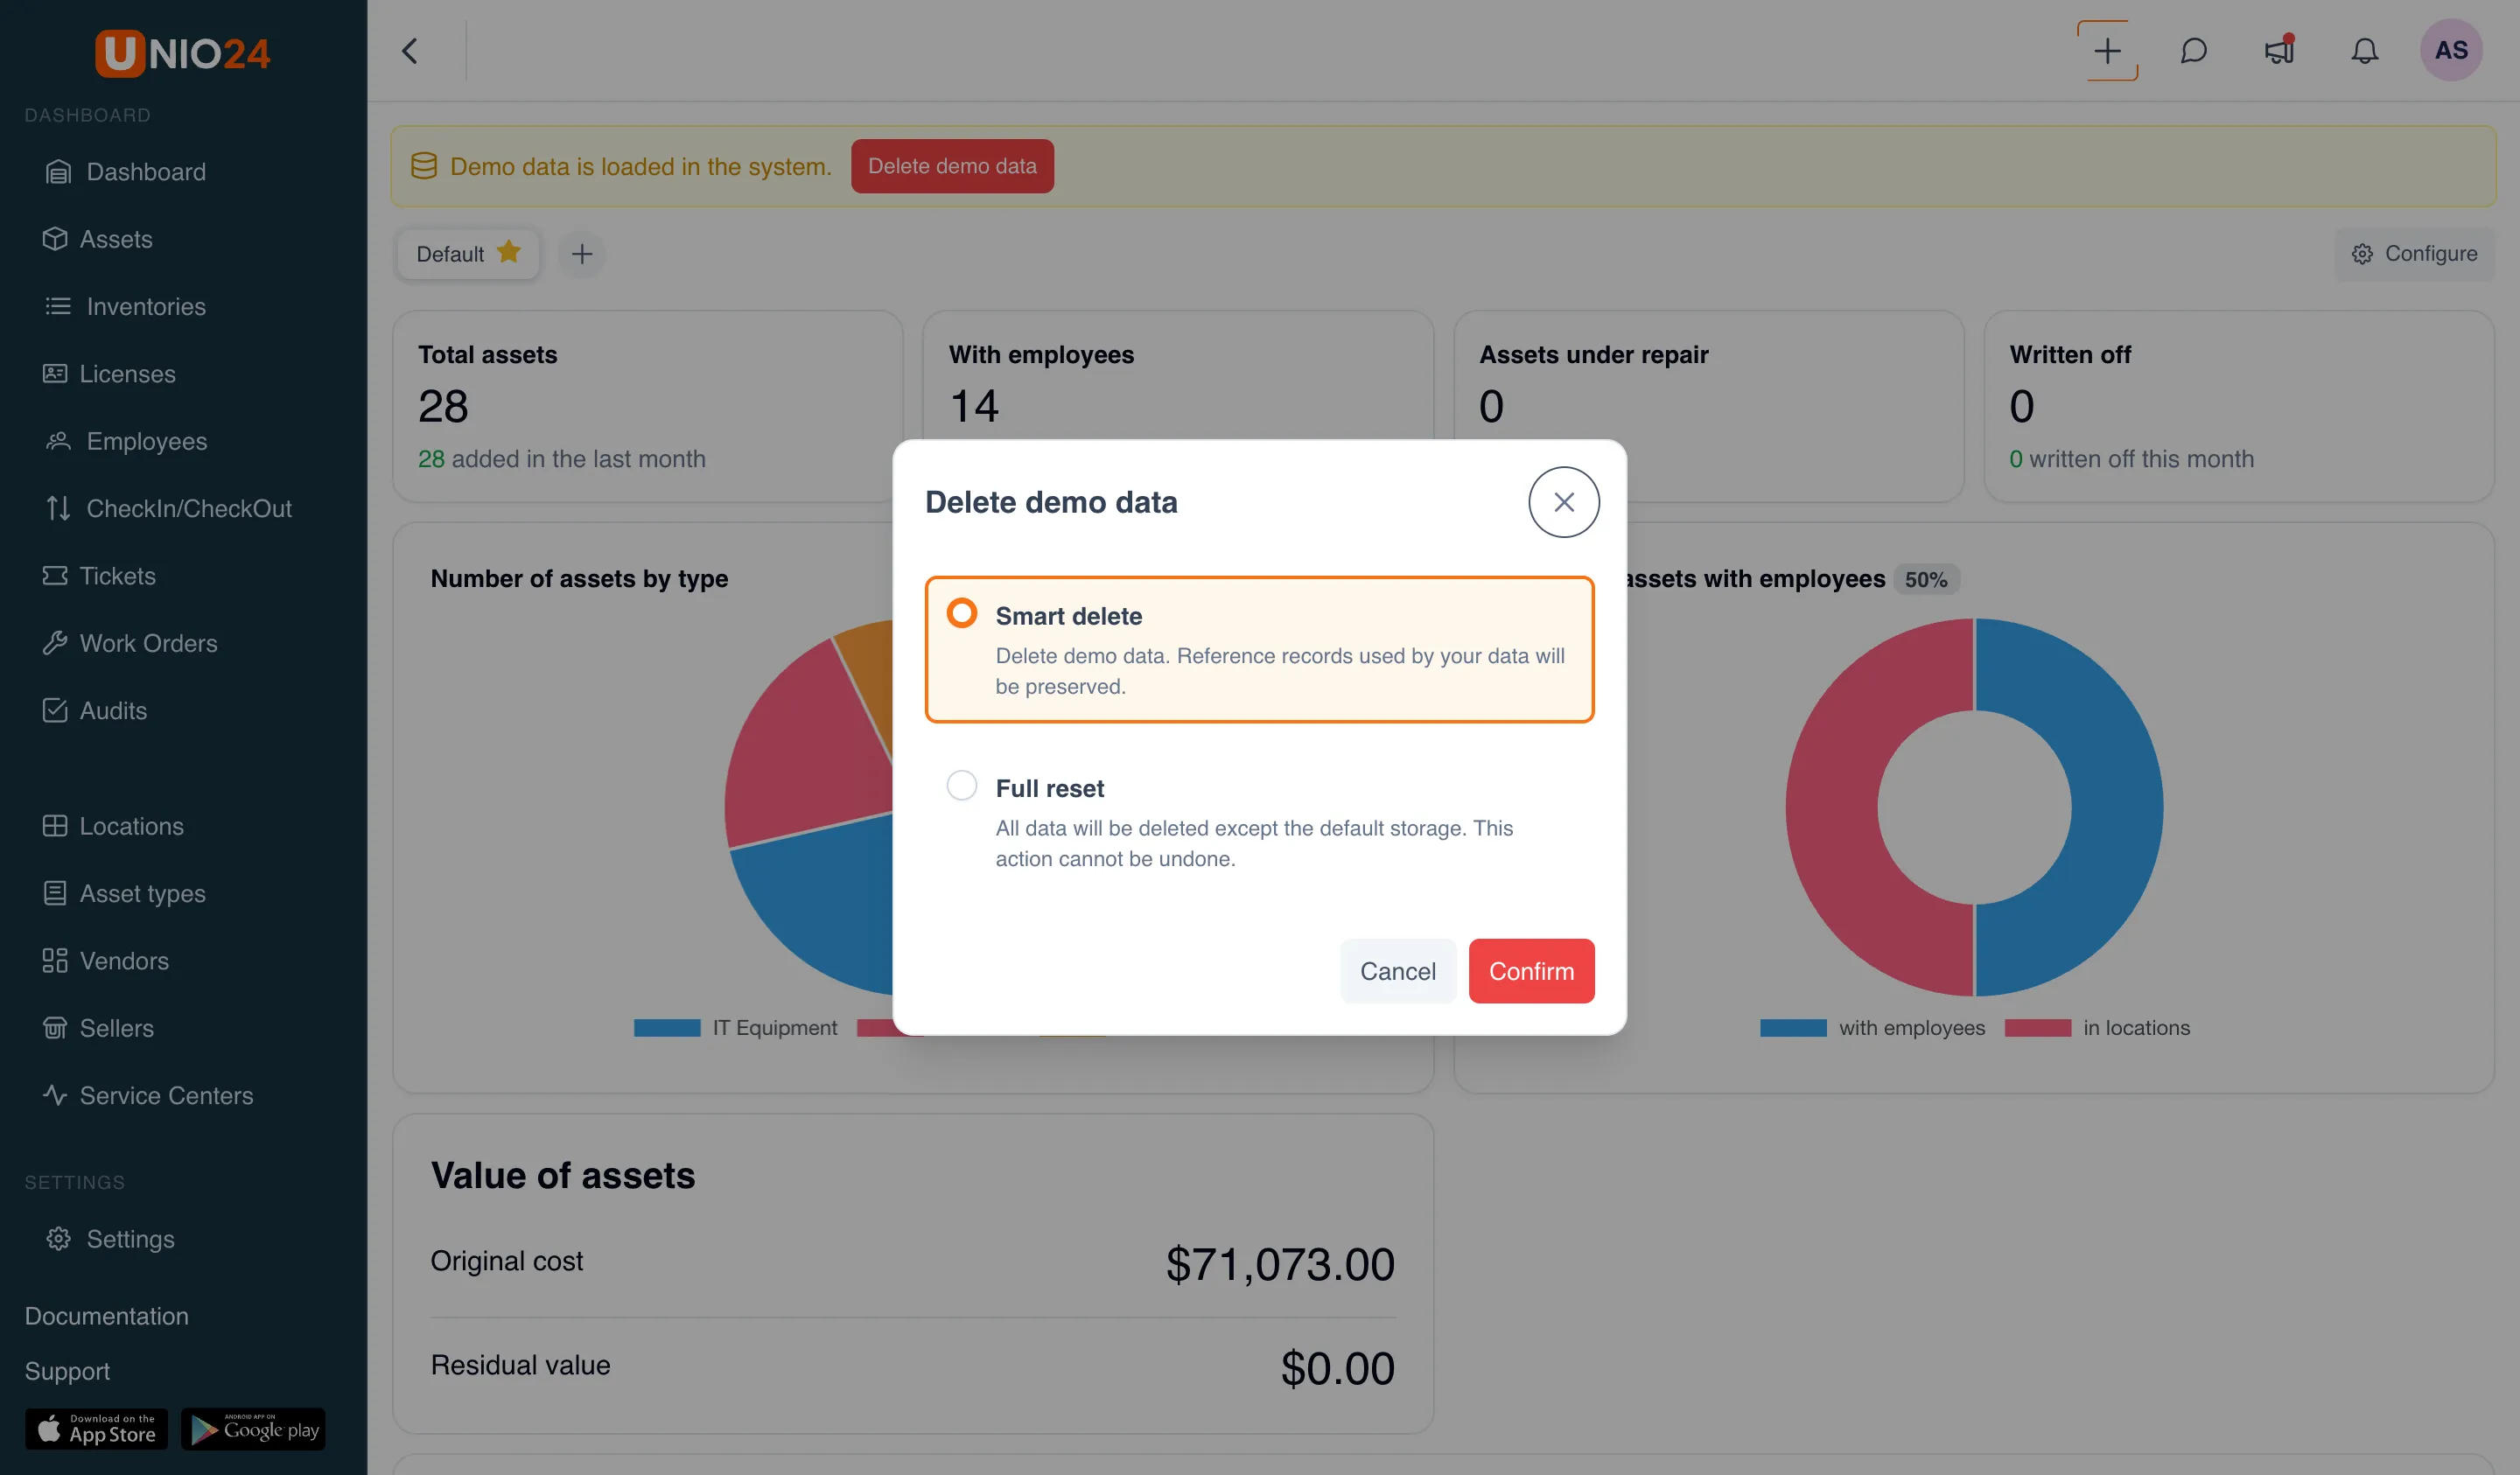
Section titled “Managing demo data”Demo data is removed not here, but on the Analytics page — the landing screen that opens right after you sign in. If you loaded it during first-time setup, a warning appears at the top of the Analytics section: Demo data is loaded in the system.
- Open the Analytics section.
- In the warning, click Delete demo data.
- In the dialog, pick one of the options:
- Smart delete — deletes the demo data but keeps the reference records that your own data relies on.
- Full reset — deletes all data except the default warehouse. This action cannot be undone.
- Click Confirm.