

Settings
For step-by-step instructions, see the guides Company settings and Directories and statuses. For the full list of pages with access conditions, see the Settings reference.
The Settings section is where the system is configured for a specific company. Which pages you actually see depends on two things: which modules are enabled and which permissions your role grants. That is why the settings menu looks different for different users.
How to open settings
Section titled “How to open settings”In the main menu on the left there is a Settings item. Inside, a separate menu of settings pages is shown on the left. The items of this menu are described below.
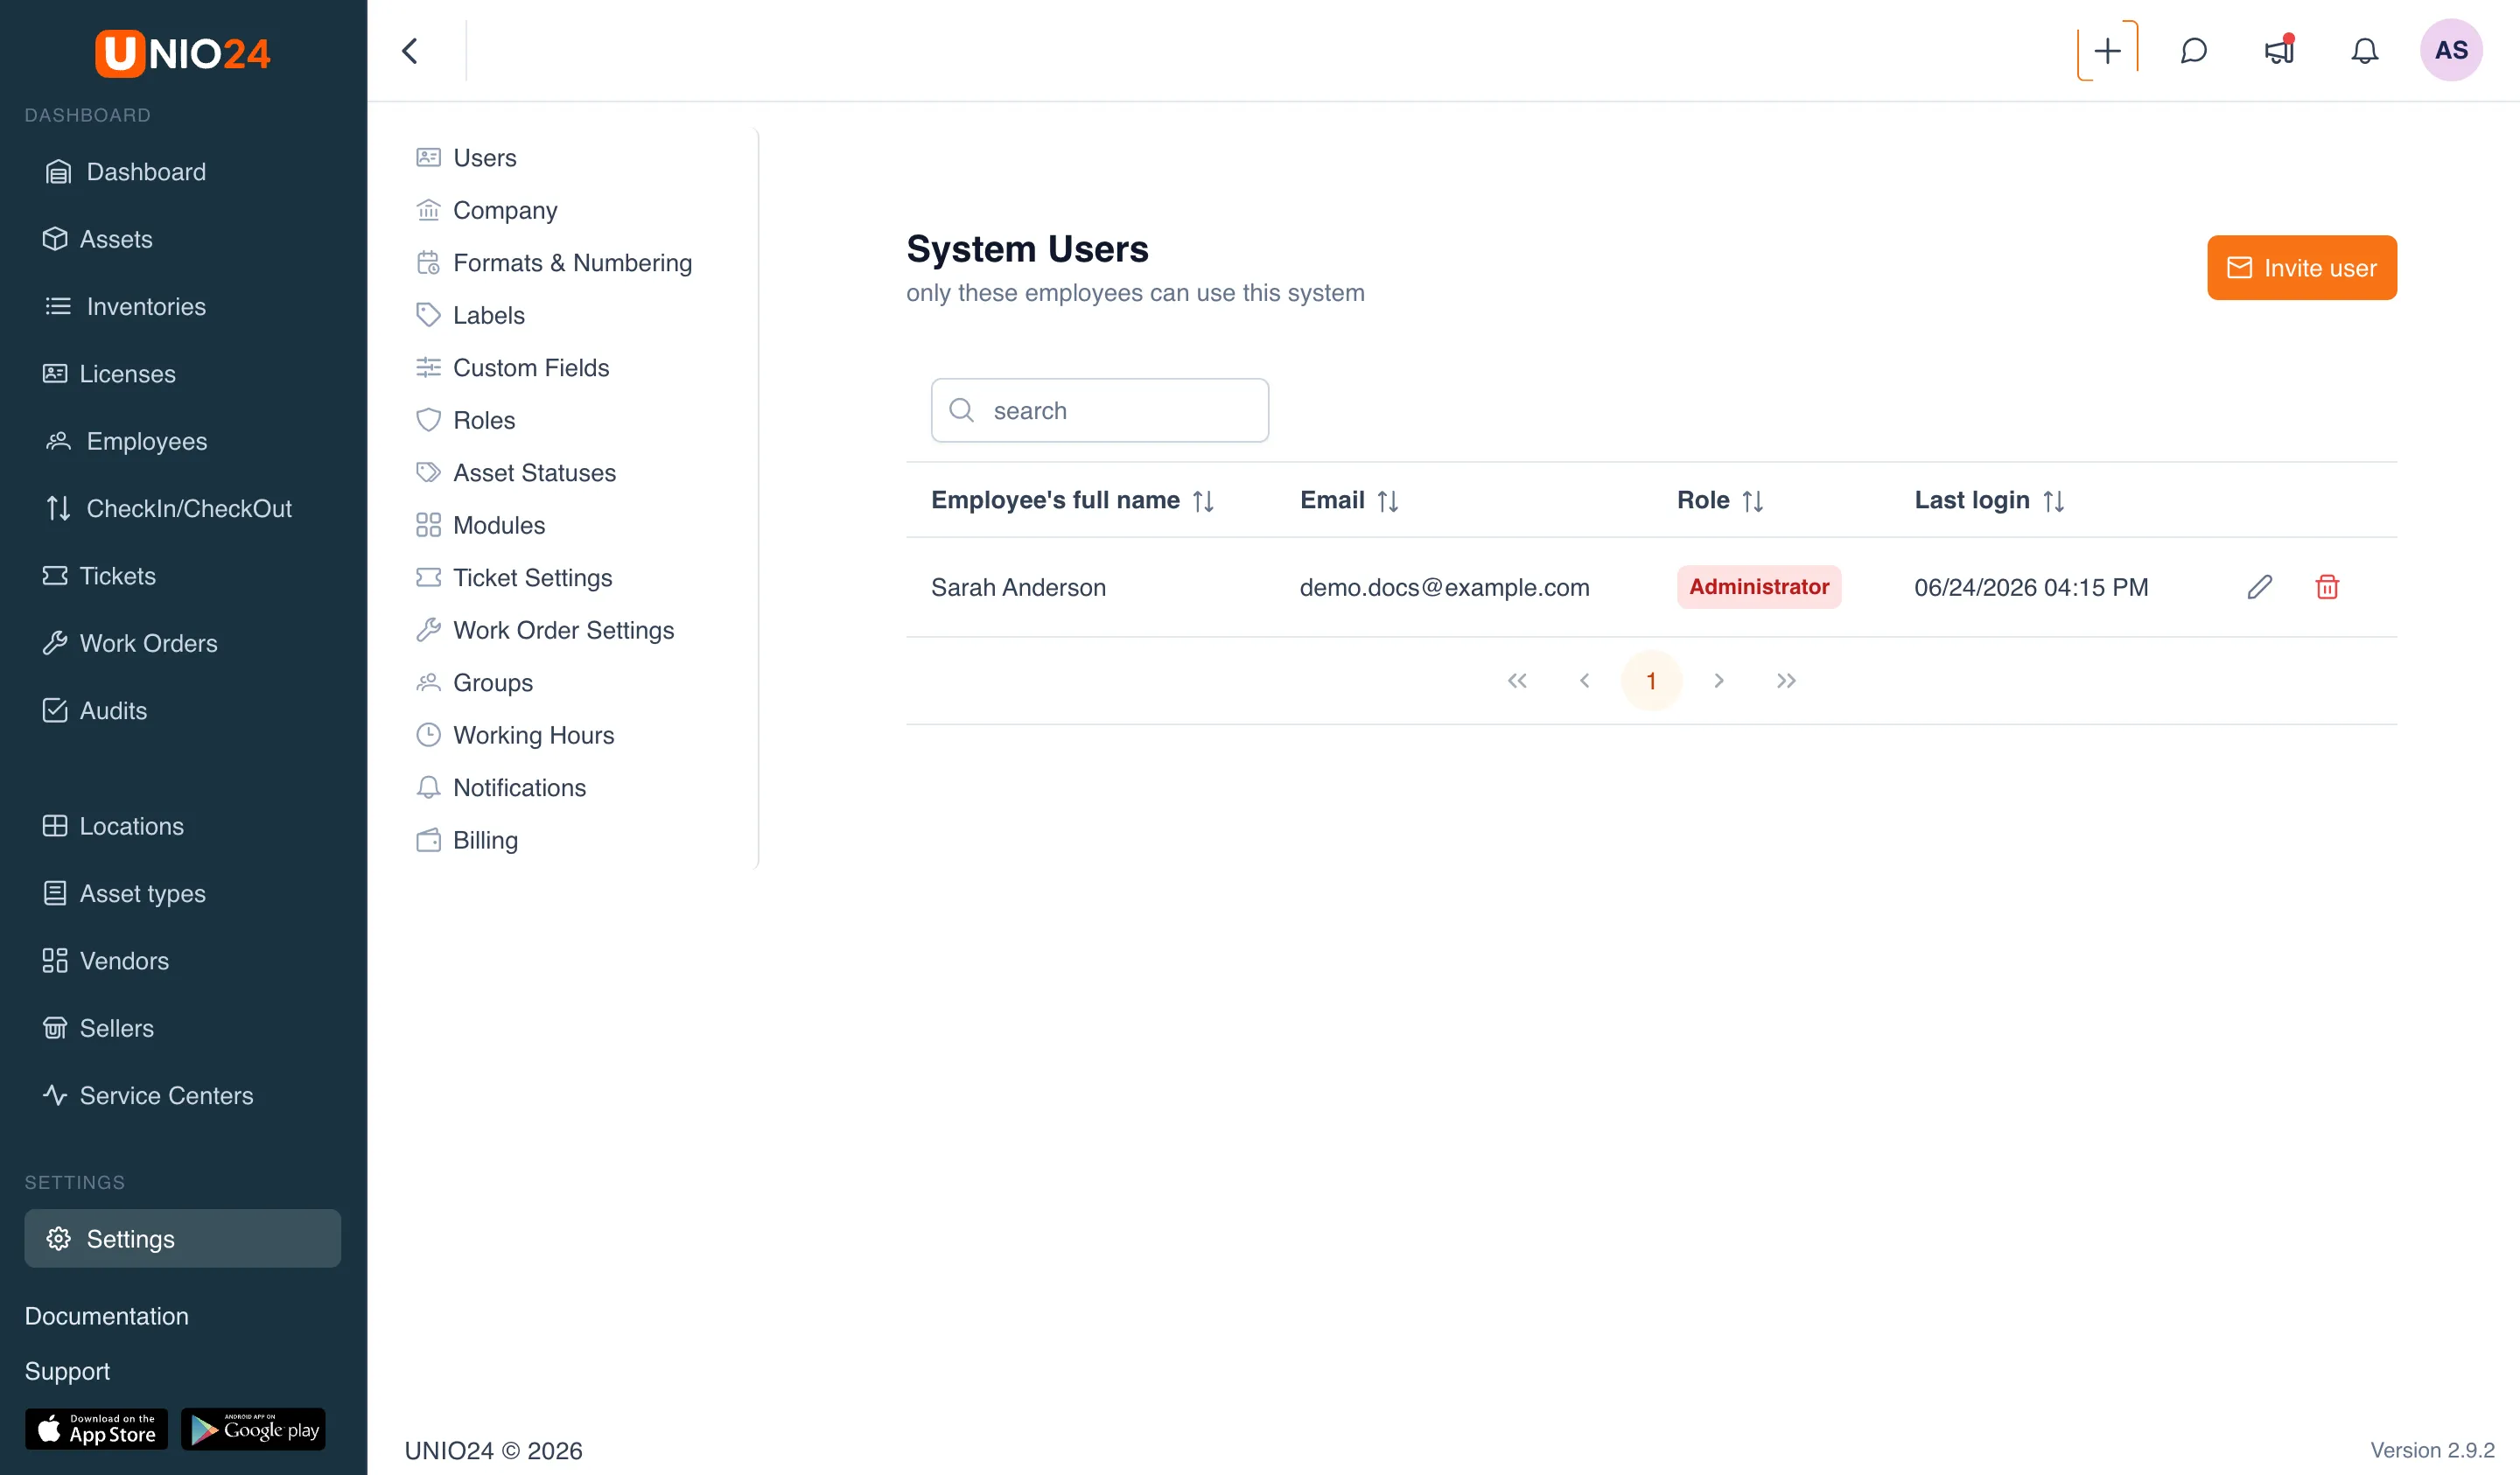
Pages in the section
Section titled “Pages in the section”The accounts of people who sign in to the system. Each user has a role that determines their permissions. Available with the permission to view users.
Company
Section titled “Company”The menu item is called Company, the page itself is titled Company settings and is split into three tabs: Company information (the organization’s details — name, registration number, address, country, currency), Account Owner (who owns the account and ownership transfer), and Data archive (export of all company data). For how to work with this, see the Company settings guide; for the export, see Data export.
Formats & Numbering
Section titled “Formats & Numbering”Regional display (time zone, date and time format) and automatic numbering of assets, transfer documents, and inventory items. For how to set it up, see the Company settings guide.
Labels
Section titled “Labels”Settings for the found-items page and label print templates. See Labels.
Custom Fields
Section titled “Custom Fields”Custom fields for assets, employees, and consumables. See Custom fields.
Sets of permissions that determine which sections, actions, and buttons a user sees. System roles are read-only; you can create your own. See Roles. Available with the permission to view roles.
Asset Statuses
Section titled “Asset Statuses”Lifecycle statuses, operational statuses, and asset conditions. For how to set it up, see the Directories and statuses guide.
Modules
Section titled “Modules”Enabling and disabling additional features (for example, tickets and work orders). See Modules. Available with the permission to edit settings.
Ticket Settings
Section titled “Ticket Settings”Categories, statuses, priorities, types, and SLA for tickets. The page appears only when the “Tickets” module is enabled. See Configuring tickets.
Work Order Settings
Section titled “Work Order Settings”Settings for the “Work Orders” module. The page appears only when the “Work Orders” module is enabled. See Work orders.
Groups
Section titled “Groups”User groups that tickets and work orders can be assigned to. The menu item is called Groups, the page is titled Service Groups. Available with the permission to view groups.
Working Hours
Section titled “Working Hours”Working time by day of the week and holidays. Used to calculate SLA deadlines for tickets and work orders. The page has two tabs — Business Hours and Holidays.
Notifications
Section titled “Notifications”The company’s notification delivery rules — which events to send and through which channels. Available with the permission to edit settings. See Notifications.
Billing
Section titled “Billing”Plan and payment. Opens the billing section outside the settings menu. Available with the permission to view billing.
Related settings
Section titled “Related settings”Business hours and holidays are configured on the Working Hours page (two tabs), and ticket auto-assignment is configured on the Routing tab of the Ticket Settings page. See Configuring tickets.
The Asset types, Vendors, and Service Centers directories are configured not in this section, but in the Directories group of the main menu. For how to manage them, see the Directories and statuses guide.