

Custom fields
If you need step-by-step instructions, see Managing custom fields. For the full list of types, dialog fields, and rules, see the Custom fields reference.
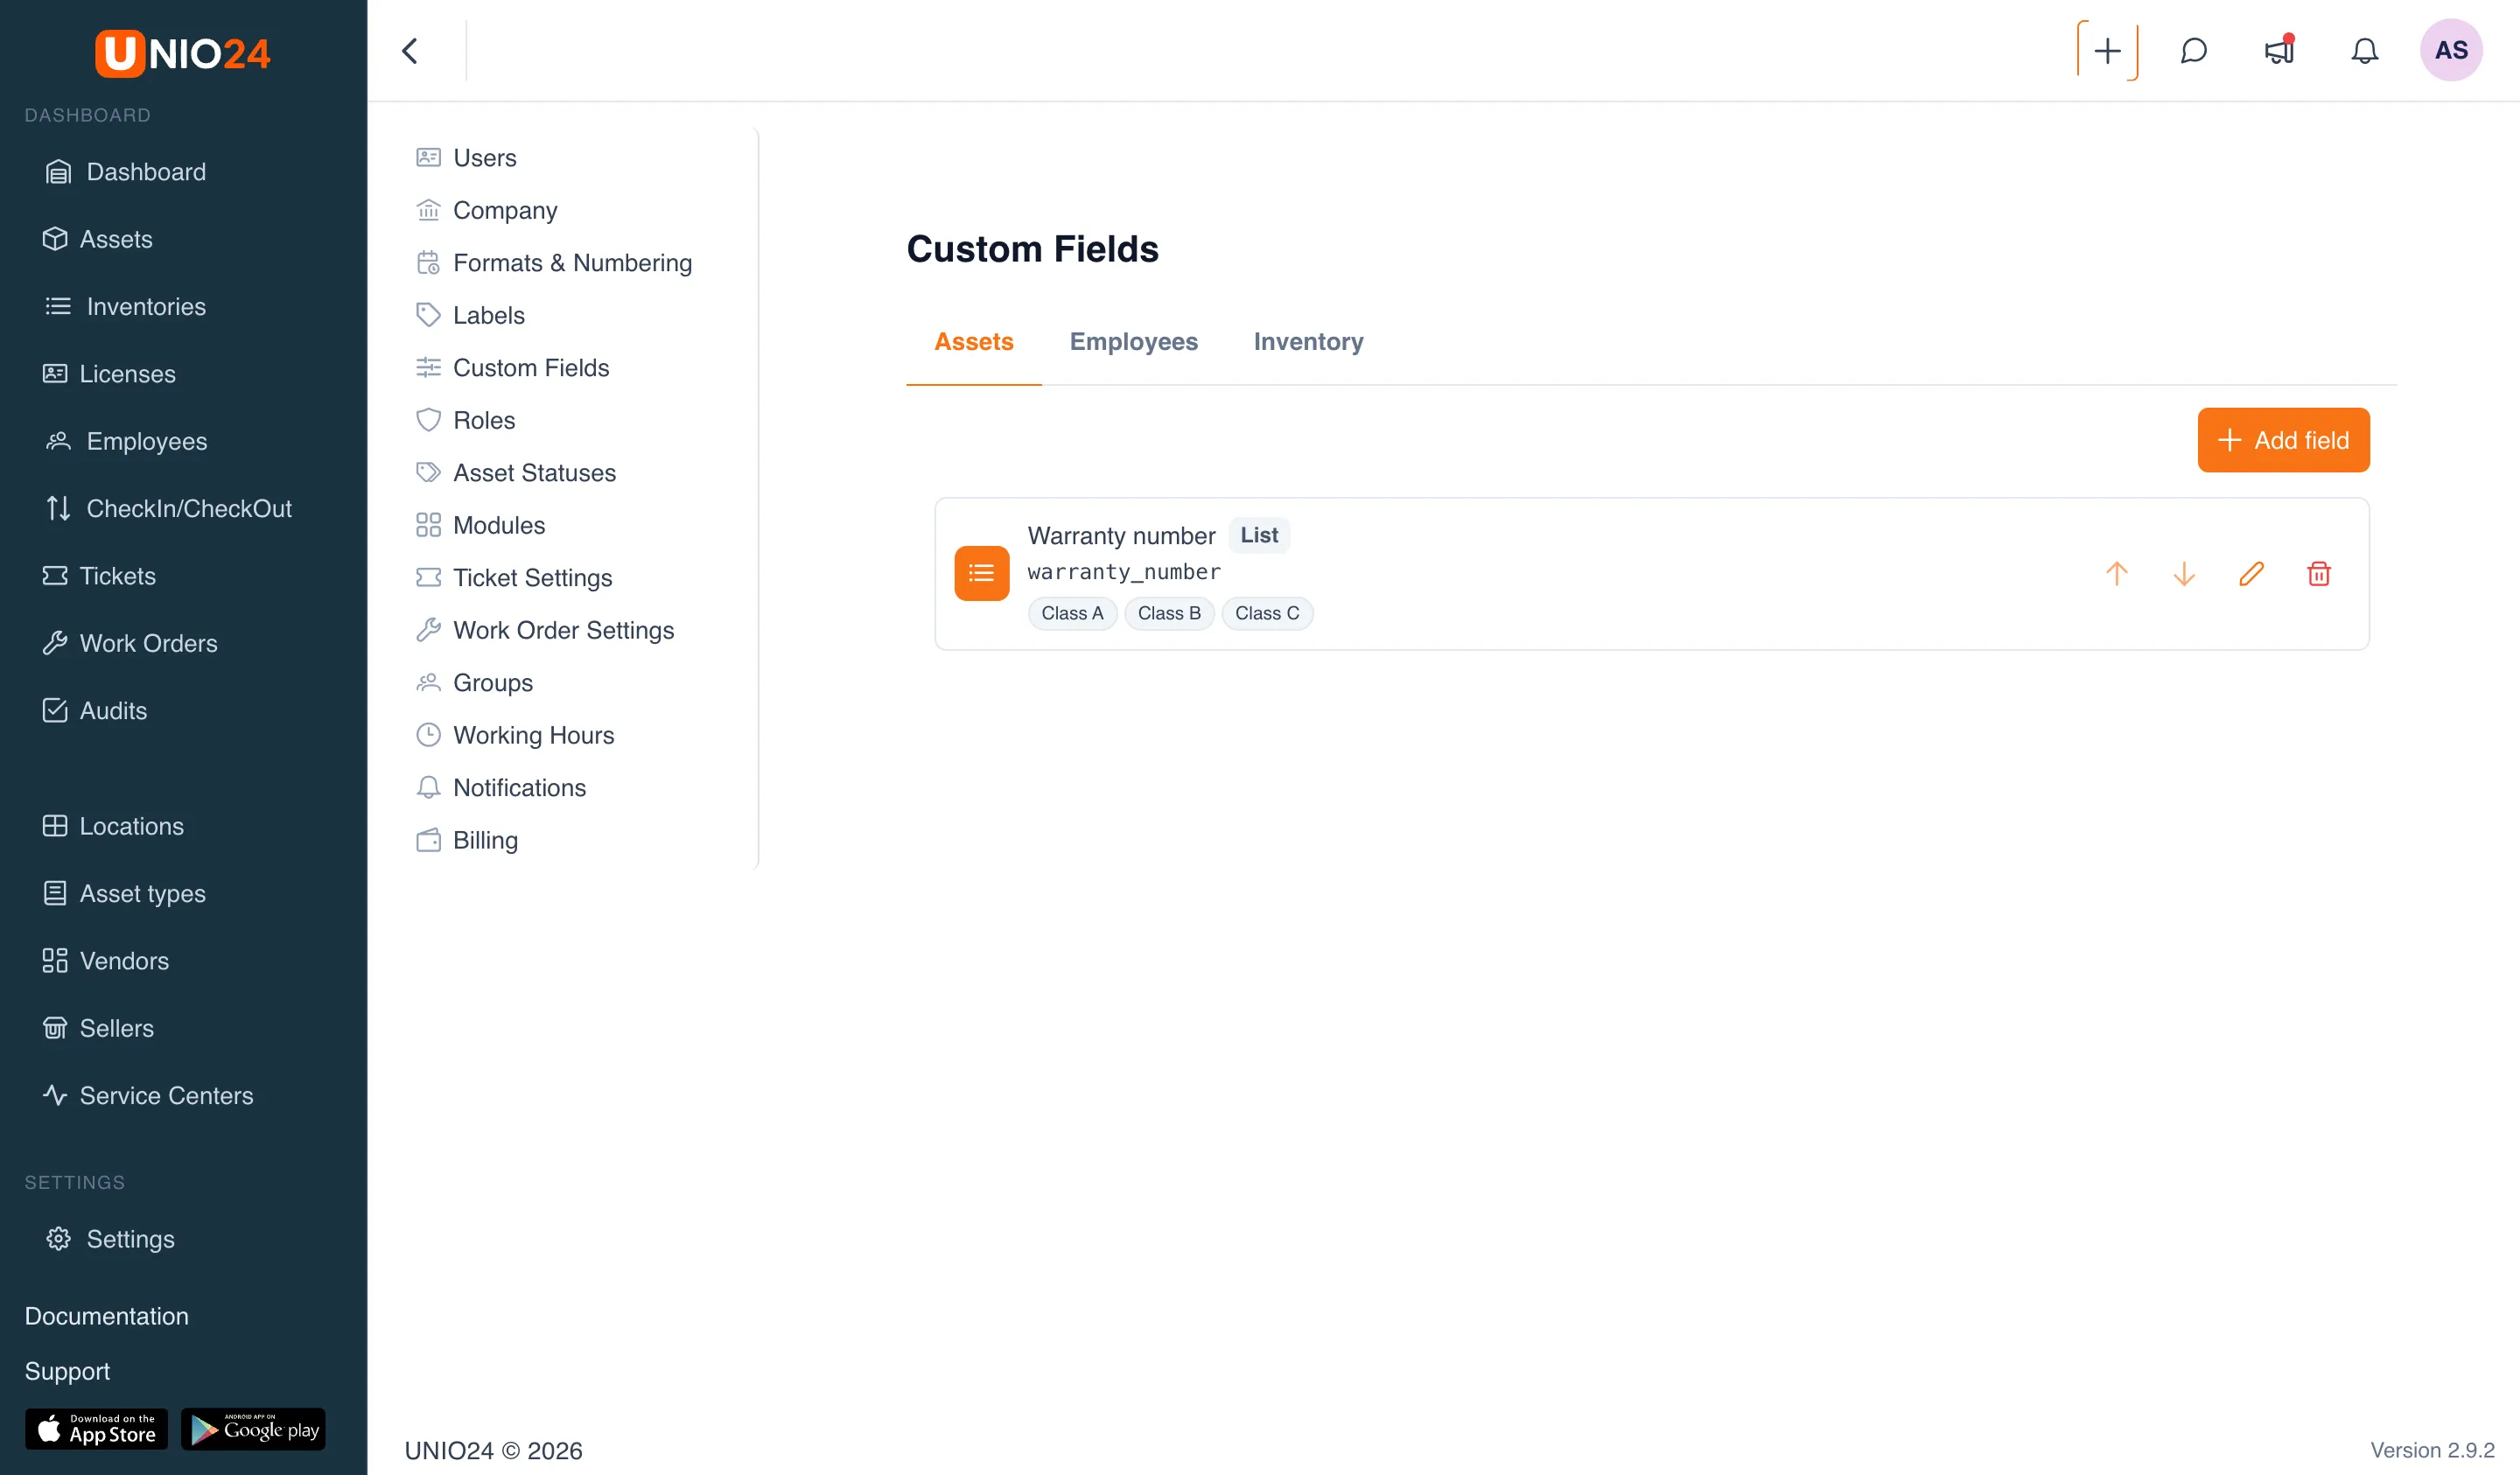
Custom fields let you add your own data to records that the standard forms do not have, without any development. They can be set up for assets, employees, and inventory — for example, a “Warranty number” on an asset or an “Inventory cabinet” on an inventory item. Fields are defined by the administrator in the Settings → Custom Fields section, and they are filled in when creating and editing the records themselves; filled-in values are also visible on those records’ cards.
Which entities support custom fields
Section titled “Which entities support custom fields”Custom fields are defined separately for each entity type. On the settings page they are split into tabs:
- Assets
- Employees
- Inventory
A field created on one tab applies only to that entity. For example, a field on the Employees tab appears in employee forms and does not affect assets.
Scoping by asset type
Section titled “Scoping by asset type”For the Assets and Inventory entities, a field can be scoped to a single asset type through the Scope by asset type setting. If you leave it empty, the field applies to all types.
This way different asset types can have their own sets of fields: for example, the “Warranty number” field only for laptops. Fields of the Employees entity do not have this scoping and always apply to all employees.
The key and type cannot be changed
Section titled “The key and type cannot be changed”Each field has a Field key (internal name) — an identifier under which values are stored in the system. The key and Field type are fixed at creation: after the field is saved, they cannot be changed, and the key and type fields in the dialog become unavailable for editing. The other properties (label, required, active, list options) can be changed at any time.
This is done so that already-saved values do not become inconsistent with the field definition. If the key or type needs to be changed, the field is deleted and created again.
Required and inactive fields
Section titled “Required and inactive fields”A field can be made required — then a record cannot be saved until the field is filled in. In the form, there is an asterisk next to the name of such a field.
A field can be made inactive by clearing the Active checkbox. An inactive field is hidden from forms, but the values already entered are kept — this is a way to remove a field without losing data and without deleting it.
How filled-in values are displayed
Section titled “How filled-in values are displayed”Filled-in custom fields are shown on the asset, employee, or inventory card as a separate block. Empty fields are not displayed on the card. The value is formatted by the field type:
- Date and Date and time — in your company’s date and time format.
- Yes / No — with a ✓ (yes) or ✗ (no) icon.
- List — with the name of the selected option (not its internal value).
- Text and Number — as entered.
For details on the types and behavior, see the Custom fields reference.