

Directories and statuses
These tasks are performed by an administrator. For an overview of the whole settings section, see Settings. For the full list of pages with access conditions, see the Settings reference.
The Asset types, Vendors, and Service Centers directories are not in the settings section but in the Directories group of the left main menu. The Asset Statuses page belongs to the Settings section.
In each directory, records can be viewed, added, edited (pencil), and deleted (trash). A record cannot be deleted while assets are linked to it — the Number of assets field shows how many there are.
Asset types
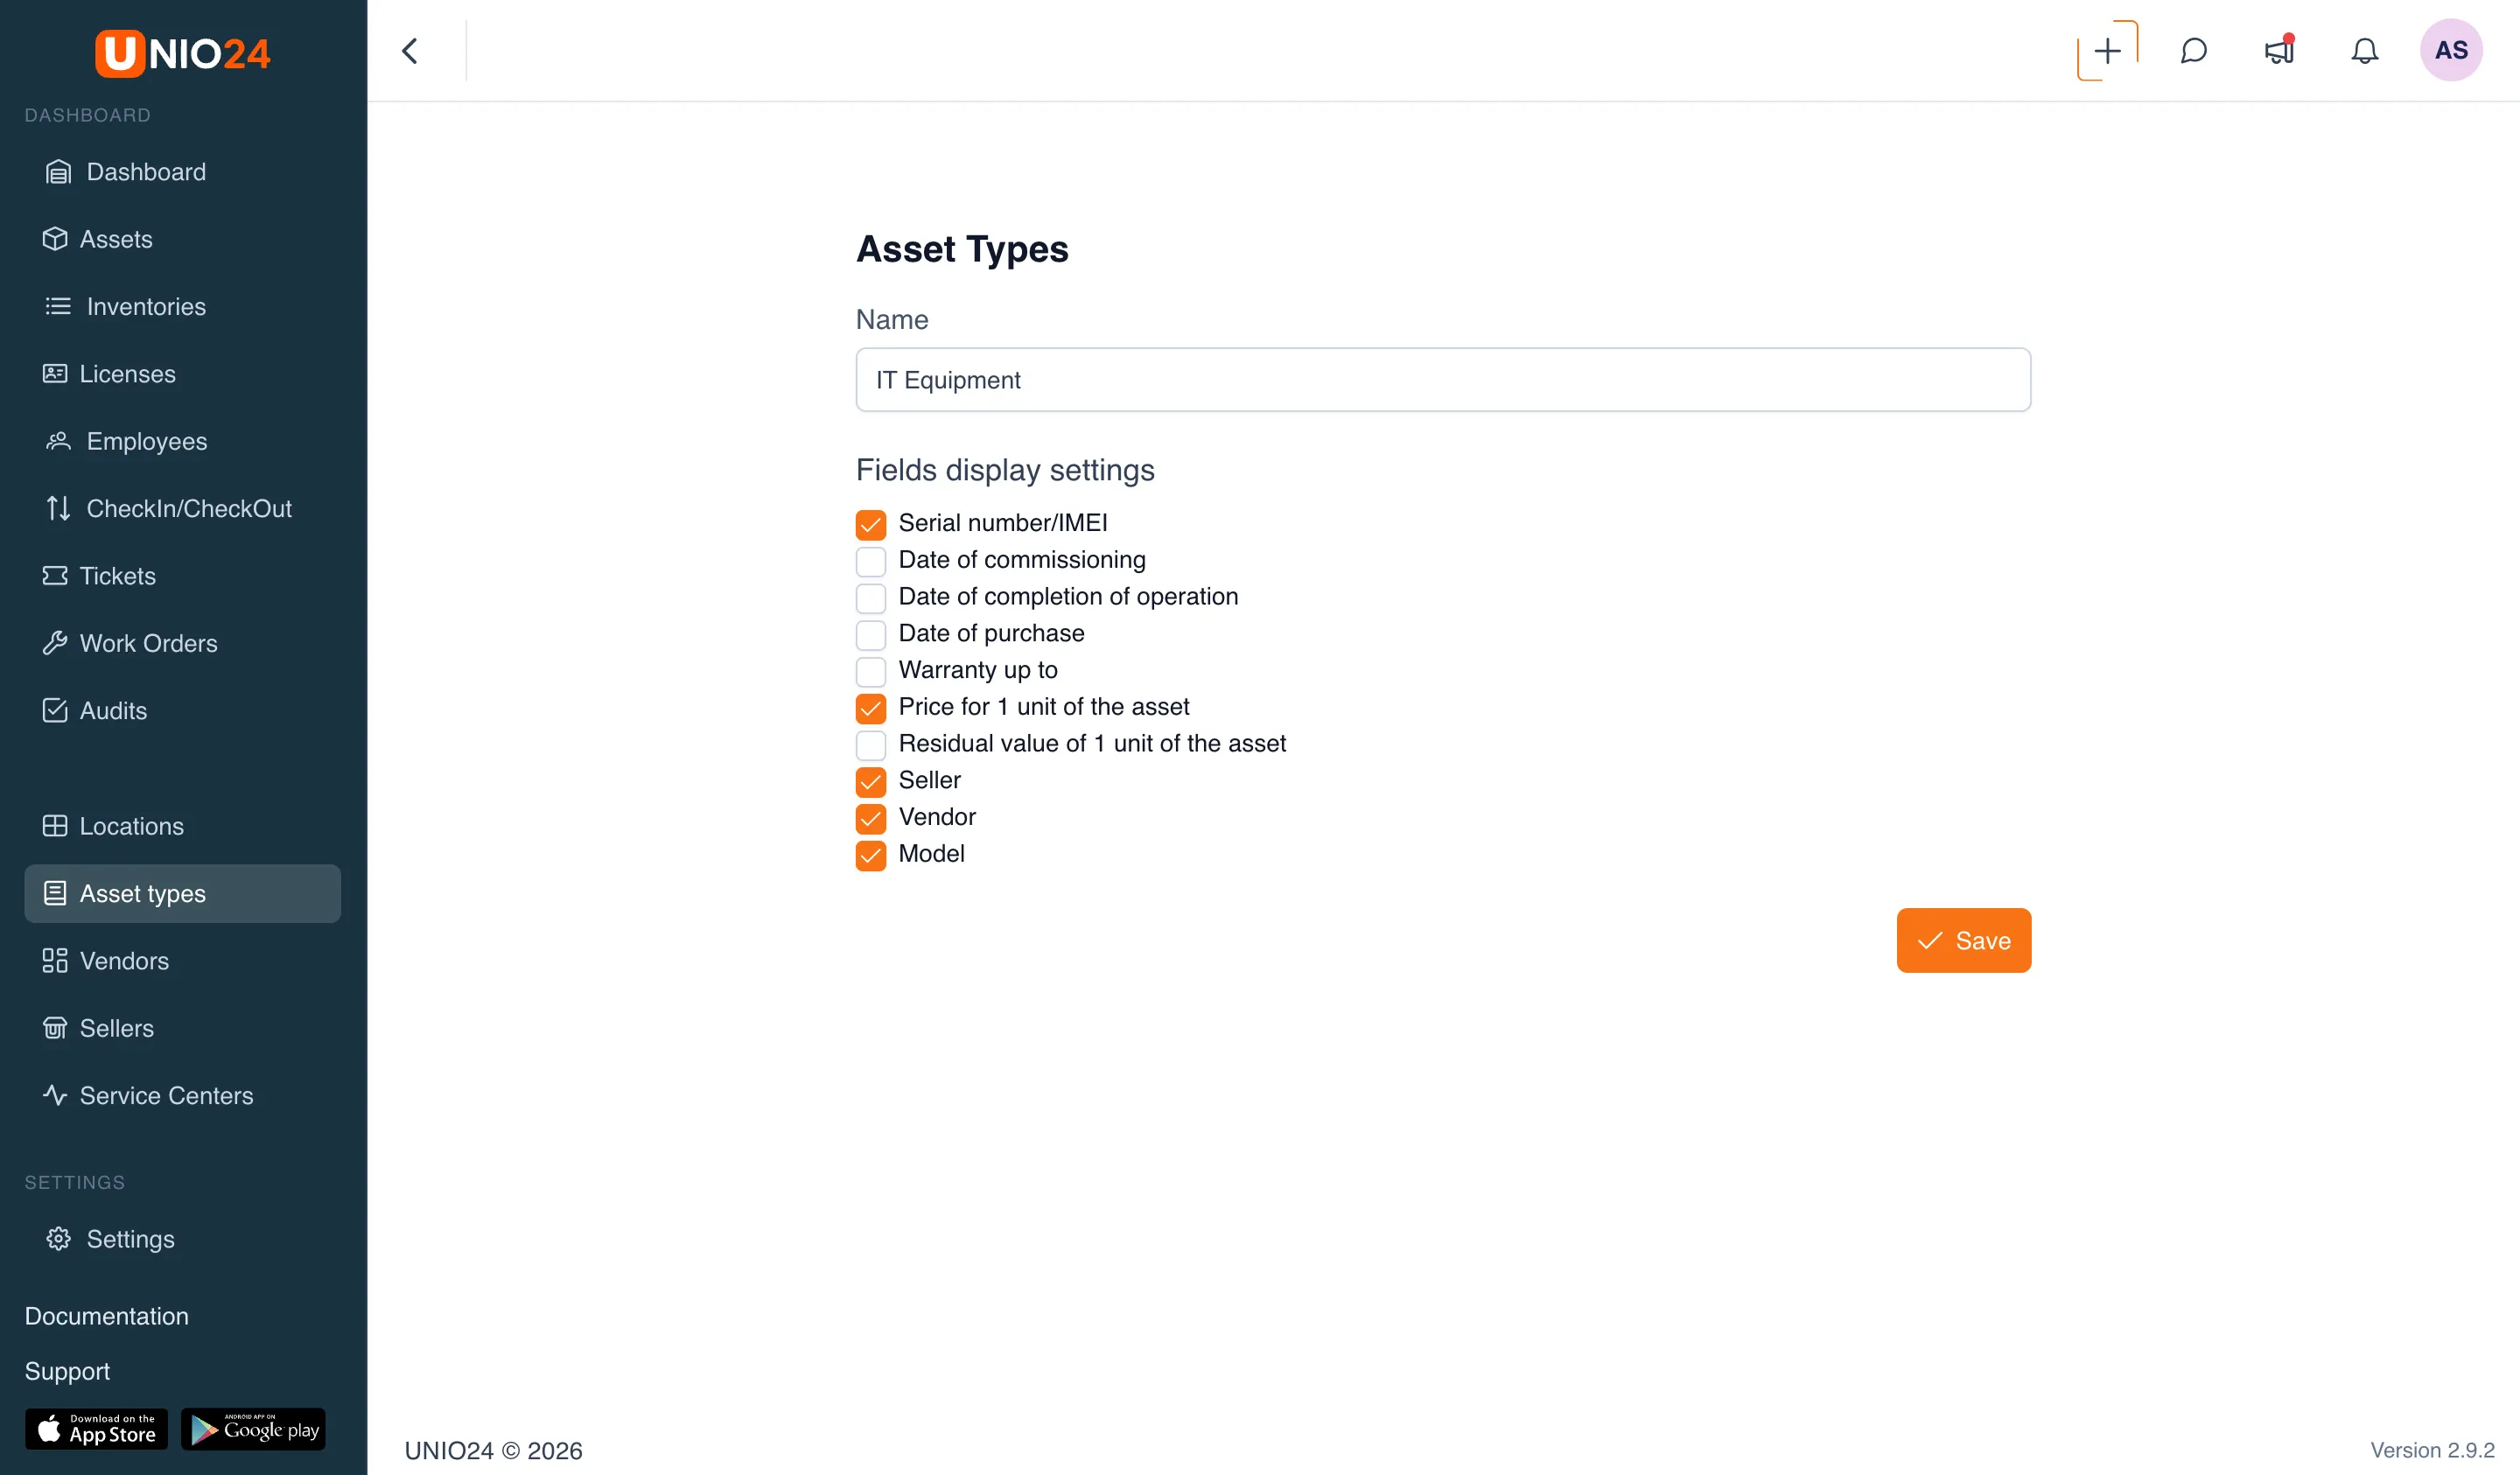
Section titled “Asset types”Asset types classify assets (for example, furniture, computer equipment, tools). Each type has a field display setting — it defines which fields are shown when creating and editing an asset of that type. This is a preset set of fields: the most common asset attributes (serial number, dates, price, seller, vendor, model, and others). For each type you enable the ones you need, and fields that aren’t in the set are created as custom fields.
- In the left main menu, open the Directories group → Asset types.
- Click Add new type.
- Specify the Name of the type.
- In the Fields display settings block, enable the fields needed for this type:
- Serial number/IMEI
- Commissioning date
- Date of completion of operation
- Date of purchase
- Warranty up to
- Price for 1 unit of the asset
- Residual value of 1 unit of the asset
- Number of units of the asset
- Seller
- Vendor
- Model
- Save the type.
Hiding a field does not delete the data already entered — the field is simply not shown. If you later re-enable the field, the previous values come back.
Vendors
Section titled “Vendors”Vendors are the manufacturers and suppliers of assets.
- In the left main menu, open the Directories group → Vendors.
- Click Add.
- Fill in the fields:
- Name
- Description
- Address
- Save the record.
Service centers
Section titled “Service centers”Service centers are the organizations that perform maintenance and warranty and post-warranty repairs.
- In the left main menu, open the Directories group → Service Centers.
- Click Add a new service center.
- Fill in the Service name, Description, and Address.
- Save the record.
Service centers also support “lazy creation” — a new center can be added right when an asset is sent for service.
Asset statuses and conditions
Section titled “Asset statuses and conditions”The Asset Statuses page configures the values used to describe the state of assets. It has three tabs: Lifecycle Statuses, Operational Statuses, and Asset Conditions.
- In the left main menu, open the Settings section.
- Select the Asset Statuses page.
- At the top, switch between the Lifecycle Statuses, Operational Statuses, and Asset Conditions tabs.
Records are marked as System or Custom. System records are read-only — they cannot be changed or deleted. You can add, edit, and delete your own records.
Lifecycle
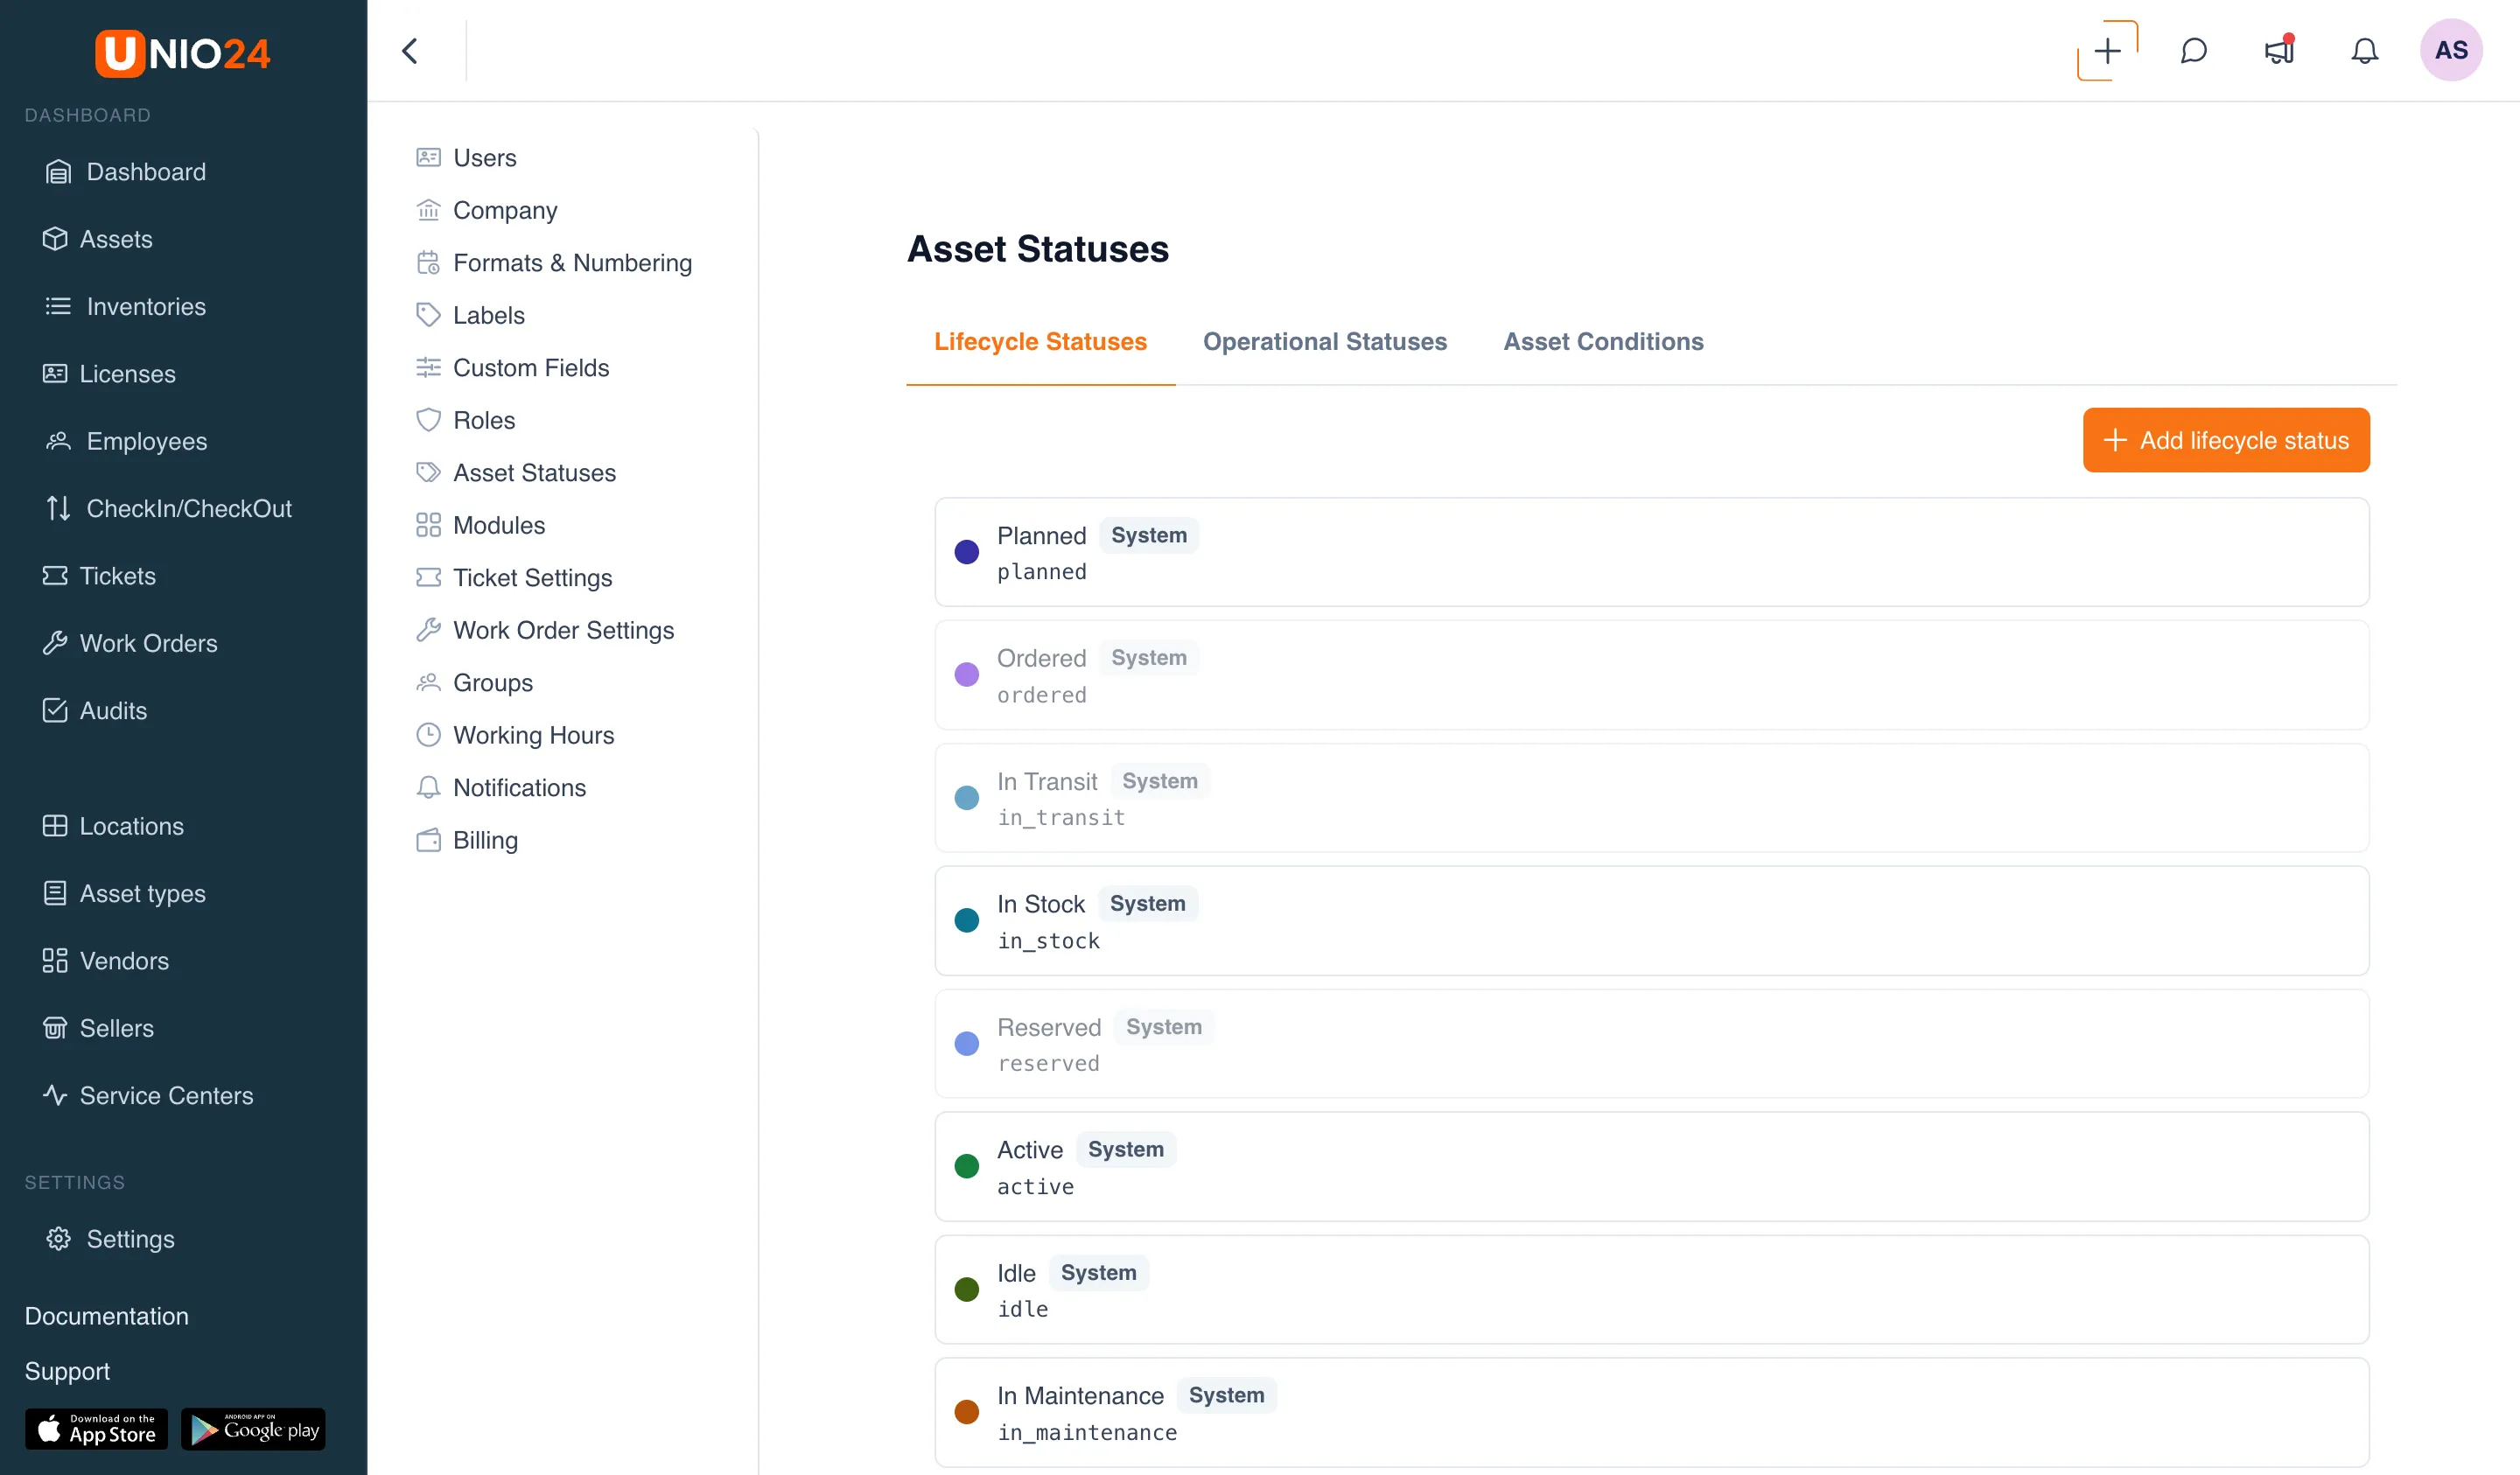
Section titled “Lifecycle”The Lifecycle Statuses tab defines the stage of an asset’s life. Default system values: Planned, Ordered, In Transit, In Stock, Reserved, Active, Idle, In Maintenance, Under Audit, Leased, Lost, Stolen, Pending Disposal, Retired, Disposed.
To add your own status, click Add lifecycle status and fill in the Name, Code, and Color. The Preview block shows how the badge will look in lists.
Operational statuses
Section titled “Operational statuses”The Operational Statuses tab defines a more precise state within a lifecycle stage (for example, for the “In Maintenance” status — Scheduled Maintenance, Unscheduled Repair, Awaiting Parts). First select a lifecycle status on the left, then add operational statuses to it with the Add operational status button. The fields are the same: Name, Code, and Color.
Asset conditions
Section titled “Asset conditions”The Asset Conditions tab defines the physical condition values recorded at check-in and during audits. Default system values: New, Good, Satisfactory, Poor, Damaged, Non-functional.
To add your own condition, click Add condition and fill in the Name, Code, and Color.