Creating and handling tickets
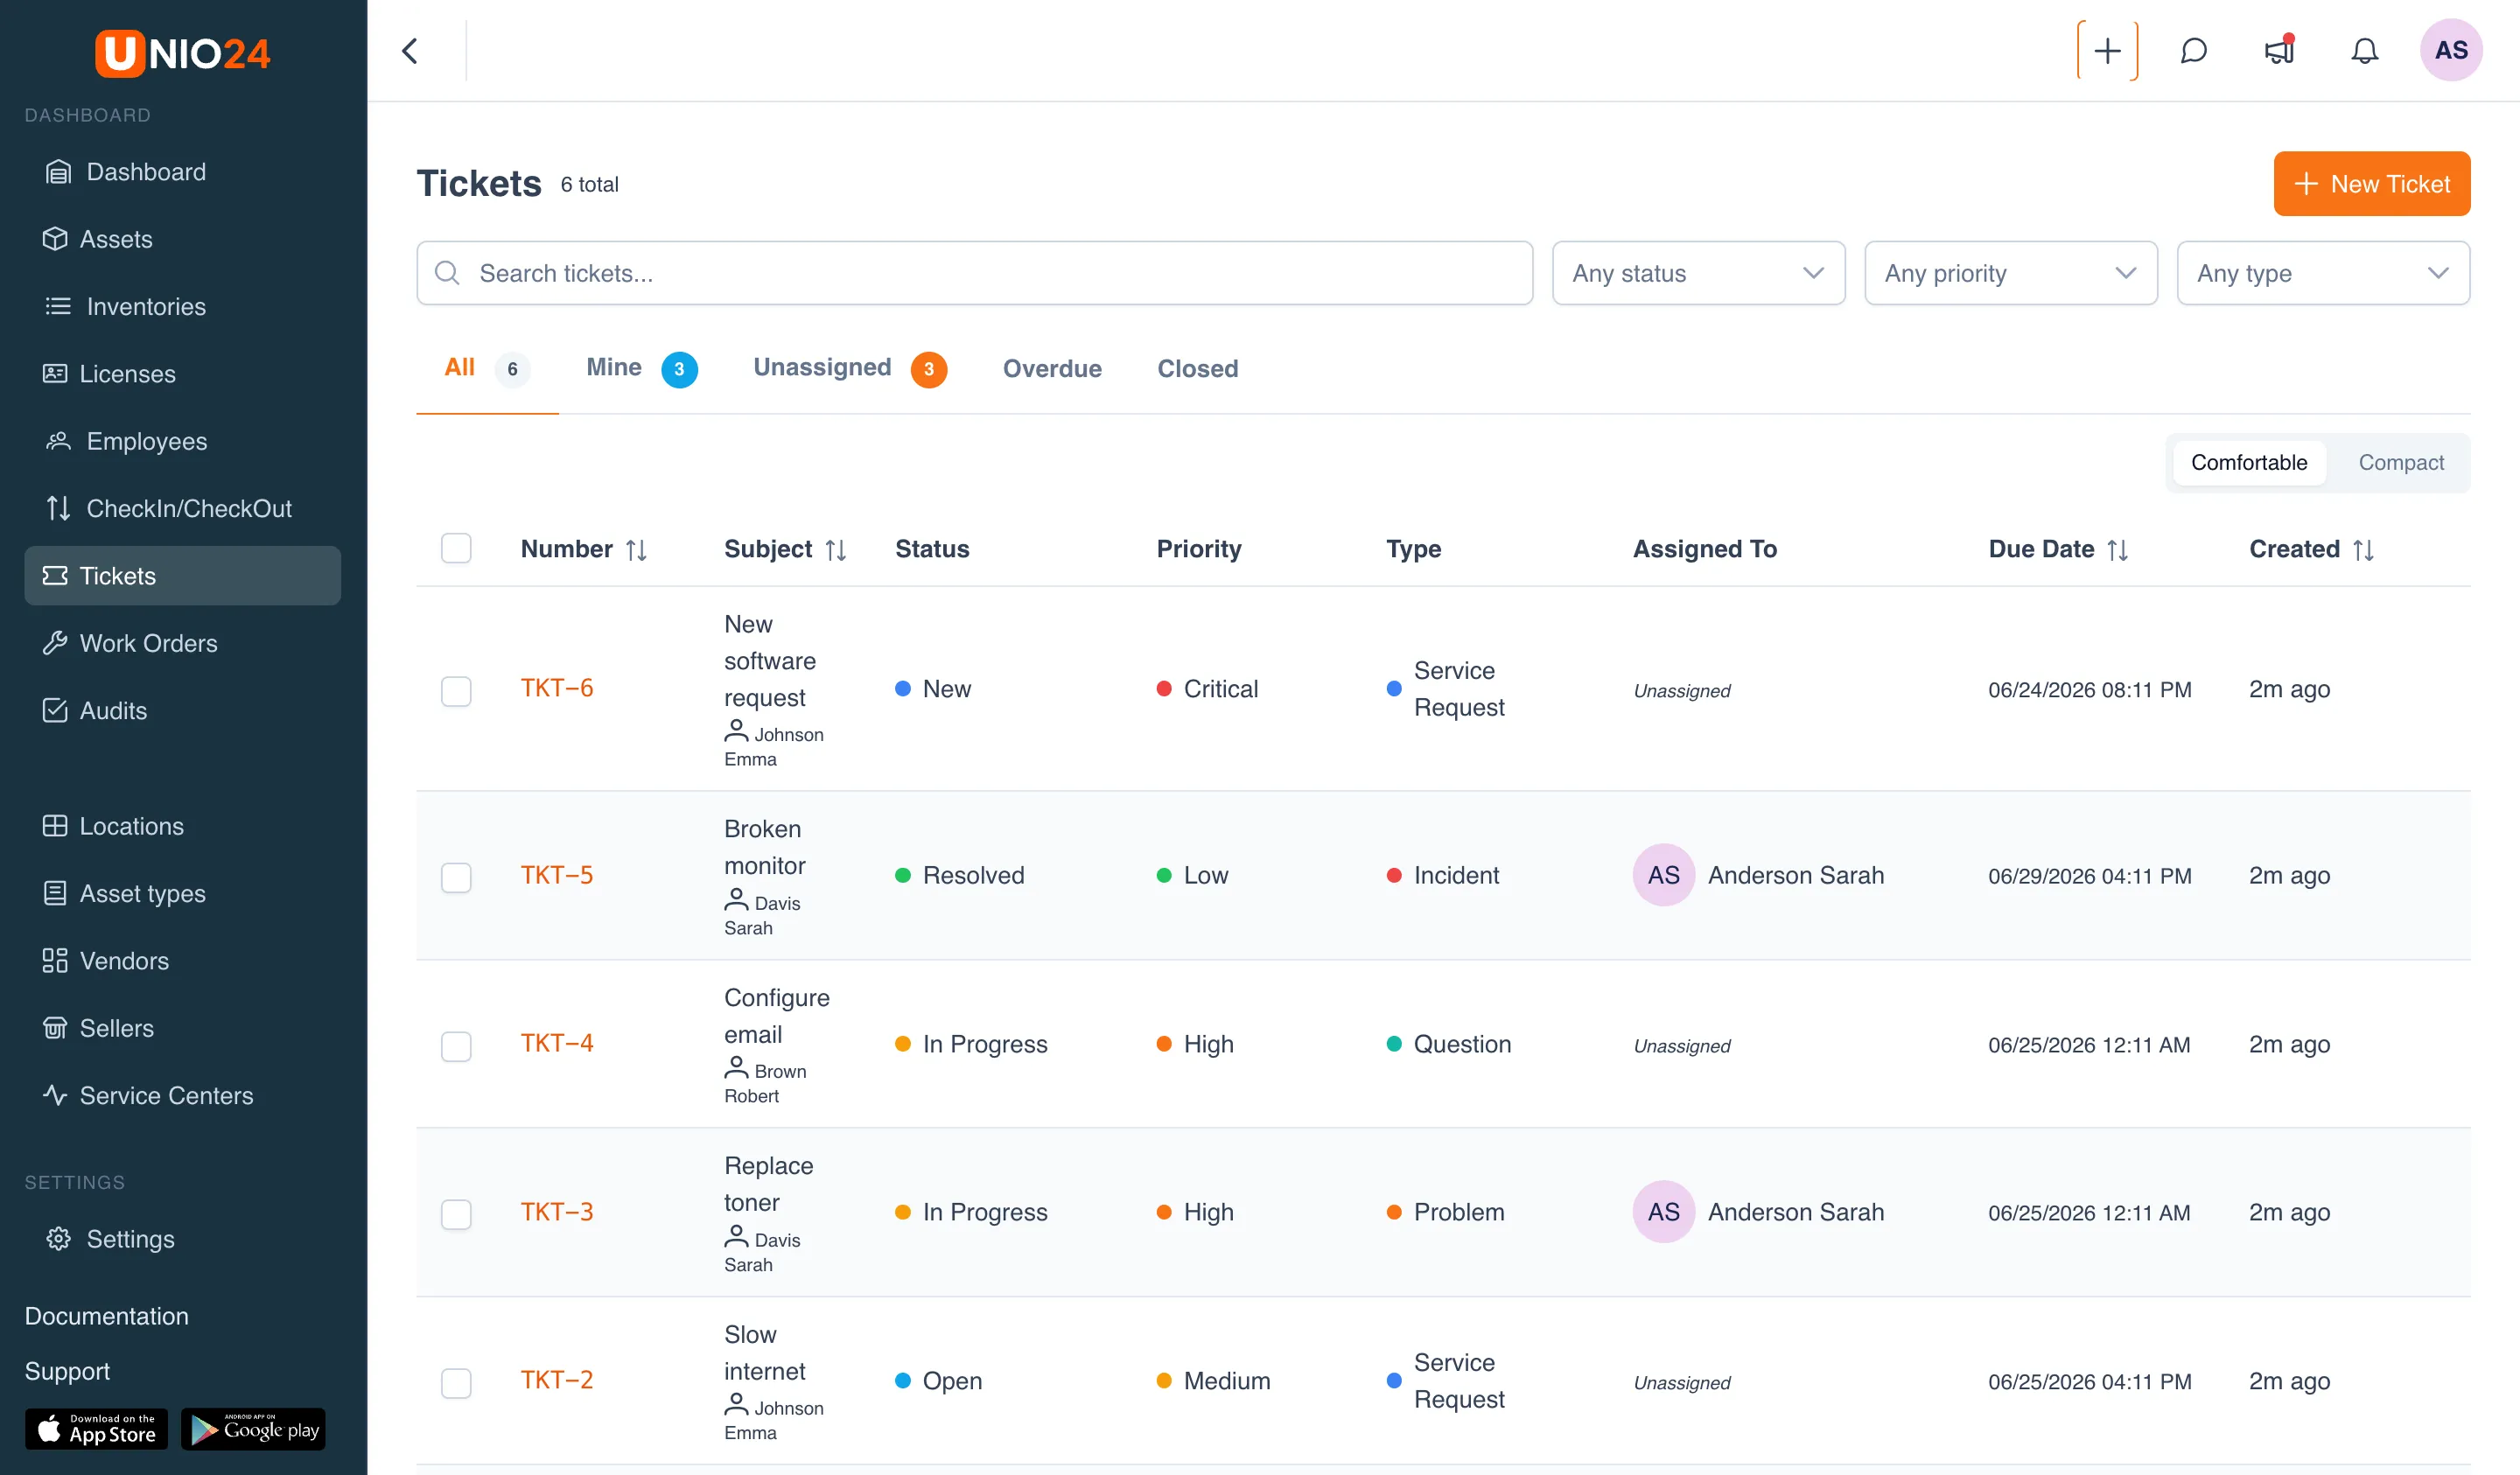
This page collects the common tasks for working with tickets. For how statuses and SLA work, see Tickets: how it works. For a description of all fields, see the Tickets reference.
Tickets is an add-on module. If the section is not in the menu, first enable it.
Create a ticket
Section titled “Create a ticket”- Open the Tickets section and click New Ticket.
- Fill in the Subject — this is the only required field.
- If needed, set the Category, Type, and Priority.
- Choose a Requester: an employee from the directory or the Other option for an outside request.
- Link the Assets the ticket concerns.
- Save the ticket.
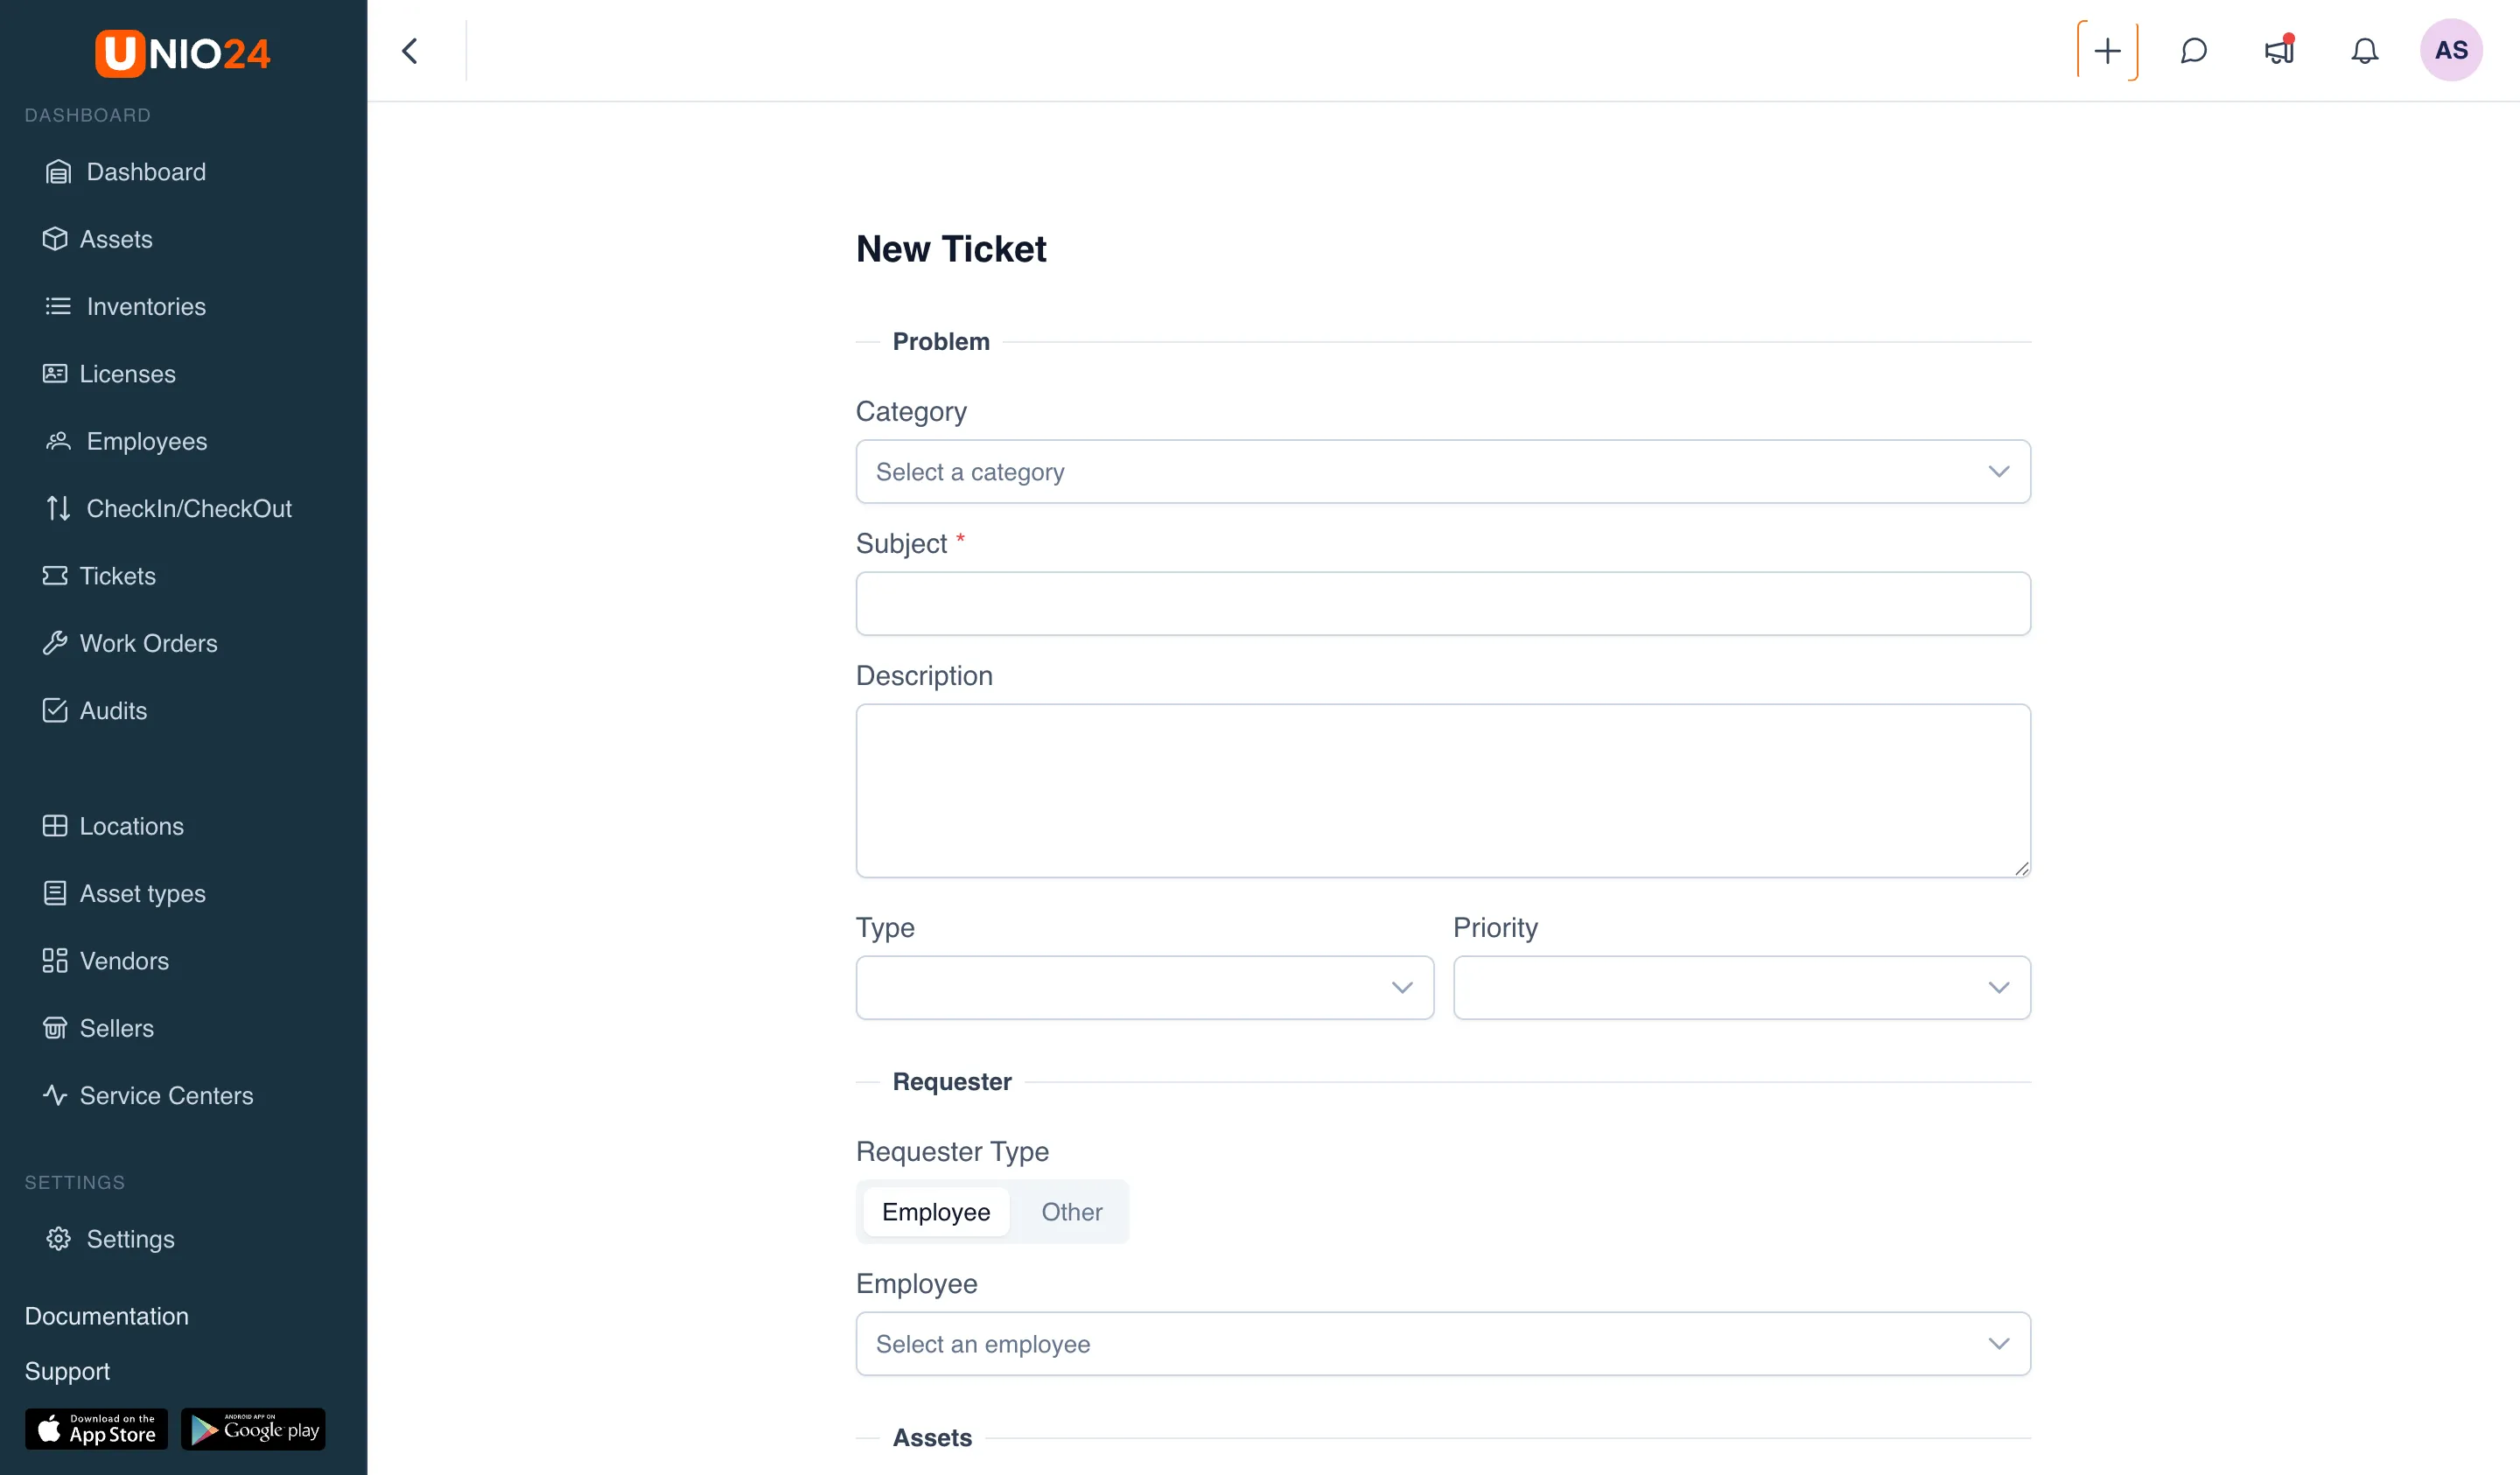
If the selected category has custom fields configured, they appear in the form below the type and priority.
Assign a ticket
Section titled “Assign a ticket”Open the ticket and, in the Assignee field, select the user who will work on it. If routing rules are configured, new tickets are assigned automatically and you can skip this step.
Add a comment
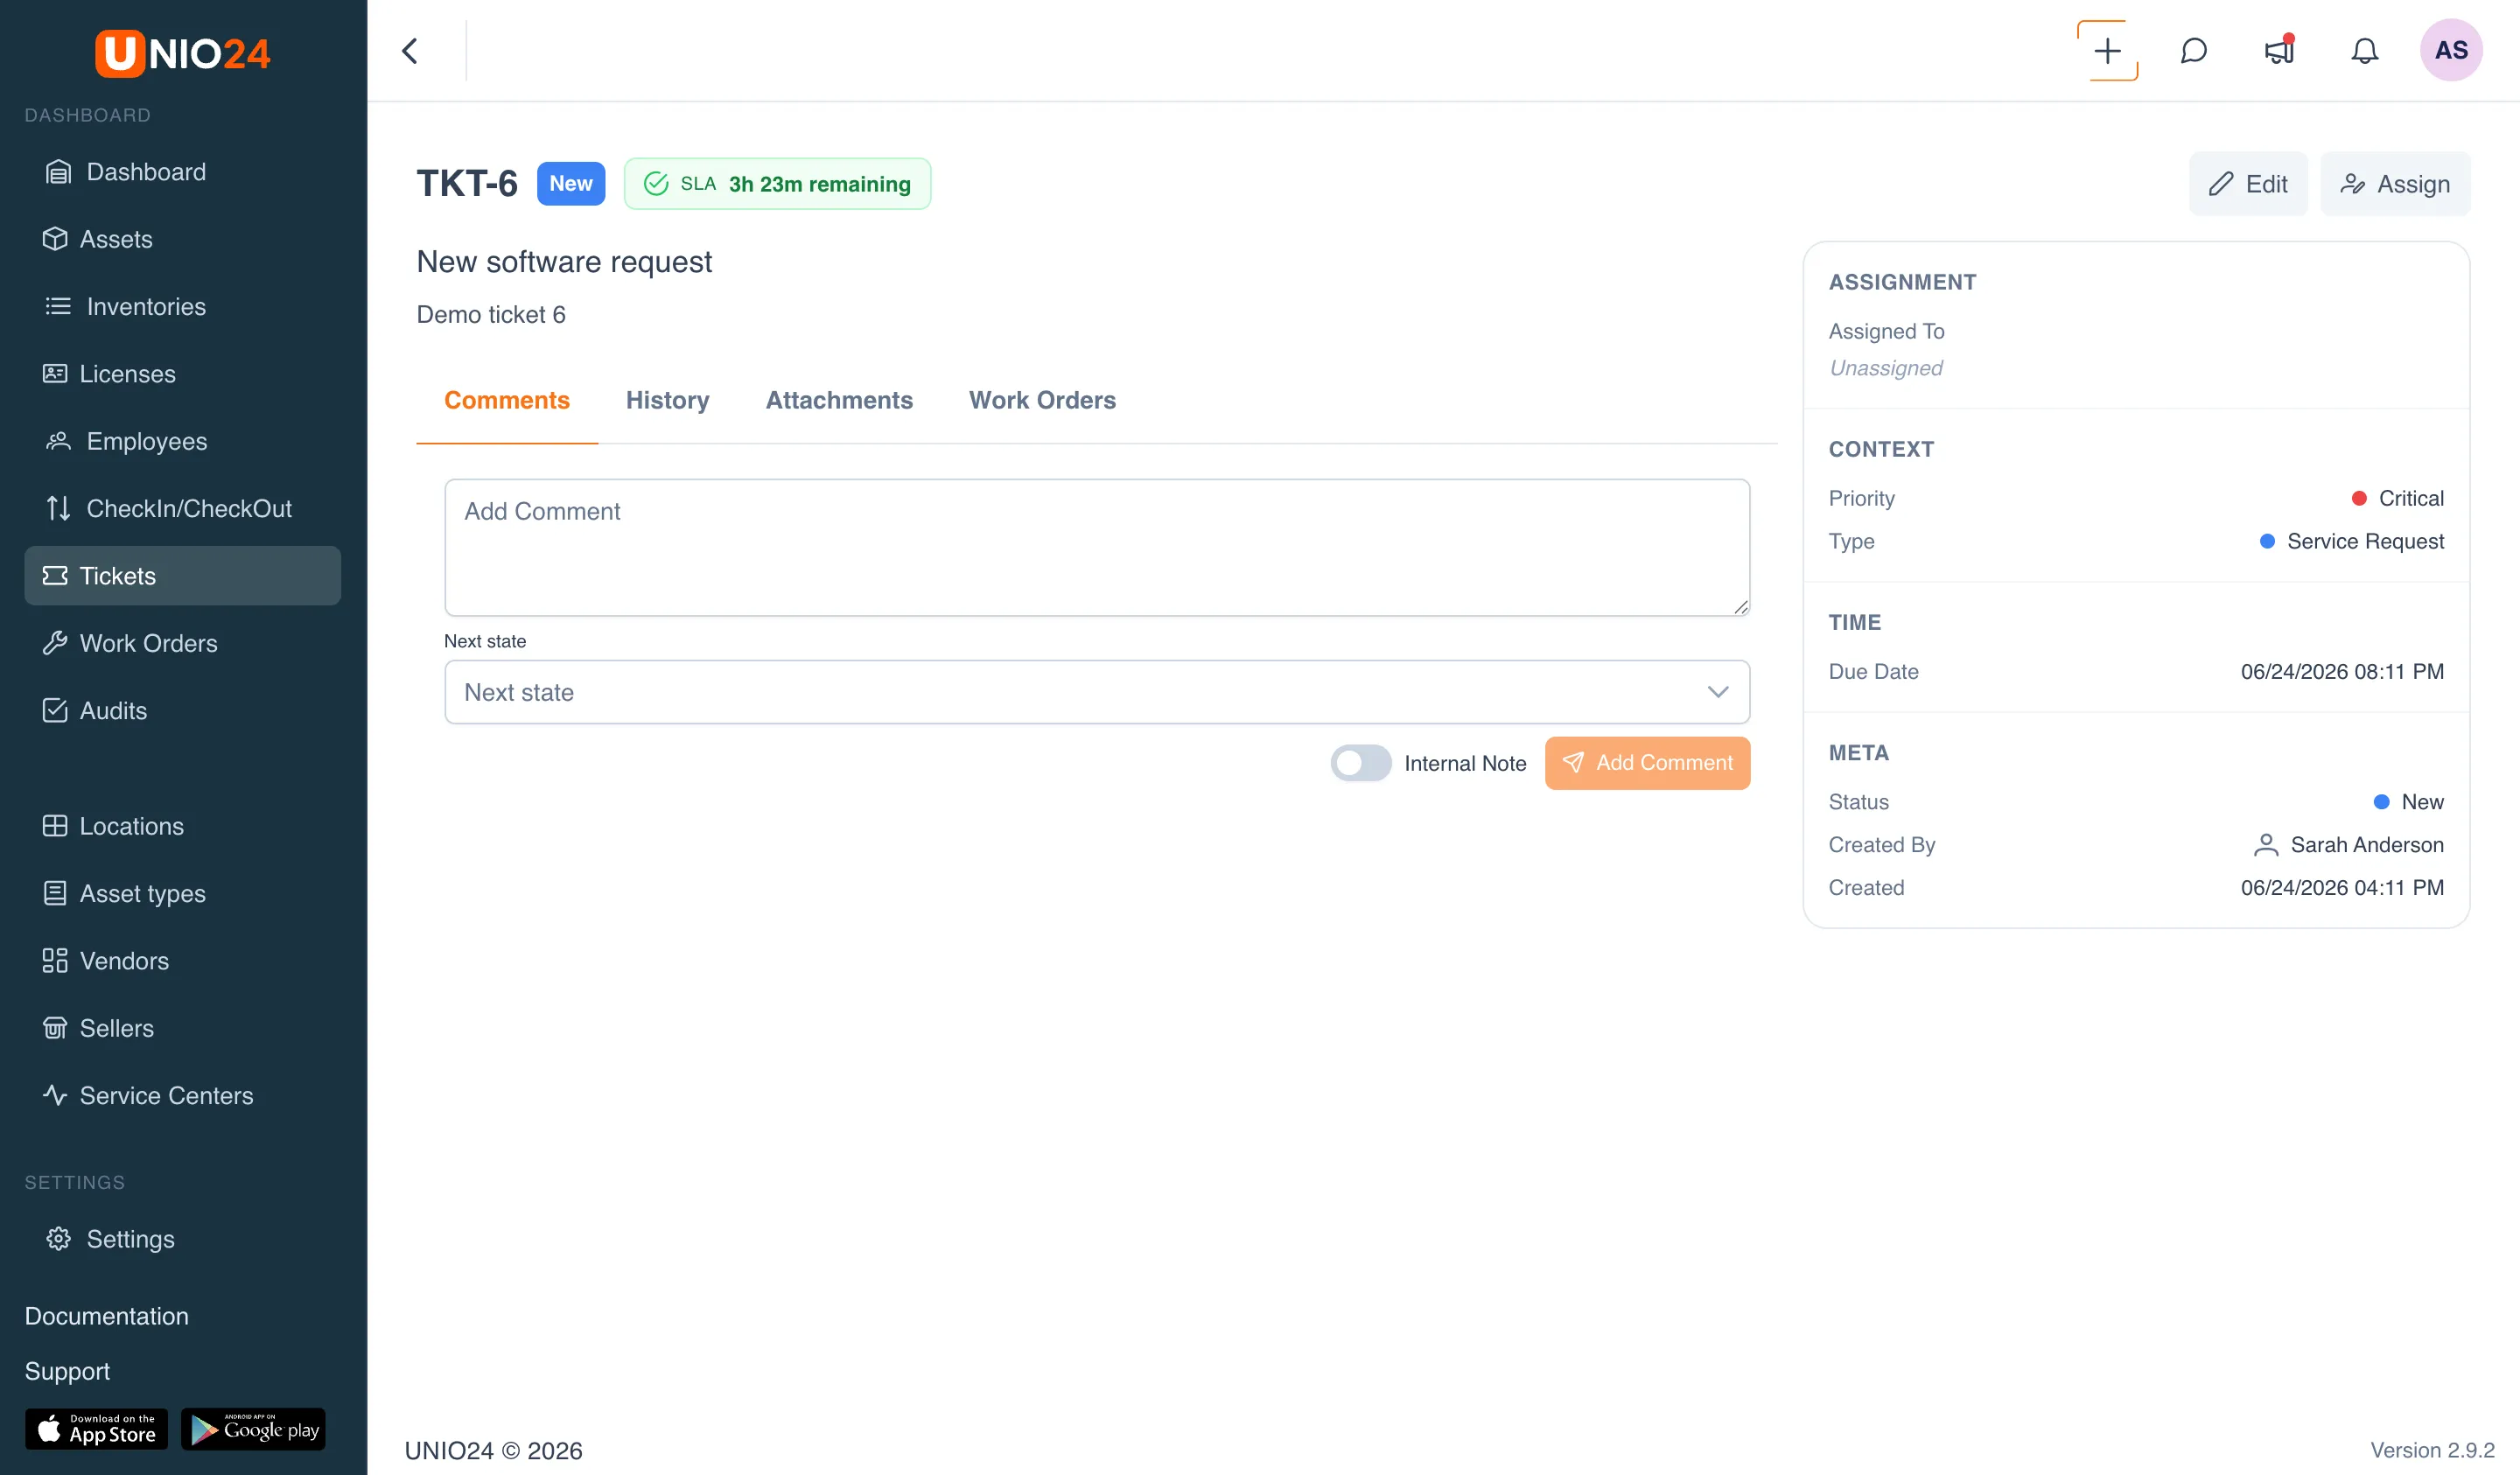
Section titled “Add a comment”- On the ticket page, open the Comments tab.
- Enter the text.
- To make the entry visible only to your team, mark it as an Internal Note. A regular comment is visible to everyone who has access to the ticket.
- Send the comment.
Change the status
Section titled “Change the status”The status can be changed when adding a comment or as a separate action. The list shows only the statuses that the current one is allowed to transition to. If the selected status requires a reason, specify it and add a comment — the transition will not be saved otherwise.
Create a work order from a ticket
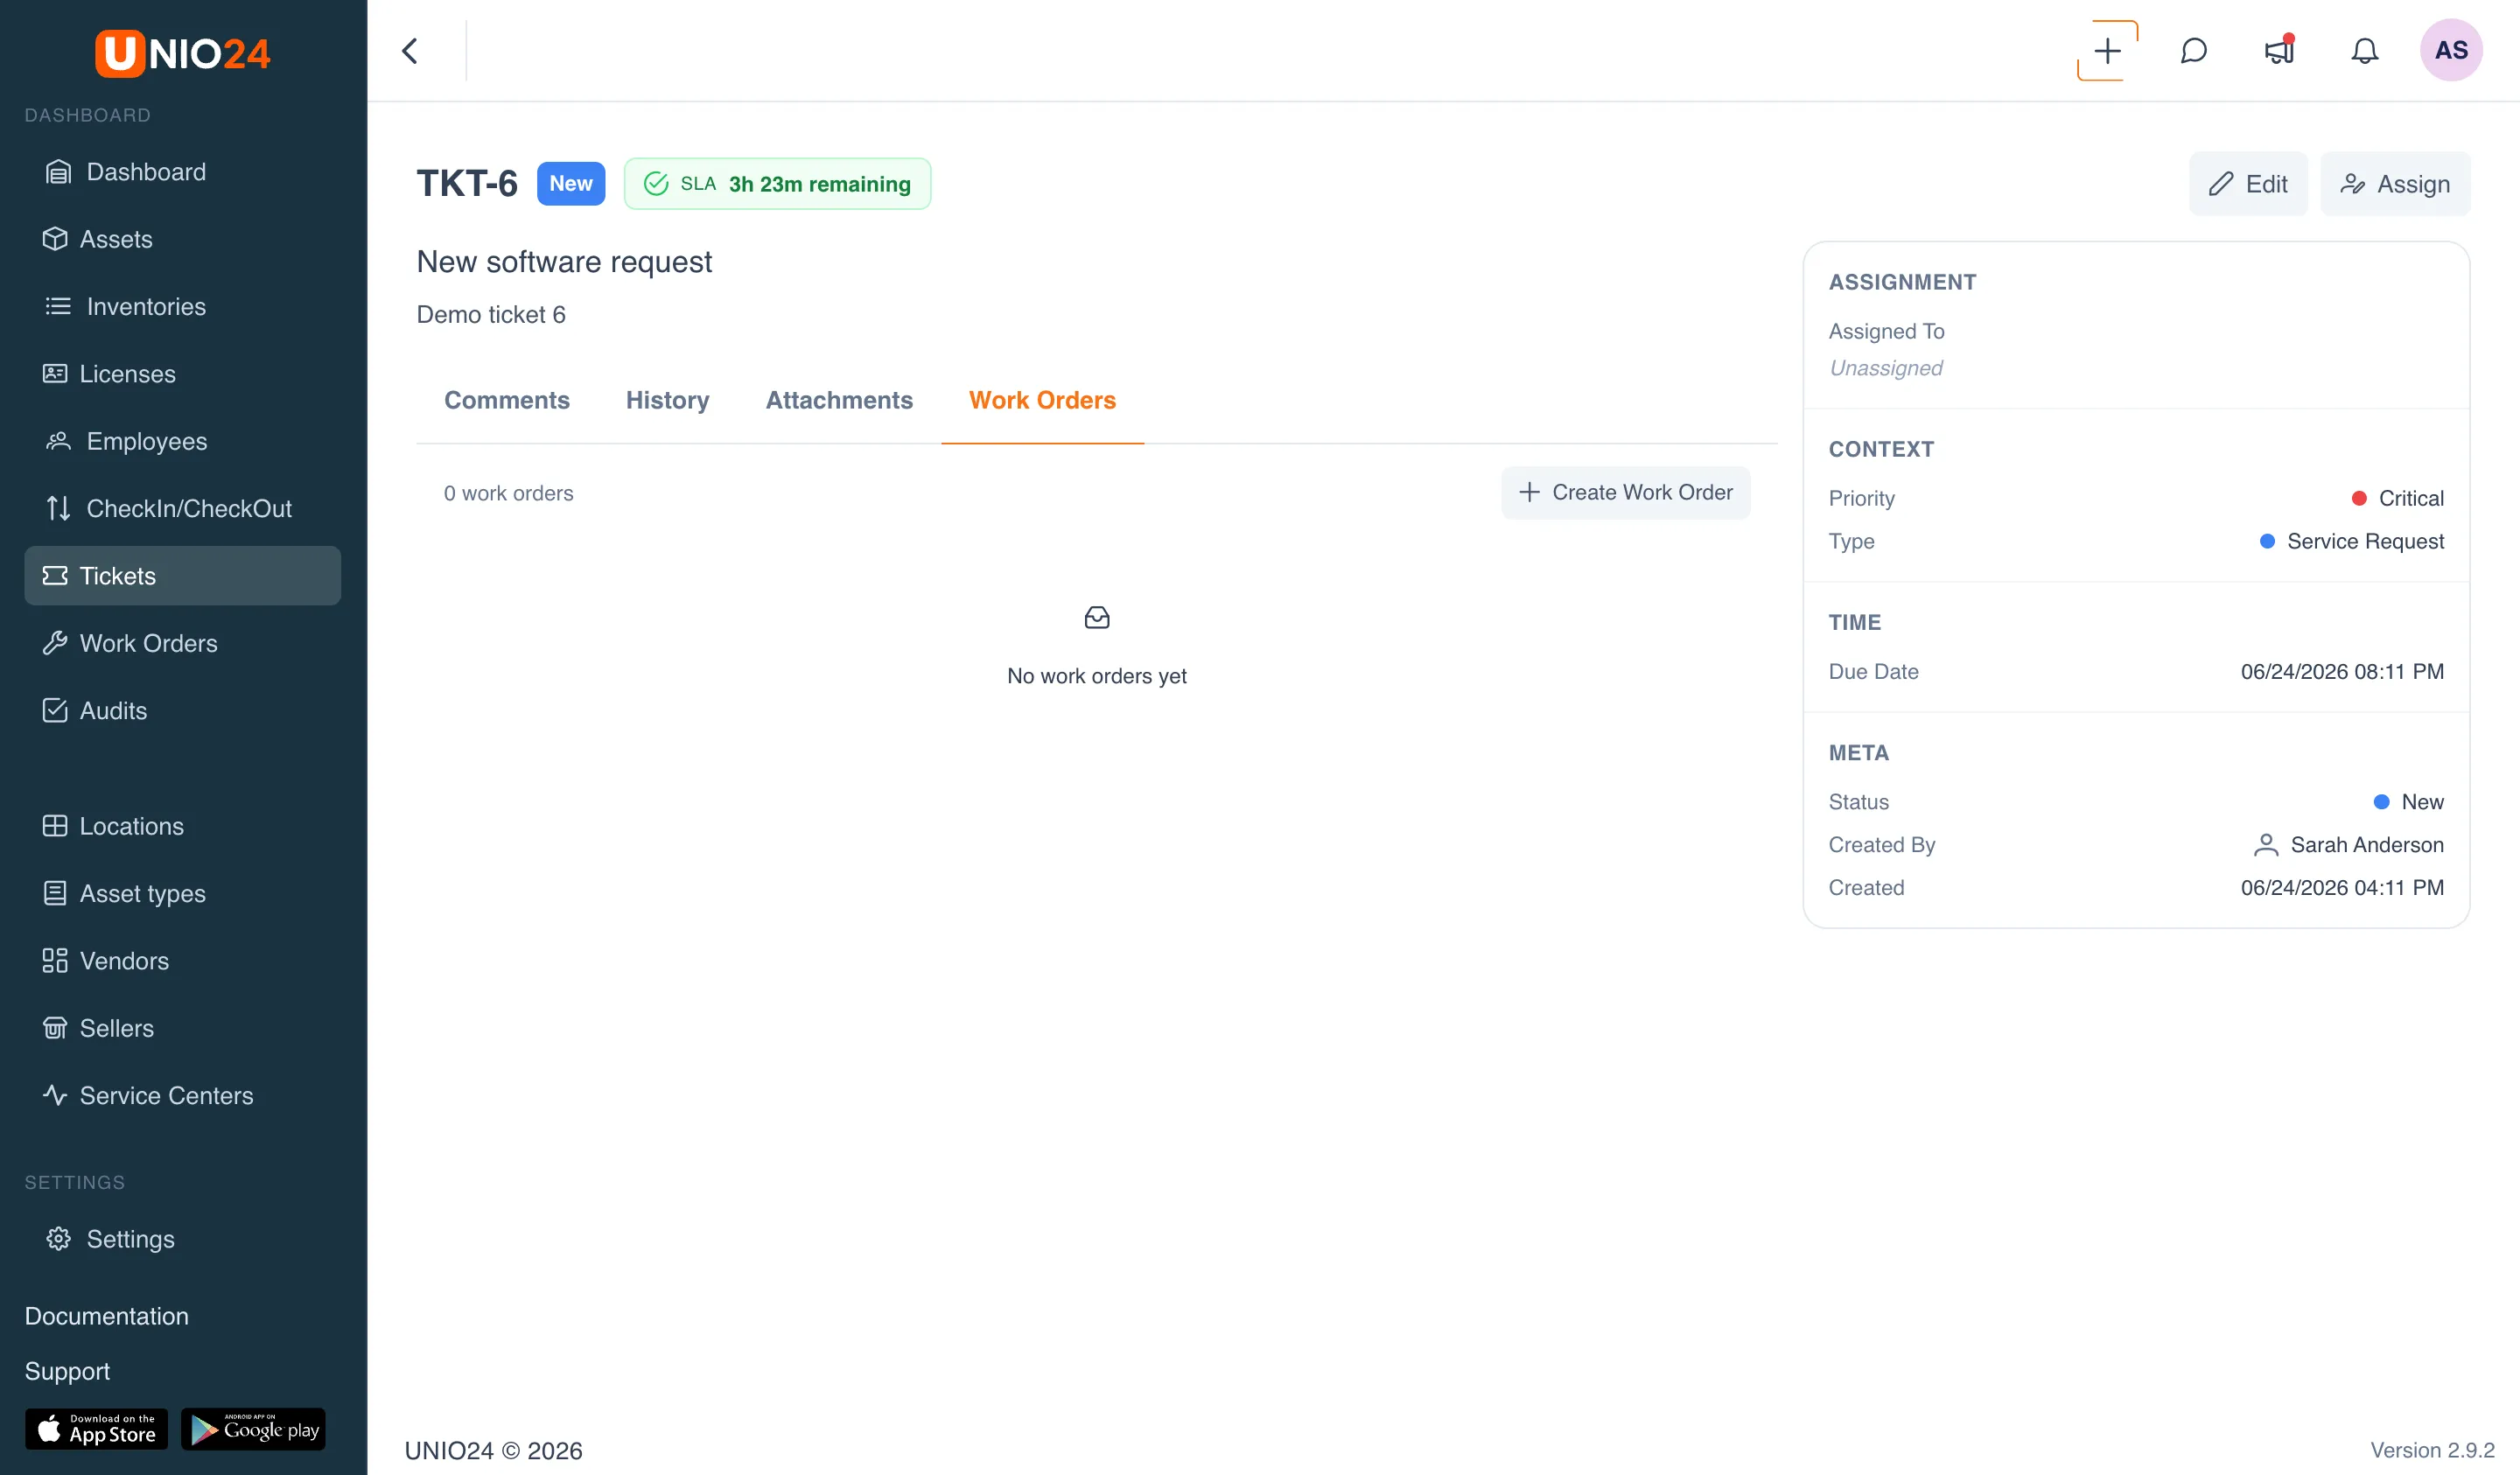
Section titled “Create a work order from a ticket”If a ticket requires work, click Create Work Order on the Work Orders tab. The work order fields are filled with data from the ticket, and the link between them is kept: the ticket shows a list of work orders, and the work order shows a link to the originating ticket. For more on work orders, see the Work orders section.