

Managing roles
This page collects the common tasks for working with roles. For how the permission matrix and role types work, see Roles and permissions. For the list of permission groups and dialog fields, see the Roles reference.
How to open the roles page
Section titled “How to open the roles page”- In the left main menu, open the Settings section.
- Select the Roles page.
The permission matrix opens: the Section column lists permission groups, and roles run across the top. At the top there are the Core tab and — if the modules are enabled — the Tickets and Work Orders tabs.
Add a role
Section titled “Add a role”- Open Settings (left menu) → Roles.
- Click Add role in the top right corner.
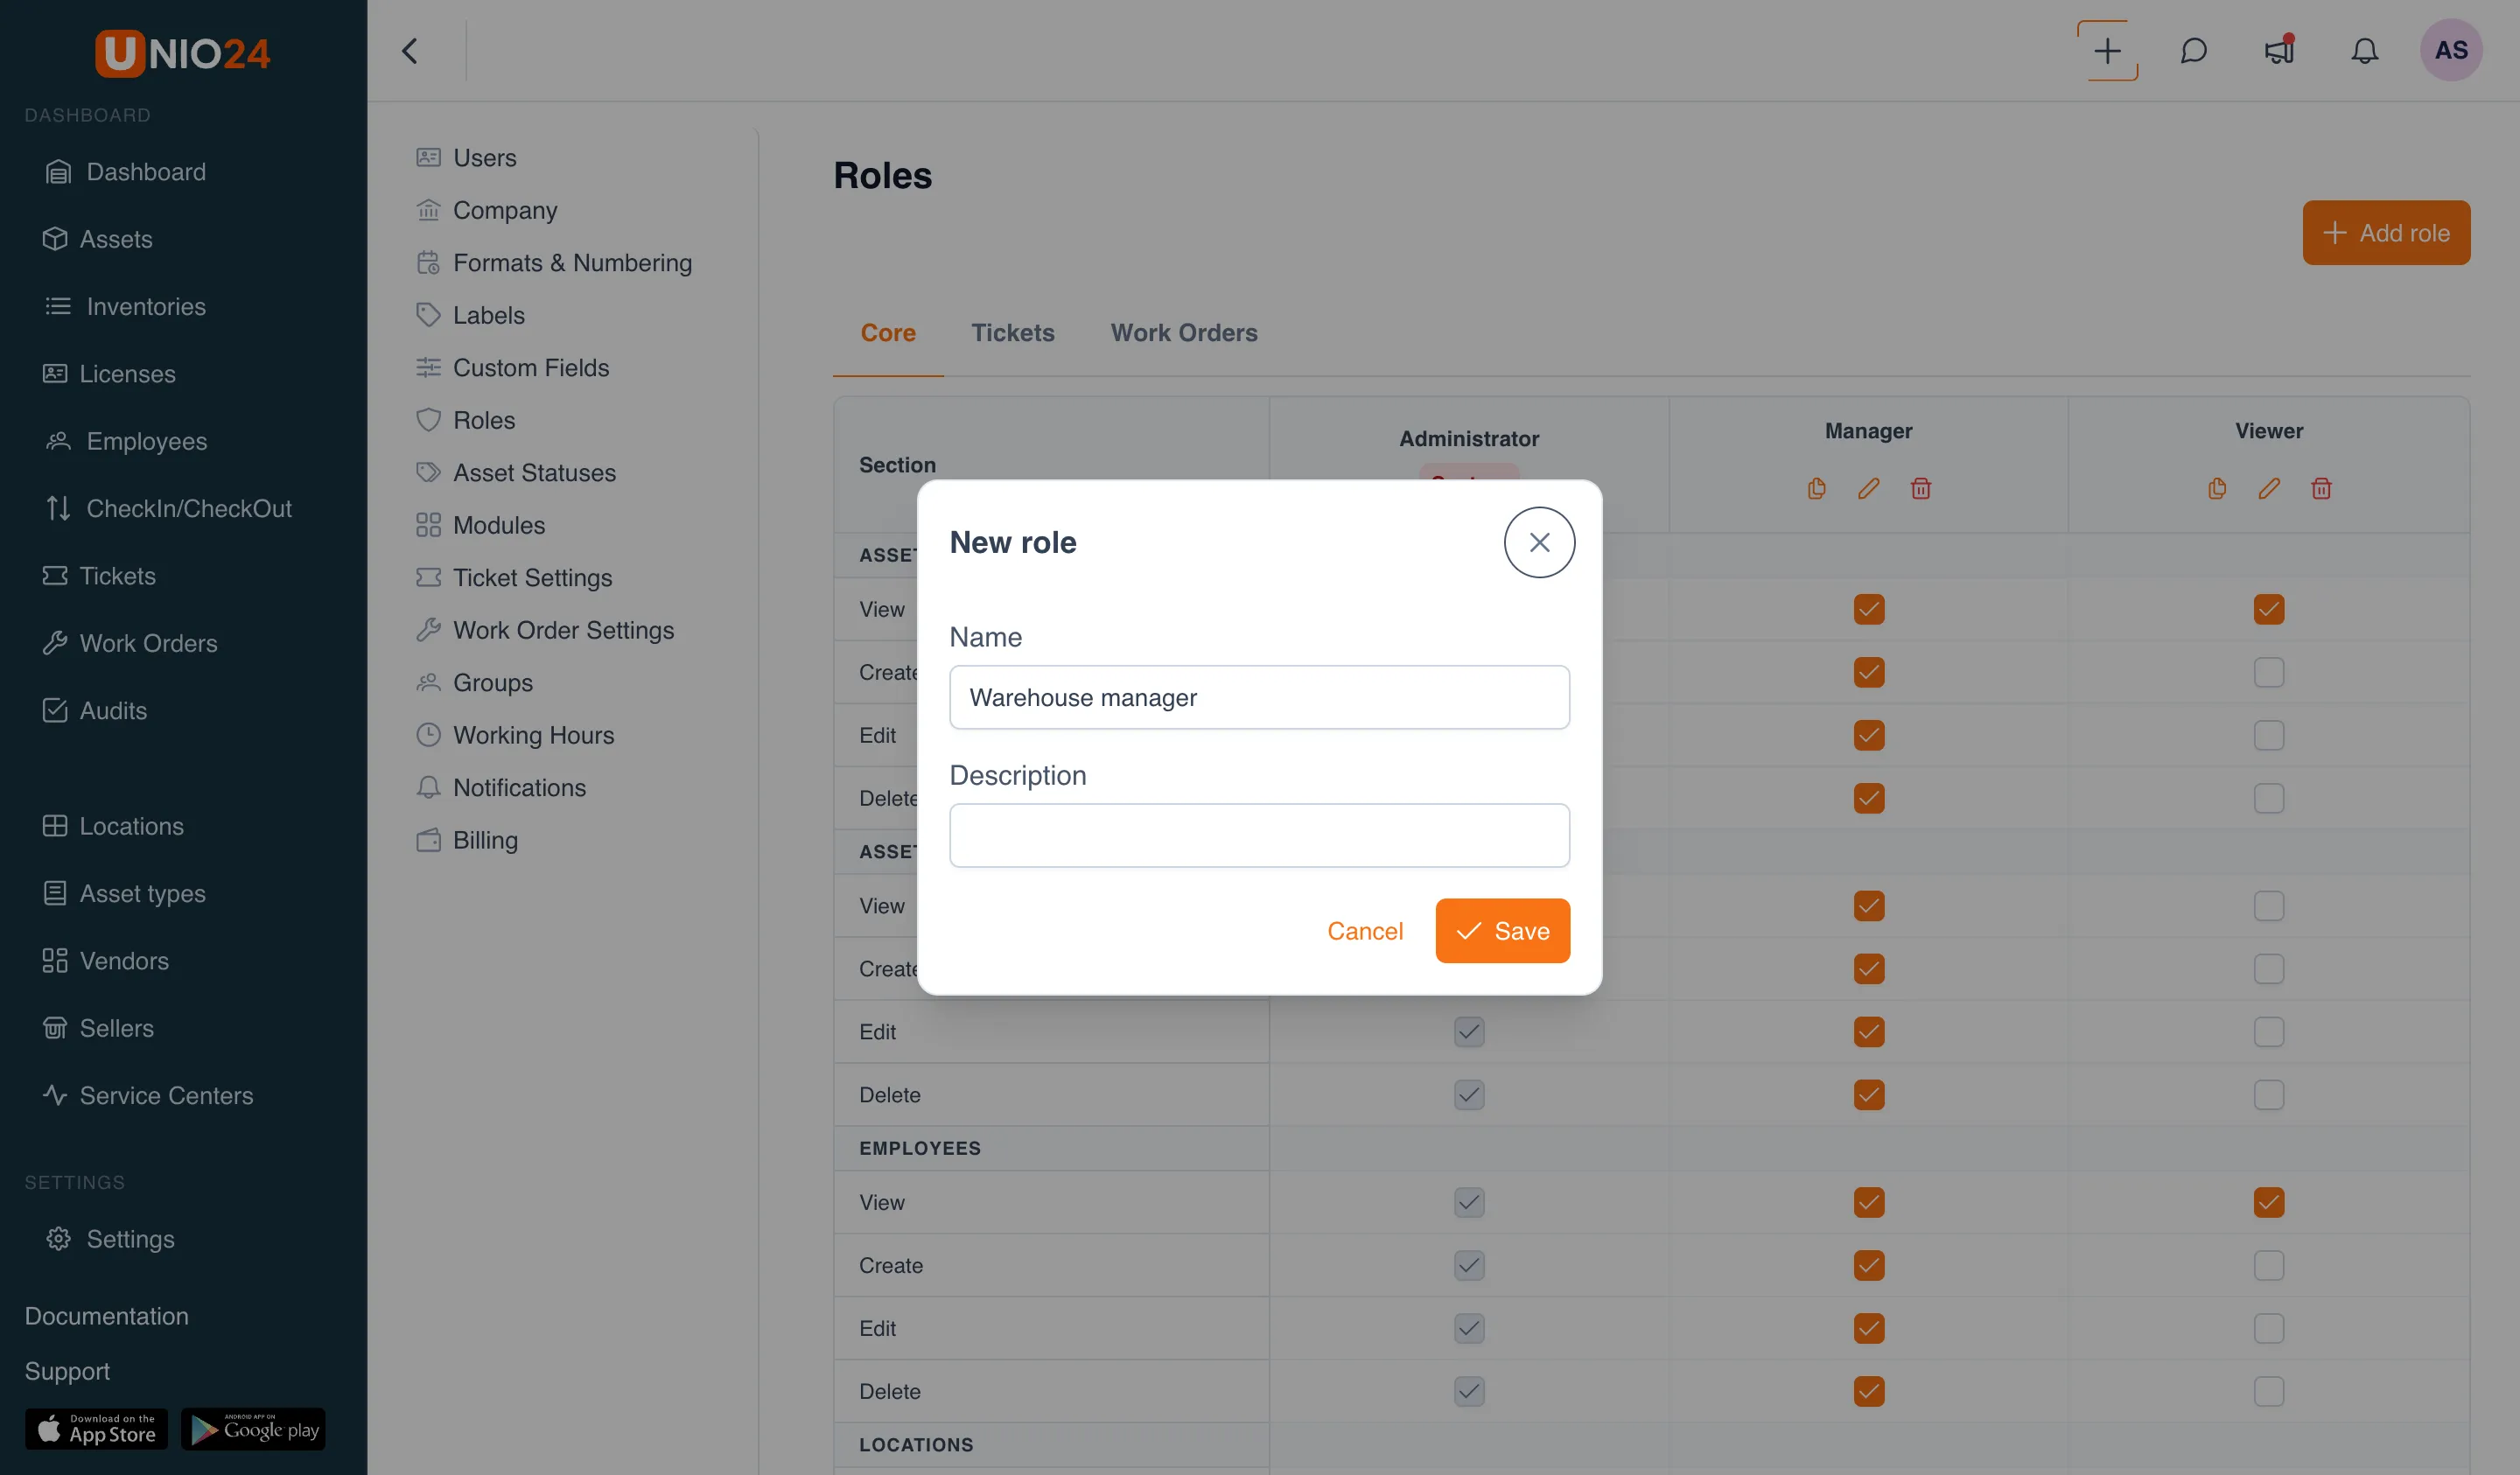
- In the New role dialog, fill in the fields:
- Name — what the role is called (for example, “Warehouse keeper”). Required.
- Description — a note about who the role is for (optional).
- Click Save.
The new role appears in the matrix as a separate column. Next you need to set its permissions (see below).
Grant or revoke permissions in the matrix
Section titled “Grant or revoke permissions in the matrix”- Open Settings (left menu) → Roles.
- If needed, switch to the right tab — Core, Tickets, or Work Orders.
- Find the row for the action you need in the right group (for example, Create in the Assets group).
- In the role’s column, select the checkbox to grant the permission, or clear it to revoke it.
- Save the changes (see Save changes).
Duplicate a role
Section titled “Duplicate a role”- Open Settings (left menu) → Roles.
- In the column of the custom role you want to use as a basis, click the copy icon (Duplicate role).
A copy of the role is created with the same permissions, and the edit dialog opens right away — give the copy a Name and, if needed, a Description, then click Save.
Edit a role
Section titled “Edit a role”- Open Settings (left menu) → Roles.
- In the column of the role you need, click the pencil to open Edit role.
- Change the Name or Description.
- Click Save.
To change a role’s permissions specifically, edit the checkboxes directly in the matrix — see Grant or revoke permissions.
Delete a role
Section titled “Delete a role”- Open Settings (left menu) → Roles.
- In the column of the custom role you need, click the trash icon.
- Two outcomes are possible:
- If the role is not assigned to anyone — confirm the deletion in the window that appears.
- If the role is assigned to users — the Delete role window opens with a message about how many users have it. In the Replacement role field, select the role to move them to, and click Delete.
This way users are not left without a role: when the role is deleted, they move to the replacement role.
Save changes
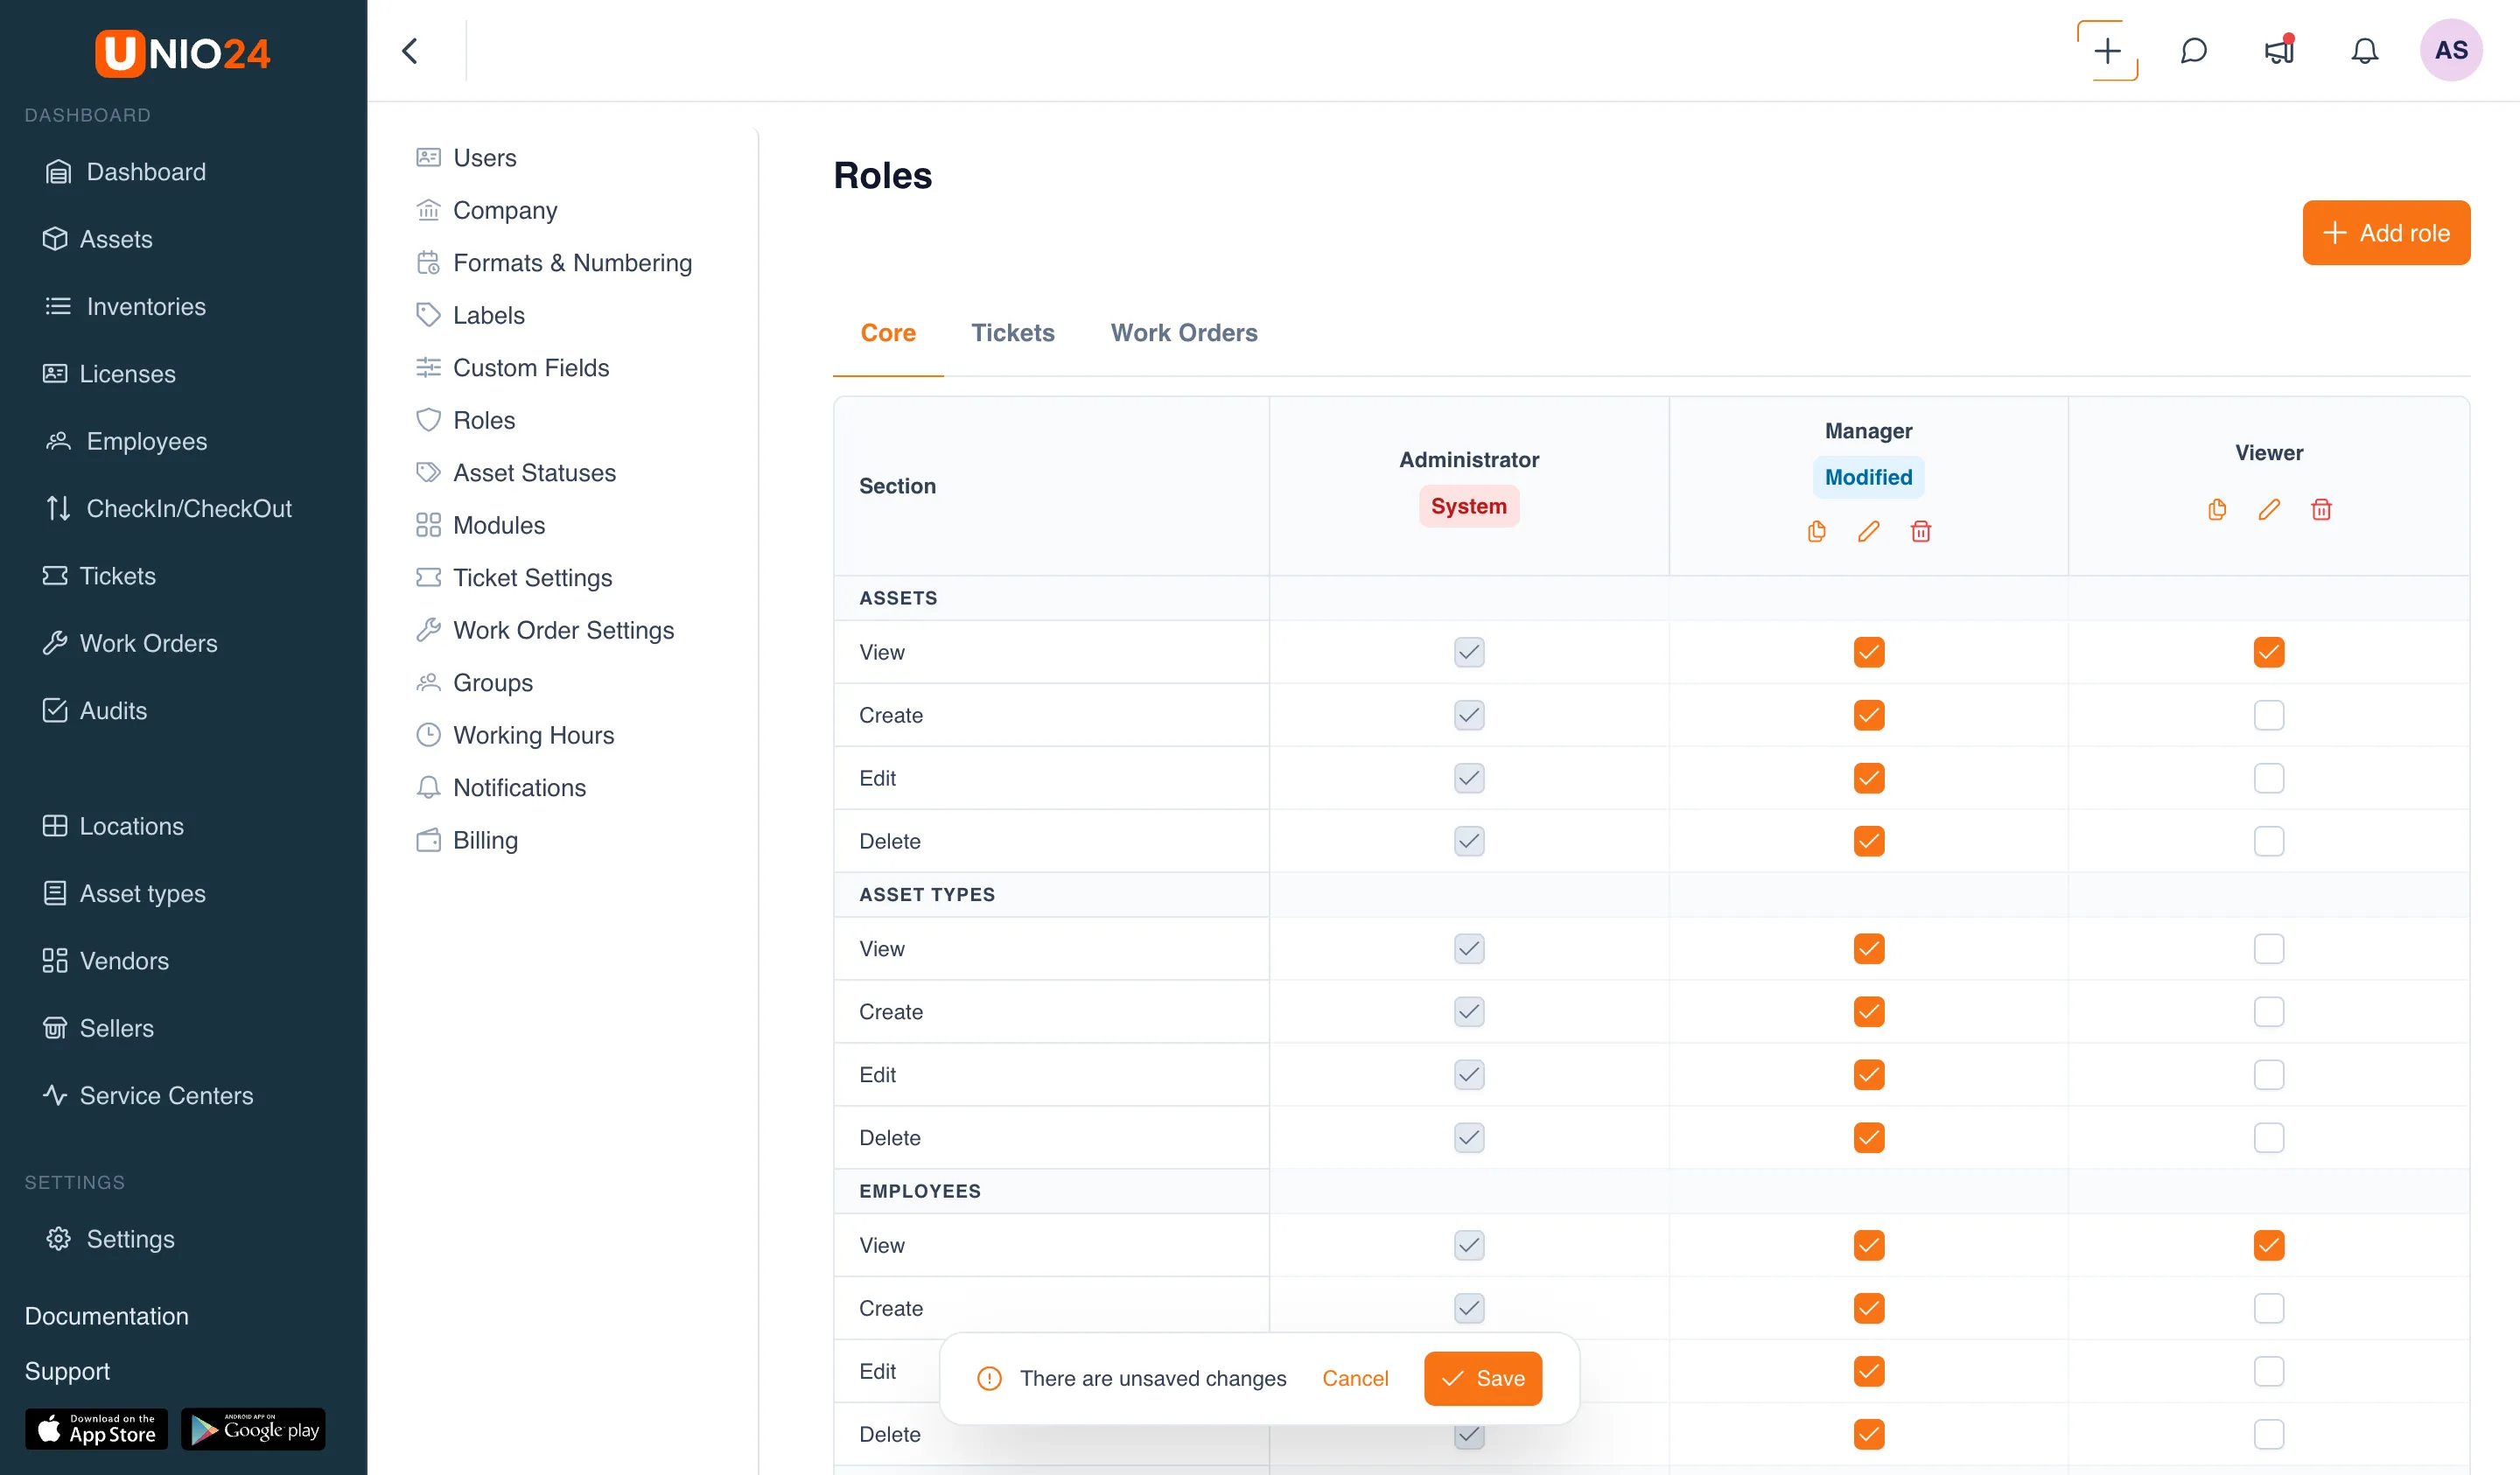
Section titled “Save changes”Checkbox changes in the matrix are not saved immediately. As soon as you change at least one checkbox, the changed role gets a Modified indicator, and a panel with the message There are unsaved changes appears at the bottom of the screen.
- Click Save on this panel to record all edits at once.
- Click Cancel to discard all unsaved changes and return the permissions to their last saved state.
Changes in the New role and Edit role dialogs are saved separately — with the Save button inside the dialog itself.