

Working with assets
This page collects the common tasks for working with assets. For how the card, statuses, and hierarchy work, see Assets. For the full list of fields, see the Asset reference. Check-out, check-in, and transfer operations are described separately — see Asset operations.
Opening the asset list
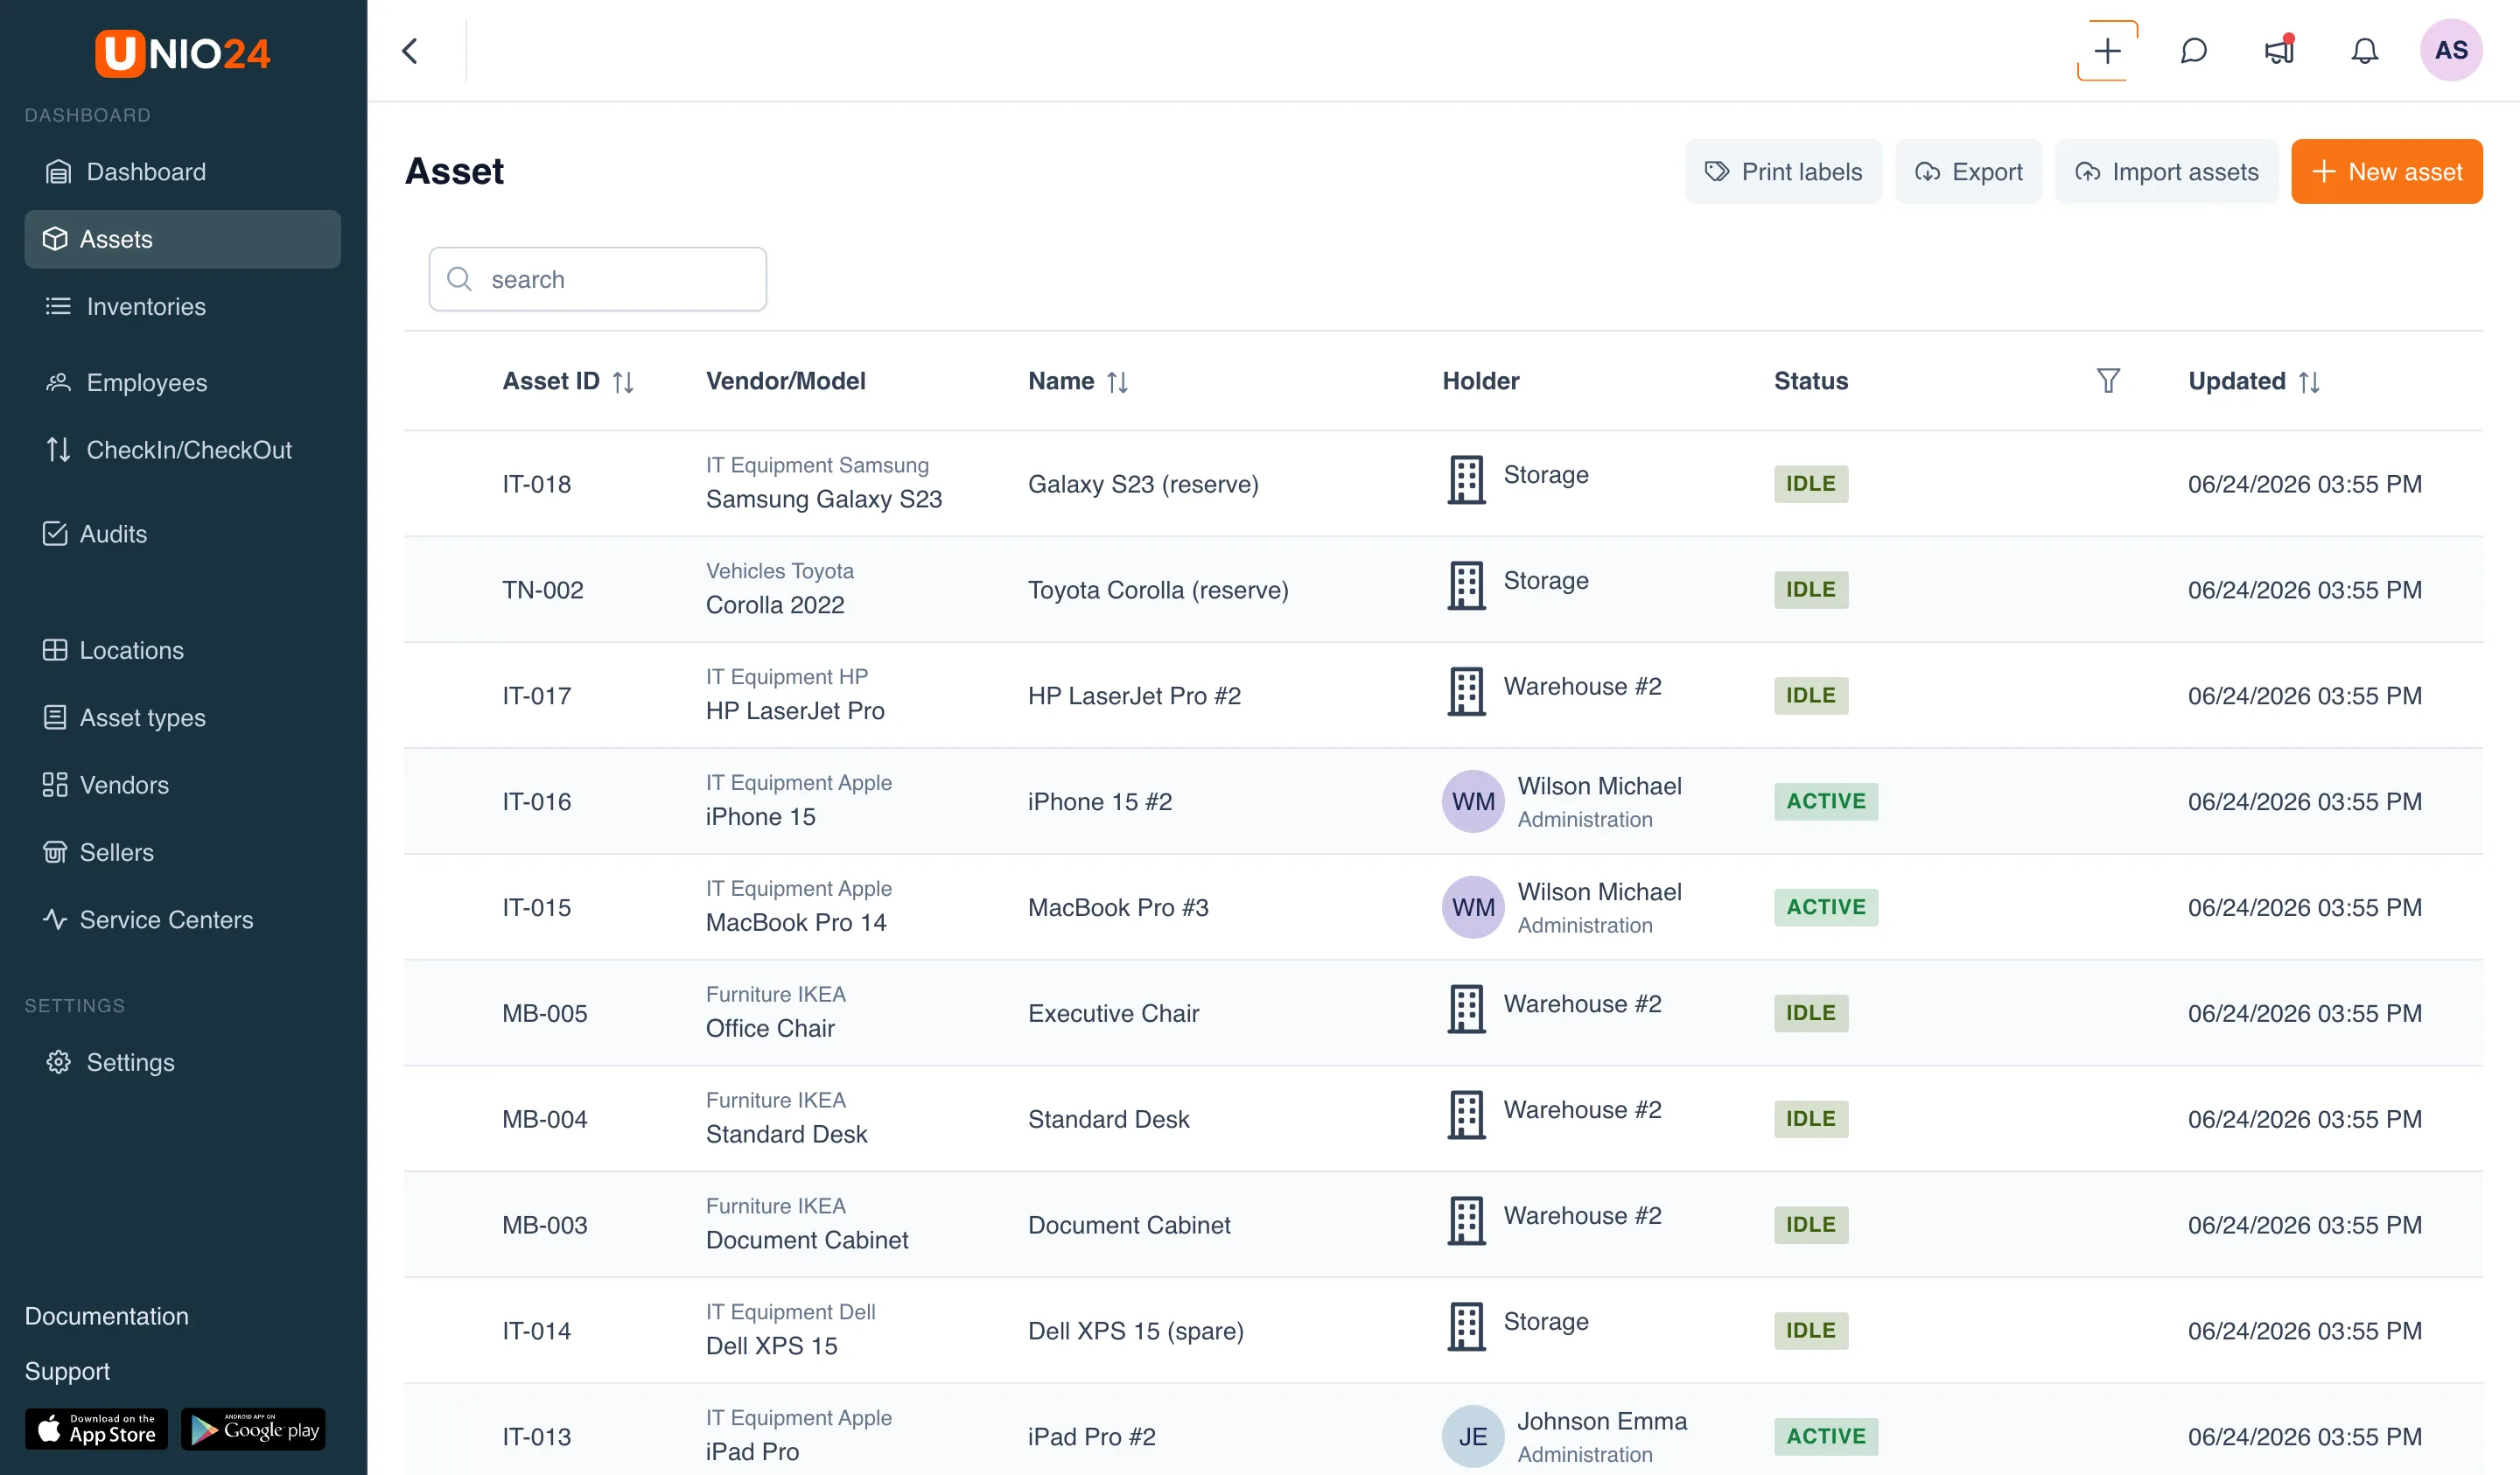
Section titled “Opening the asset list”In the left main menu, open Assets. A list opens with the columns “Inventory number”, “Vendor/Model”, “Name”, “Holder”, “Status”, and “Updated”. Above the list there is a search box, and the status column has a filter by lifecycle status. Assets with children can be expanded with the arrow on the left.
Adding an asset
Section titled “Adding an asset”-
Open Assets in the left menu.
-
Click New asset.
-
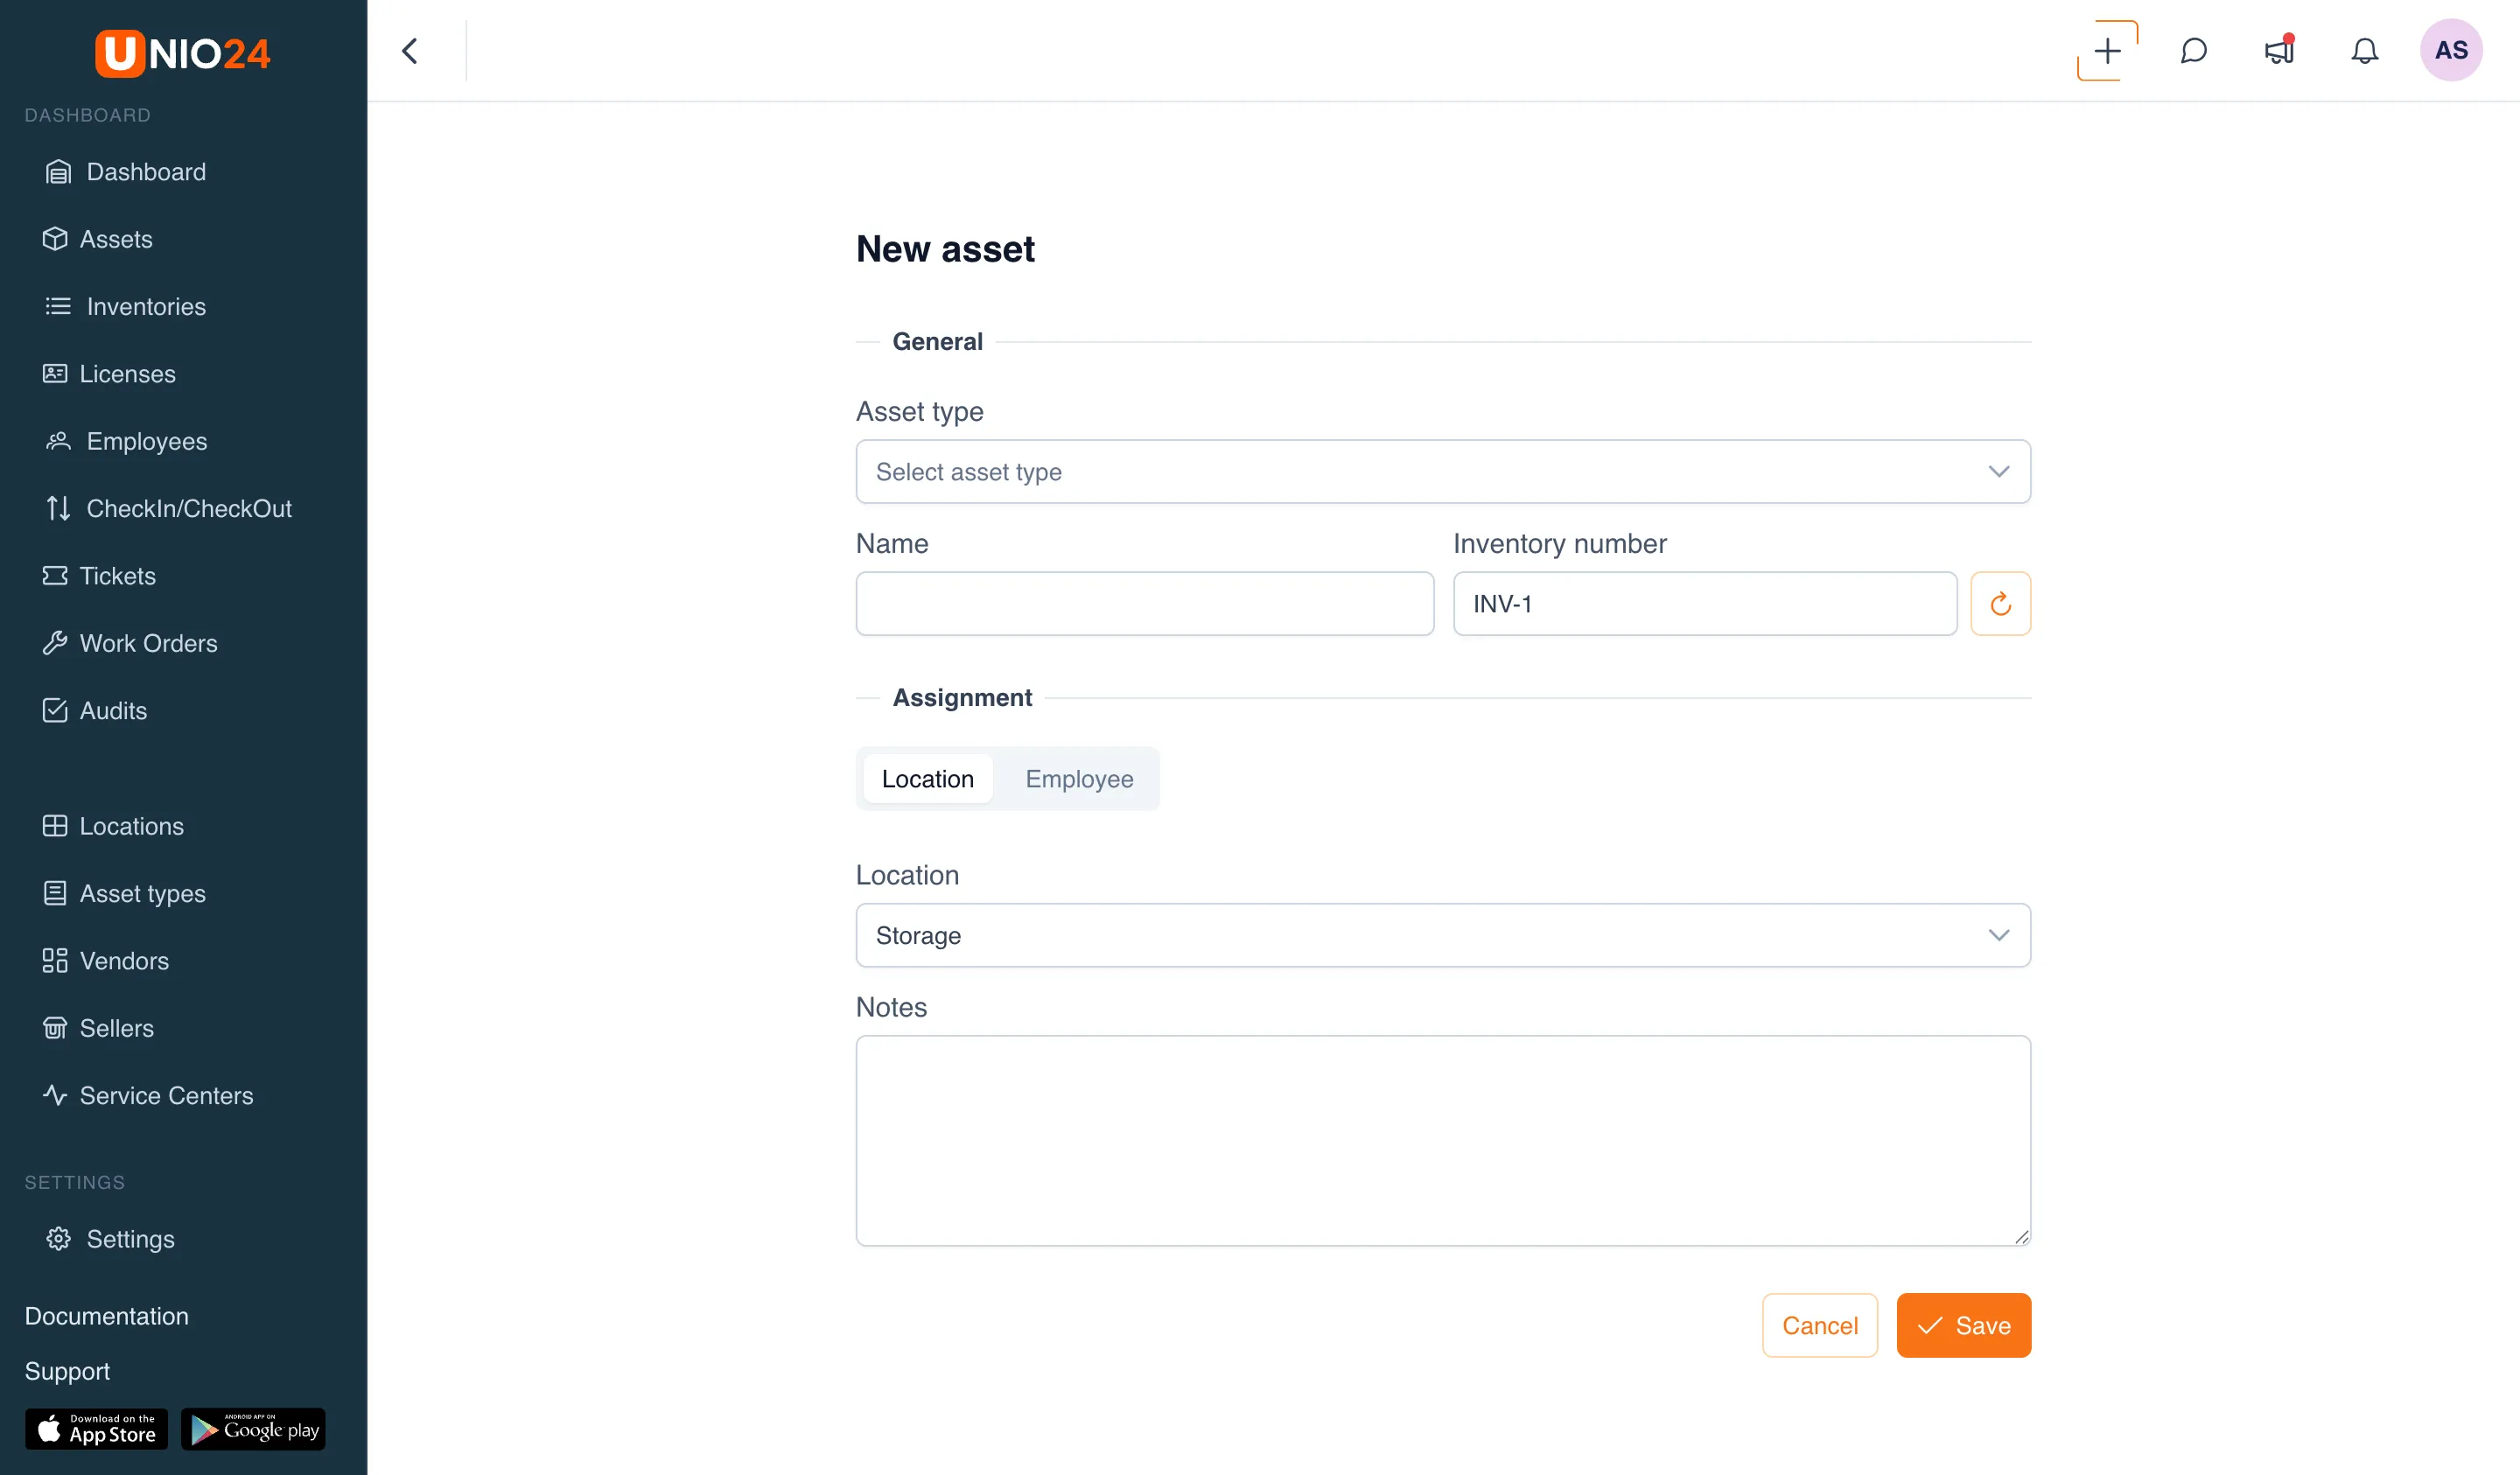
In the Asset type field, choose a type. The type determines which fields appear in the form.
-
Fill in Name.
-
Check the Inventory number. If auto-fill is enabled in the company, the field is already filled with a generated number; if needed, click the refresh icon button next to the field to get a new number. The number must be unique — for a duplicate, the system shows “this inventory number already exists in the system”.
-
In the Assign block, choose the holder. The Assign switch has two options:
- Location — then choose a location in the Select the location field;
- Employee — then choose an employee in the Select an employee field.
-
Fill in the remaining fields that appeared for the chosen asset type. They are grouped into sections: Characteristics (vendor, model), Dates, Finances, Purchase. For more on which fields a type sets, see the reference.
-
If needed, fill in Notes and the custom fields.
-
Click Save.
Vendor and model
Section titled “Vendor and model”If the chosen asset type has the Vendor and Model fields, they work with suggestions: start typing a name, and the system suggests previously entered values. If the vendor or model you need is not in the list, just type the name — the record is created automatically when the asset is saved.
Editing an asset
Section titled “Editing an asset”- Open Assets and select an asset to open its card.
- In the card header, click the pencil icon button (Edit an asset).
- Make your changes. The set of fields matches the asset type.
- Click Save.
When you change the asset type in the form, fields that the type does not need are cleared, and the fields and custom fields of the new type appear.
Writing off and deleting an asset
Section titled “Writing off and deleting an asset”At the end of its lifecycle an asset is written off and, if needed, deleted. These are two different operations.
Writing off is moving the asset to a write-off location with an ordinary check-in or transfer operation. After that the asset’s lifecycle status becomes “Pending Disposal”, operations are no longer offered on its card, but the asset itself and its history are kept.
Deletion is available only for assets that are already in a write-off location: in such a location’s asset list, the asset gets a trash-can icon. Deletion is irreversible — the asset’s history, movements, and service records are deleted along with it.
Both operations are described step by step in Asset operations.
Linking a parent and child assets
Section titled “Linking a parent and child assets”Links are set from the parent asset’s side.
- Open the card of the asset that will be the parent.
- Go to the Links tab.
- Click Add linked asset.
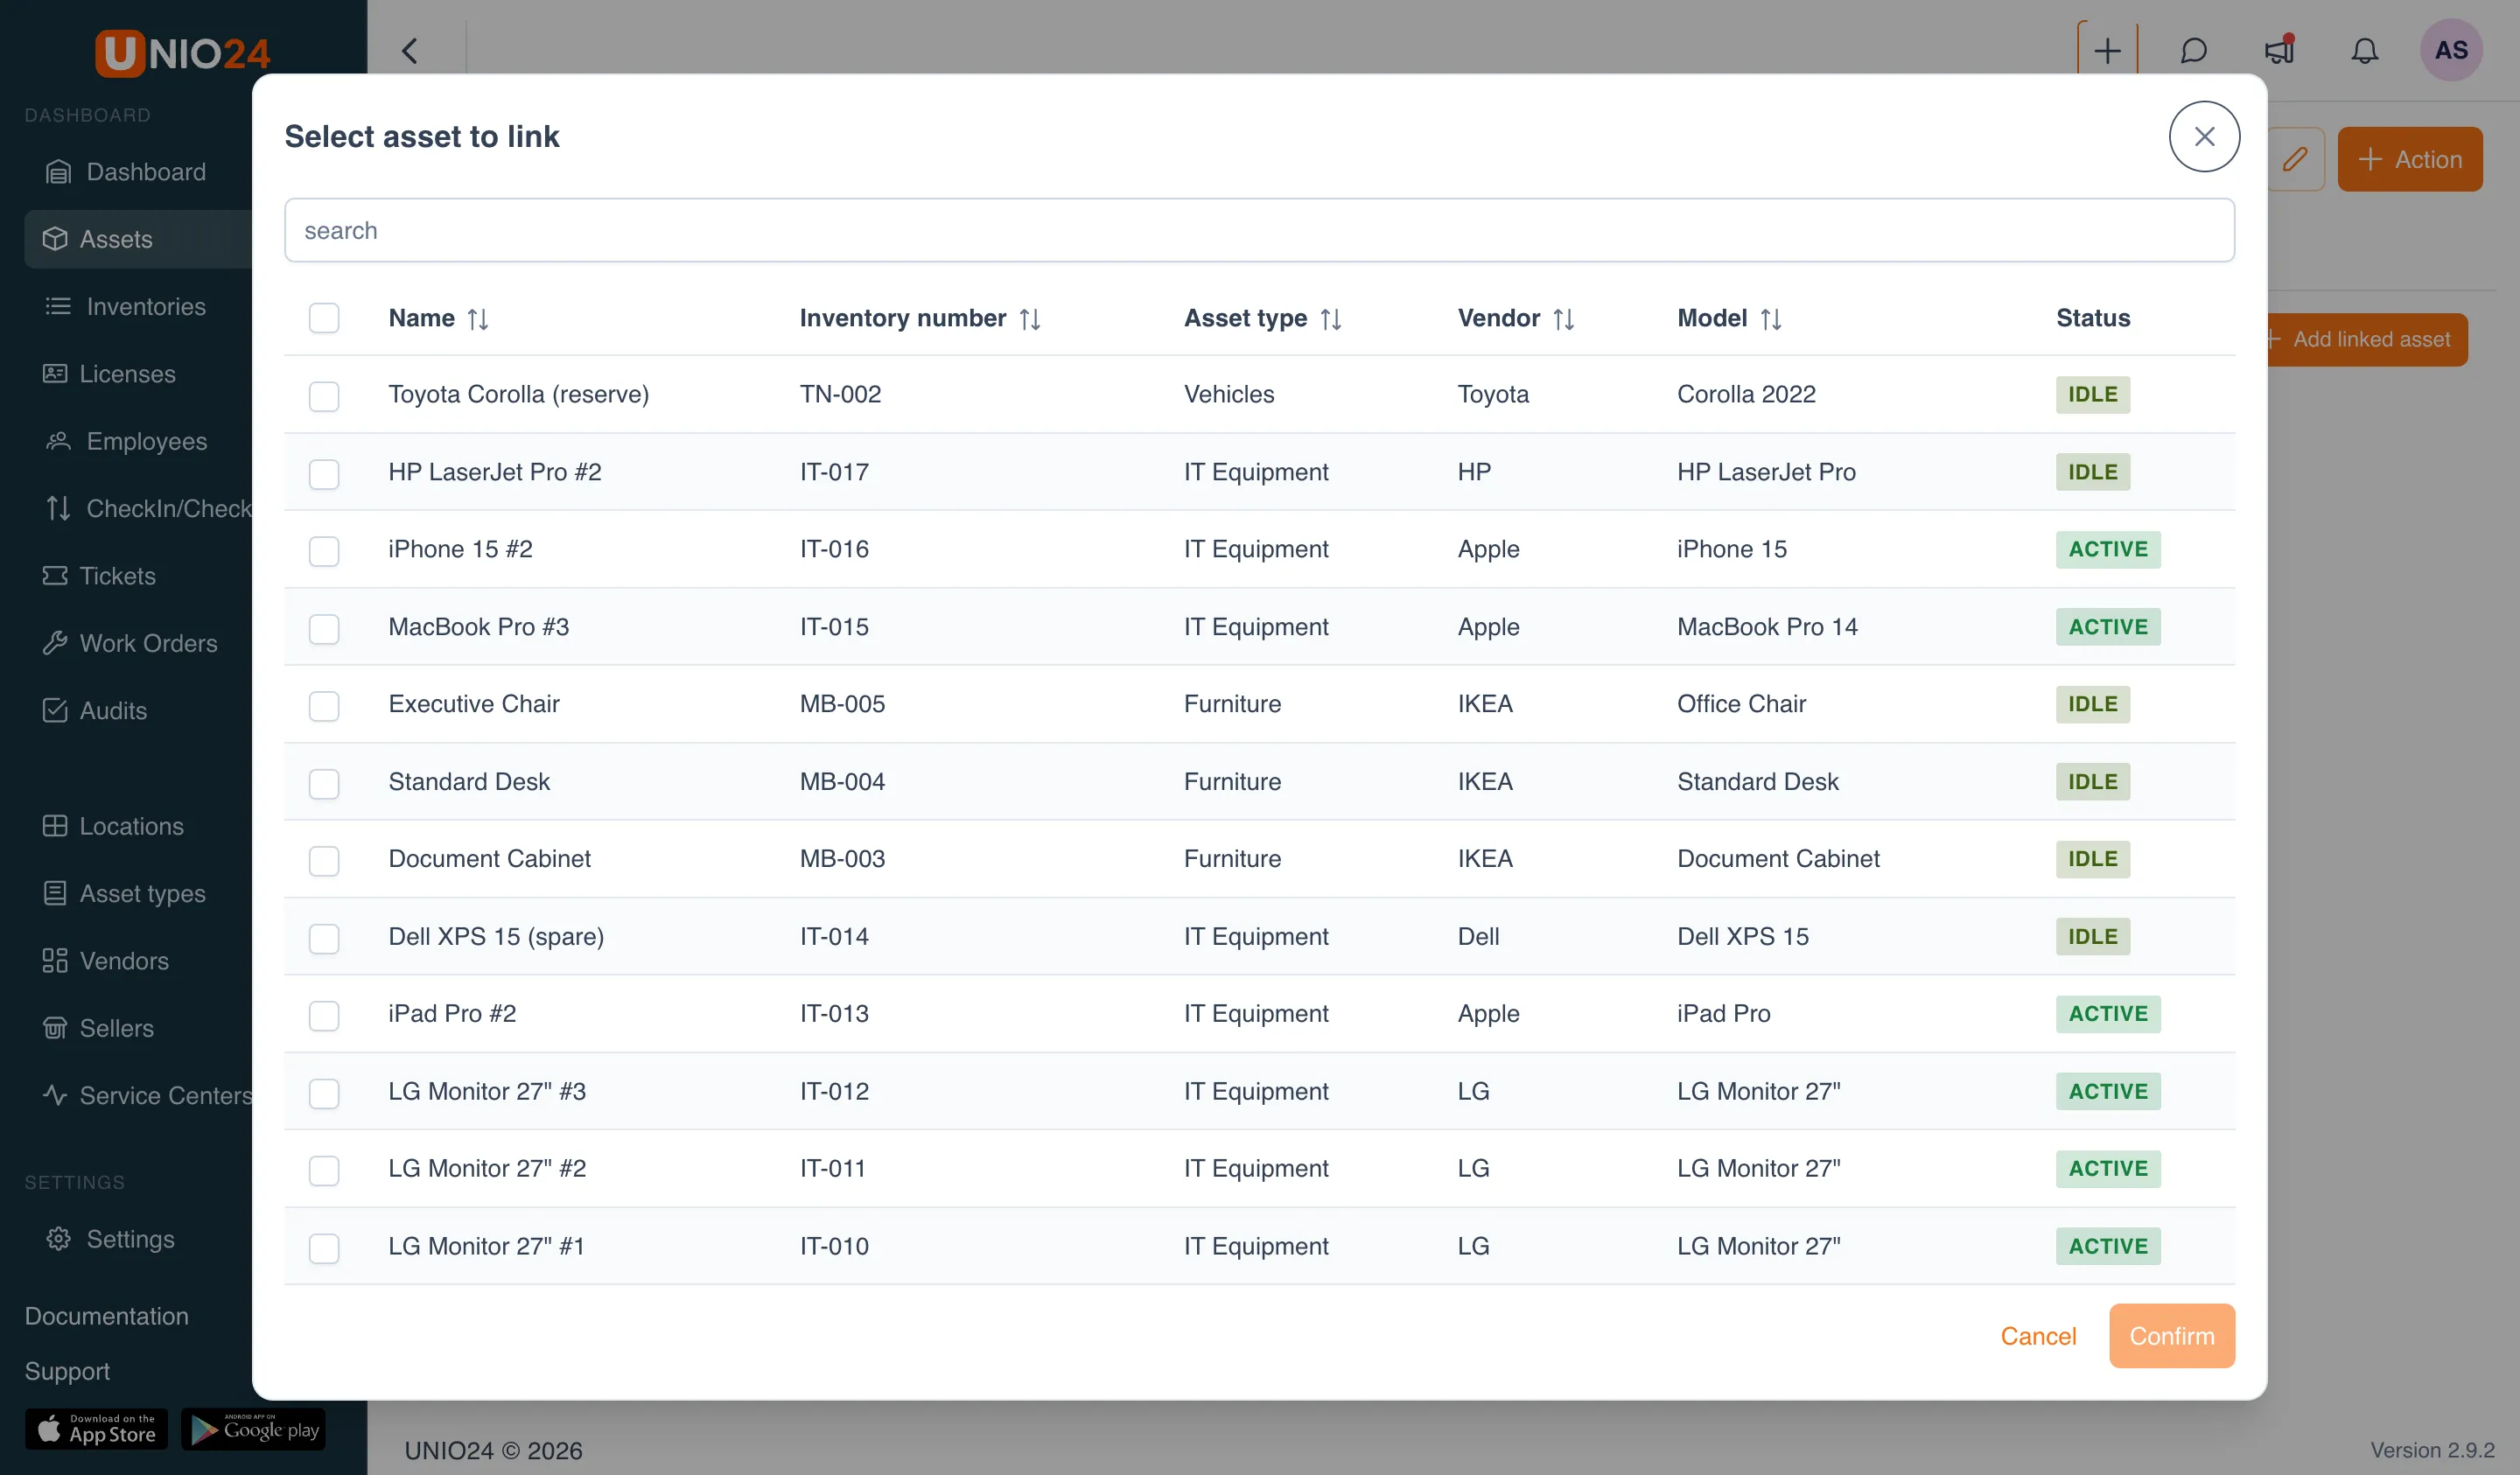
- In the window that opens, find the assets you need with the search box and check them.
- Click Confirm.
To remove a link, on the Links tab click the trash-can icon in the child asset’s row and confirm the deletion.
Viewing the change history
Section titled “Viewing the change history”- Open the asset card.
- In the header, click the clock icon button (History of changes).
- A list of edits opens: who made a change, when, and which fields changed.
The change history shows edits to the card’s fields. Operations on the asset (check-out, transfer, service) are on a separate activity tab.