

Managing employees
This page collects the common tasks for working with the employee directory. For how an employee differs from a system user and how they relate to assets, see Employees: how it works. For a description of all fields and columns, see the Employees reference.
Open the employee list
Section titled “Open the employee list”- In the main menu on the left, select Employees.
- A list opens with the Number, Employee’s full name, Position, Department, and Number of units of the asset columns.
- The search field above the list filters the records; columns sort when you click the header.
Add an employee
Section titled “Add an employee”- Open the Employees section in the left menu.
- Click the Add employee button in the top-right corner. A form titled Financially responsible person opens.
- Fill in the form fields:
- Last Name
- First Name
- Middle Name
- Phone
- Position
- Employee number
- Department — a dropdown of existing departments.
- Save the record with Save.
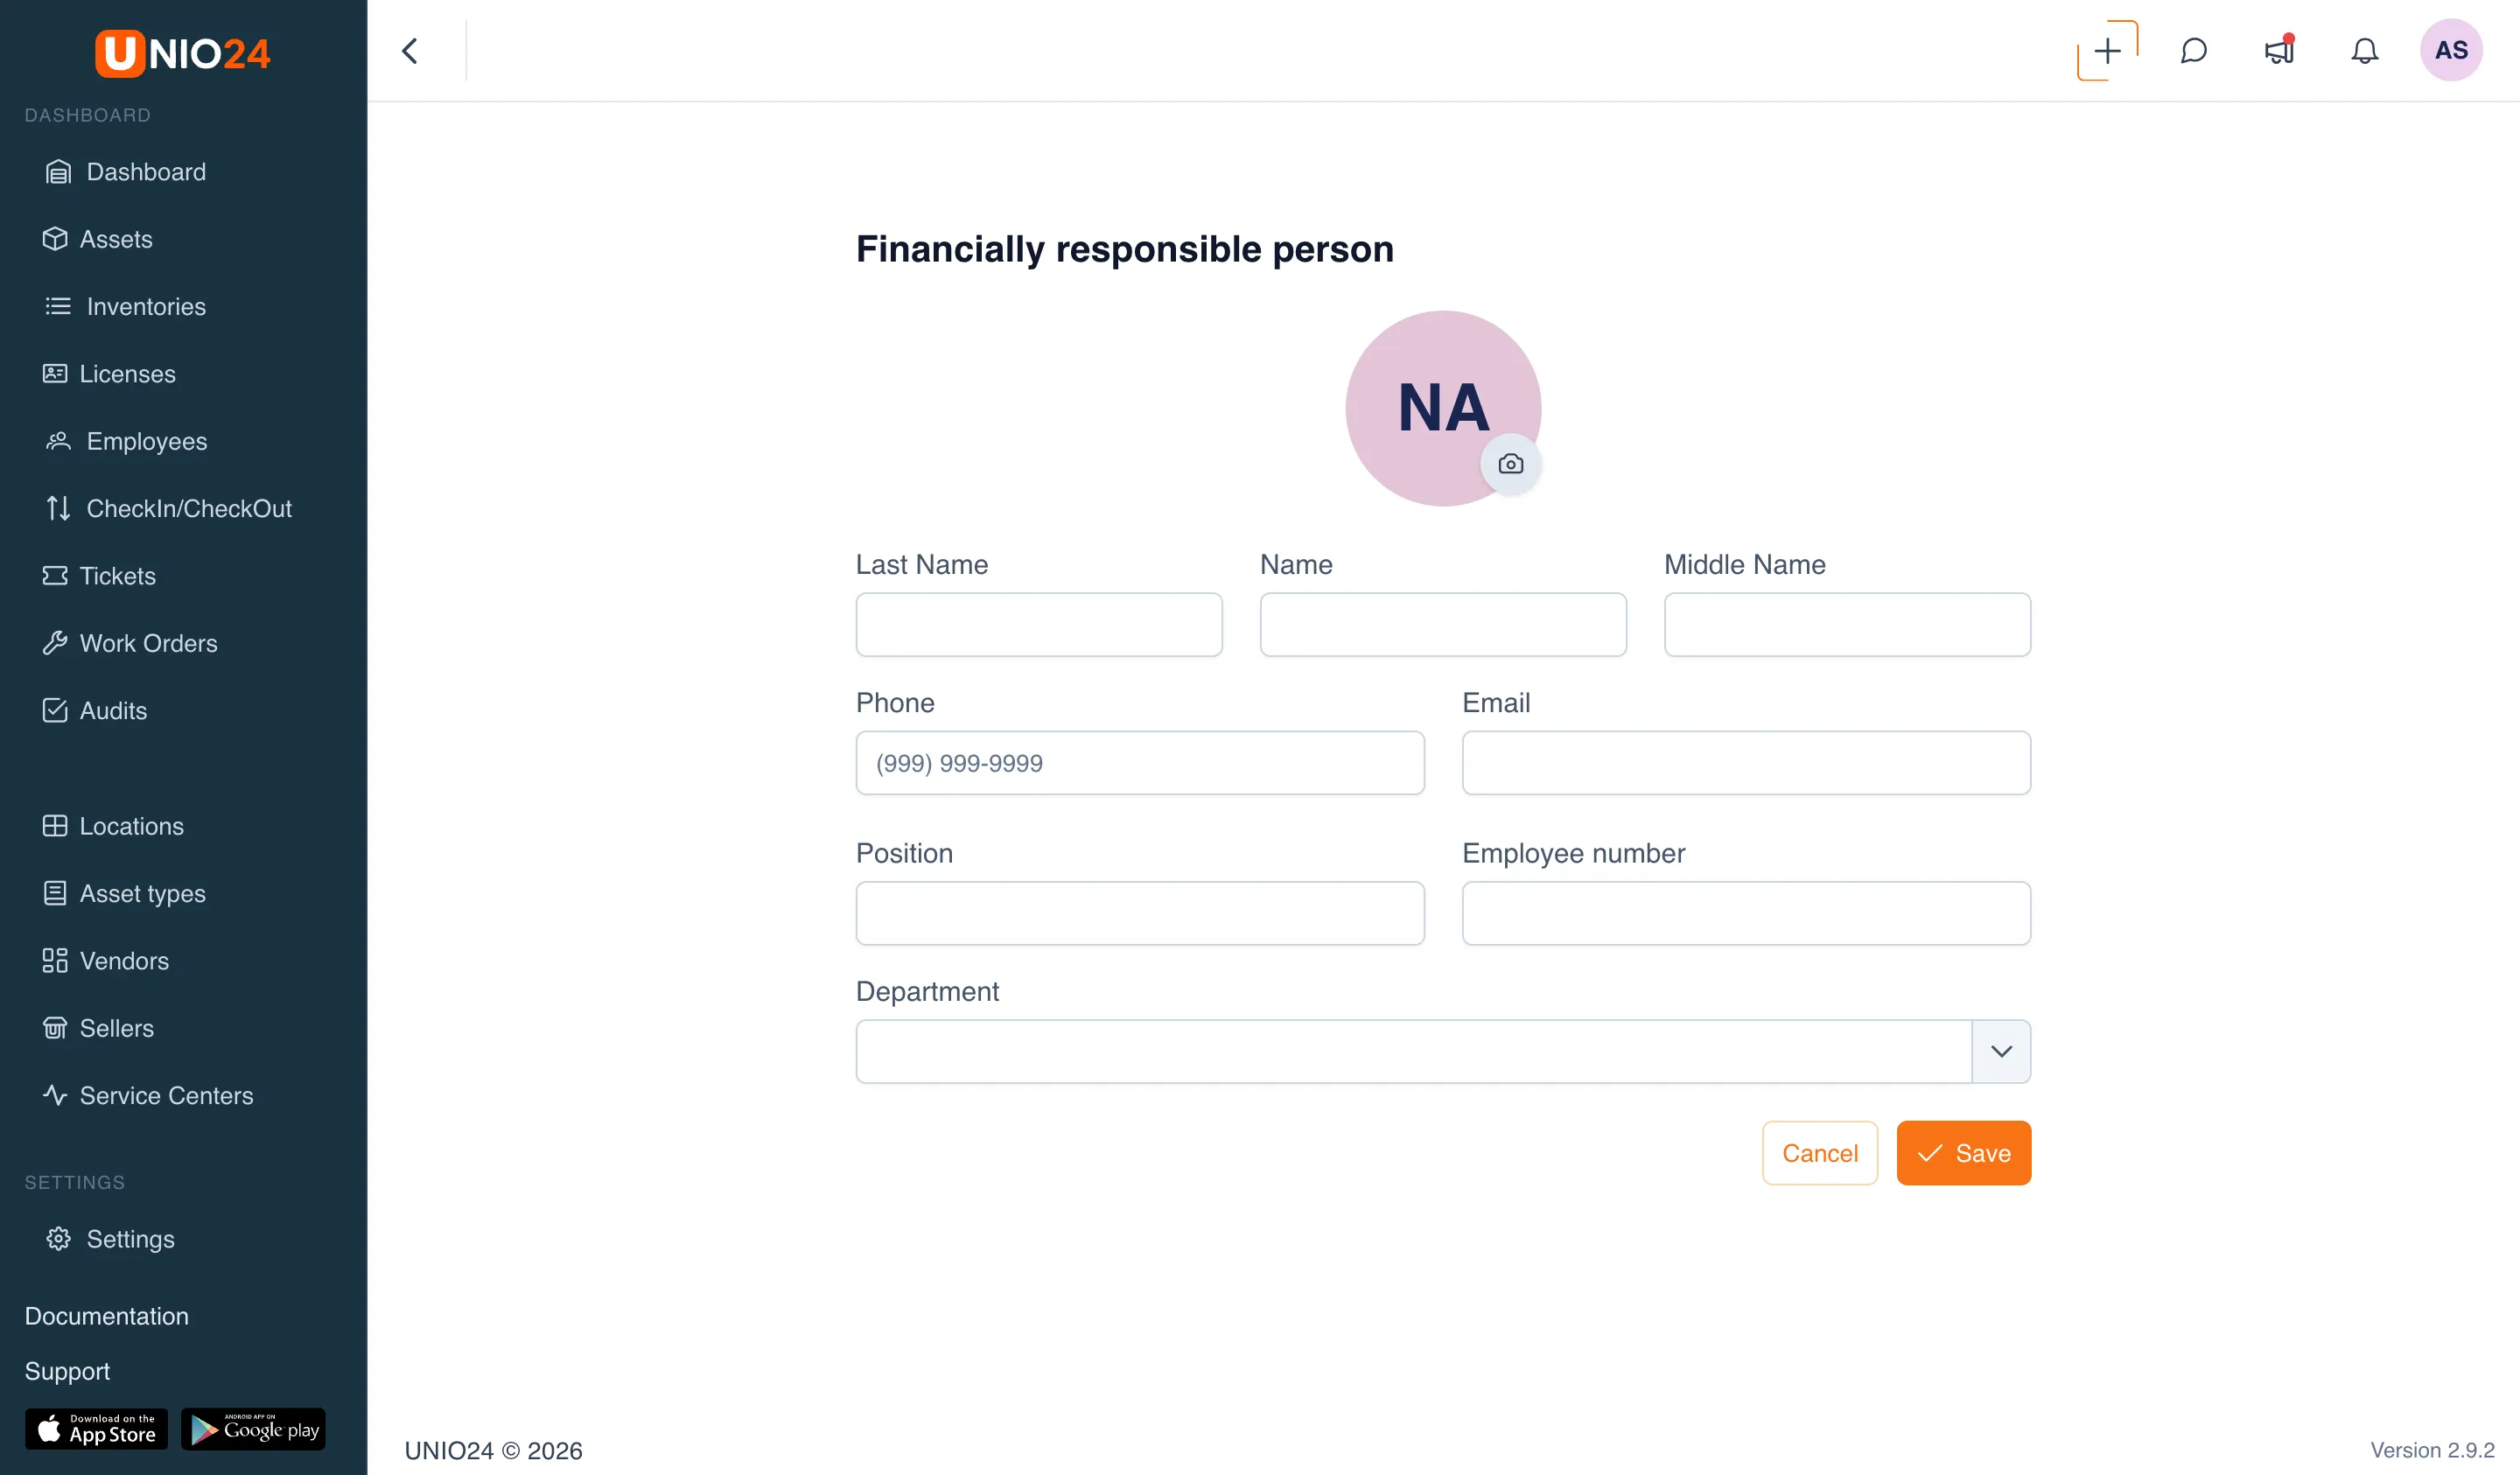
If custom fields are set up for employees, they appear in the form below the department.
To add many employees at once, use Import employees on the list page — see Importing data.
Edit an employee
Section titled “Edit an employee”You can open a record for editing in two ways.
- From the list. In the Employees section, click the pencil icon in the row of the employee you need.
- From the card. Open the employee’s card (click the row in the list) and click the pencil icon next to the full name.
A form with the same fields as when adding opens. Make your changes and click Save.
Invite an employee as a system user
Section titled “Invite an employee as a system user”This gives the employee access to the web and mobile app and links their record to a user account. What this provides is described in Employees: how it works.
- Open the Employees section in the left menu.
- In the row of the employee you need, click the actions button and choose Invite user. The action is available only if the employee does not yet have an account.
- In the Invite user to UNIO24 dialog, check the Email address field — it is filled in from the employee’s profile.
- If you have full access, choose a Role for the future user.
- Click Invite user.
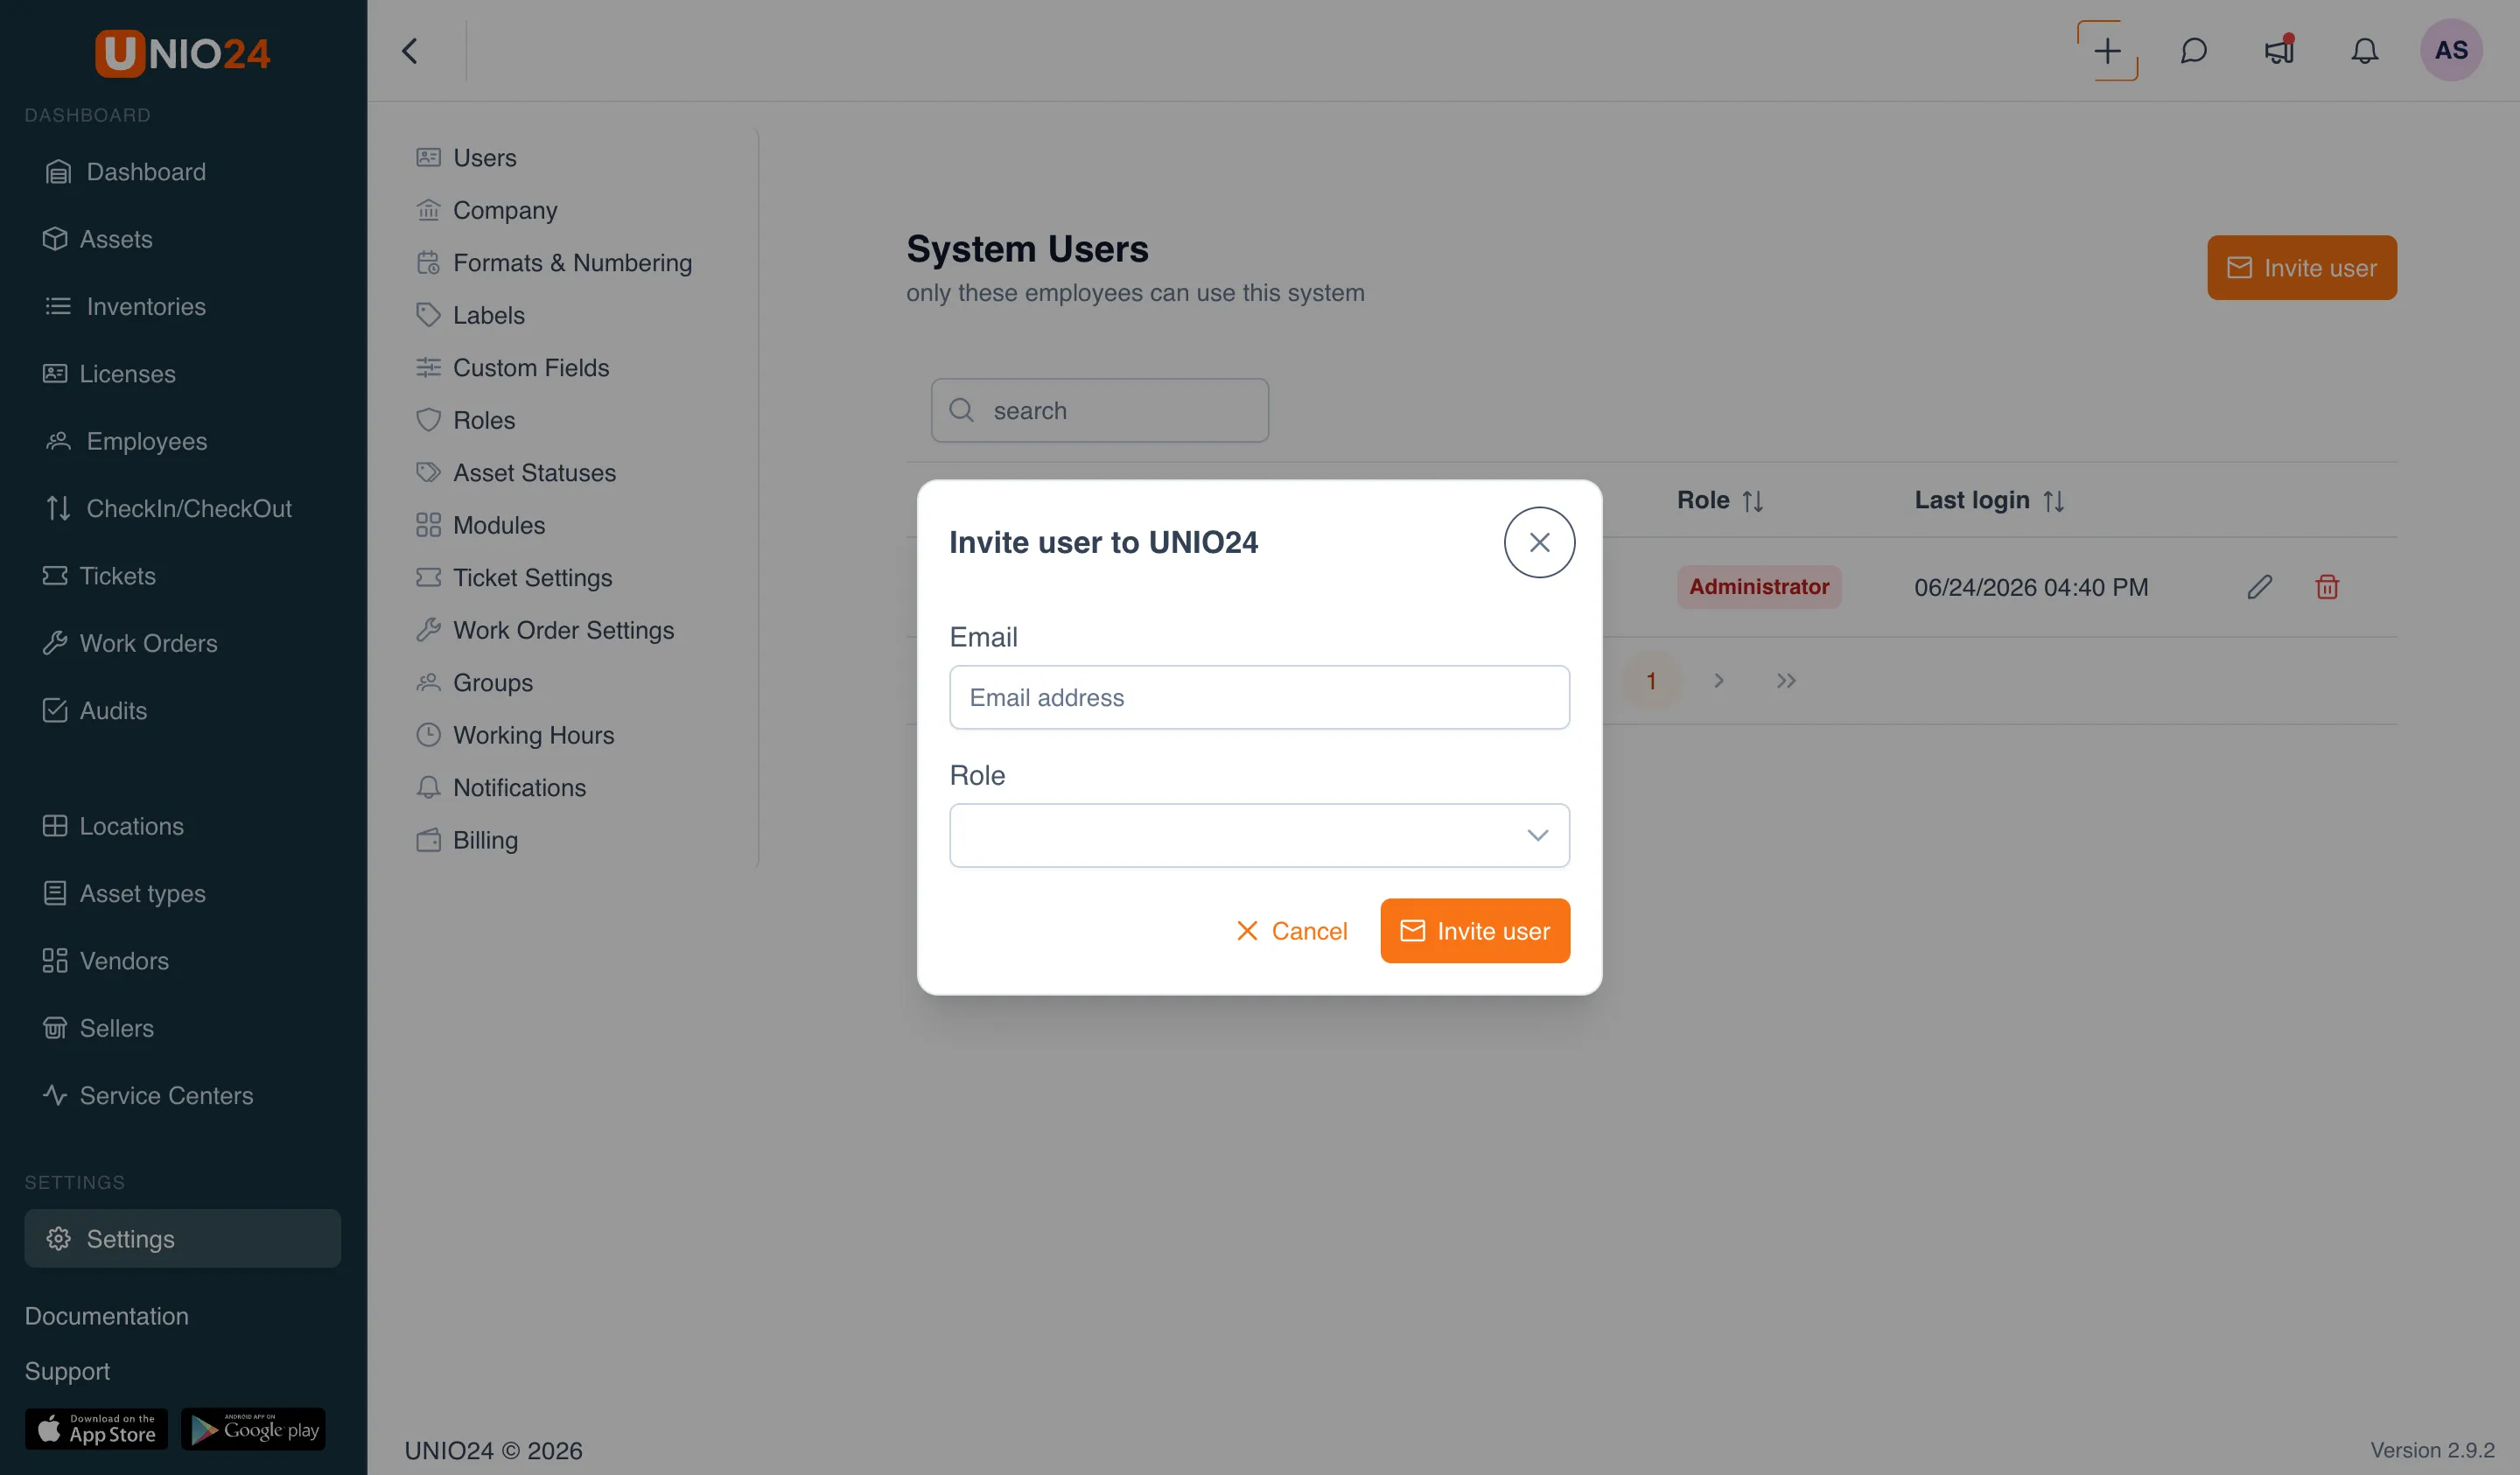
The system sends an email with an activation link to that address. Until the employee accepts the invitation, the Invited label appears next to their employee number in the list. After activation, the label changes to the Has system access icon. For more on invitations, resending, and acceptance, see Managing users.
View an employee’s assets
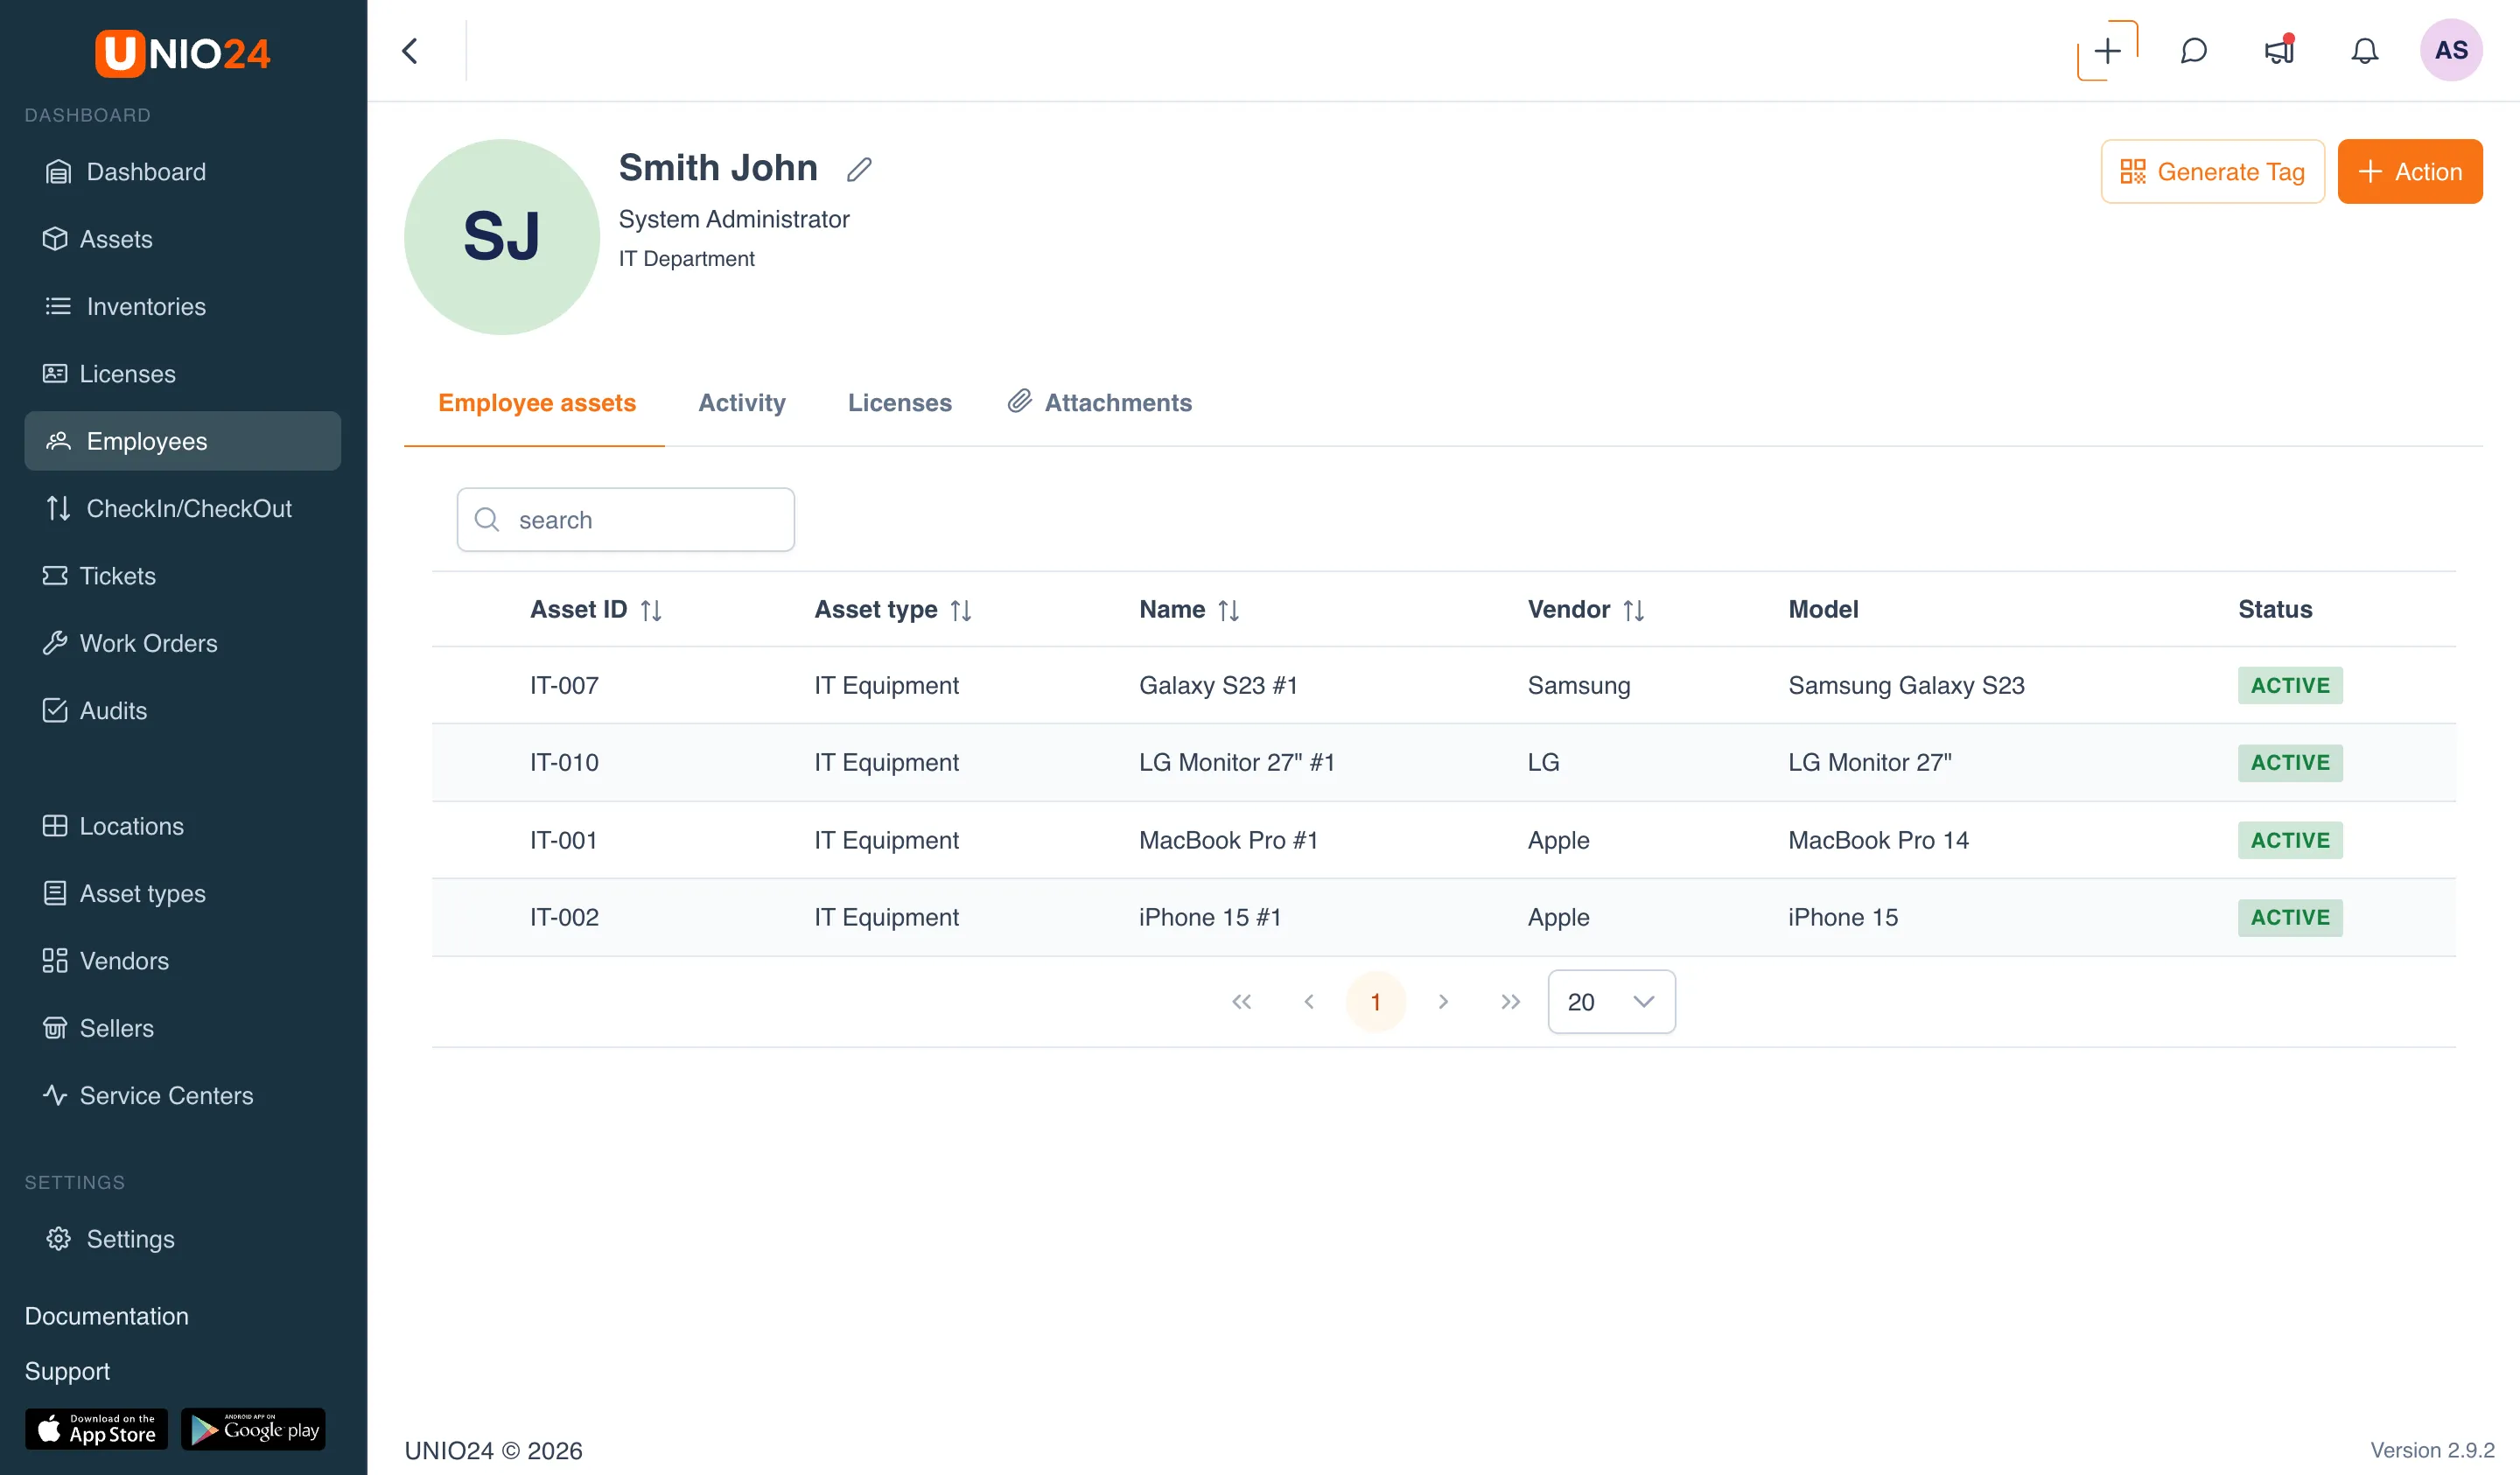
Section titled “View an employee’s assets”- Open the Employees section and click the row of the employee you need to open their card.
- The Employee assets tab is open by default. It lists the assets the employee holds with the with employee or under repair status.
- Click an asset’s row to go to its card and see the details.
View activity history
Section titled “View activity history”- Open the employee’s card.
- Go to the activity tab.
- You see the asset issues and returns this employee took part in.
The history does not include asset transfers related to the employee’s responsible locations.
View responsible locations
Section titled “View responsible locations”If at least one location is assigned to an employee, the Location tab appears in their card. Open it to see the list of such locations, and click a row to go to the location and its assets. You assign a responsible person in the Locations section.
Offboard an employee
Section titled “Offboard an employee”When an employee leaves, they go through the offboarding process: their assets are taken back, licenses are released, tickets and locations are reassigned, and access is blocked. You start it from the employee’s card with Action → Start offboarding. For step-by-step instructions, see How to offboard an employee.